The 3D face mask is the most comfortable mask to wear, especially for children. Many face masks don’t fit your face properly so you spend a lot of time adjusting them. Oftentimes you suck in the fabric when you talk, but the 3D face masks solves these issues. The unique design creates a pocket that helps keep the fabric away from your mouth when you talk. This also helps you breath better when wearing a face mask.
While this is not the easiest face mask to create or suggested for beginner sewers, I believe your kids will like wearing it more than other face mask designs.
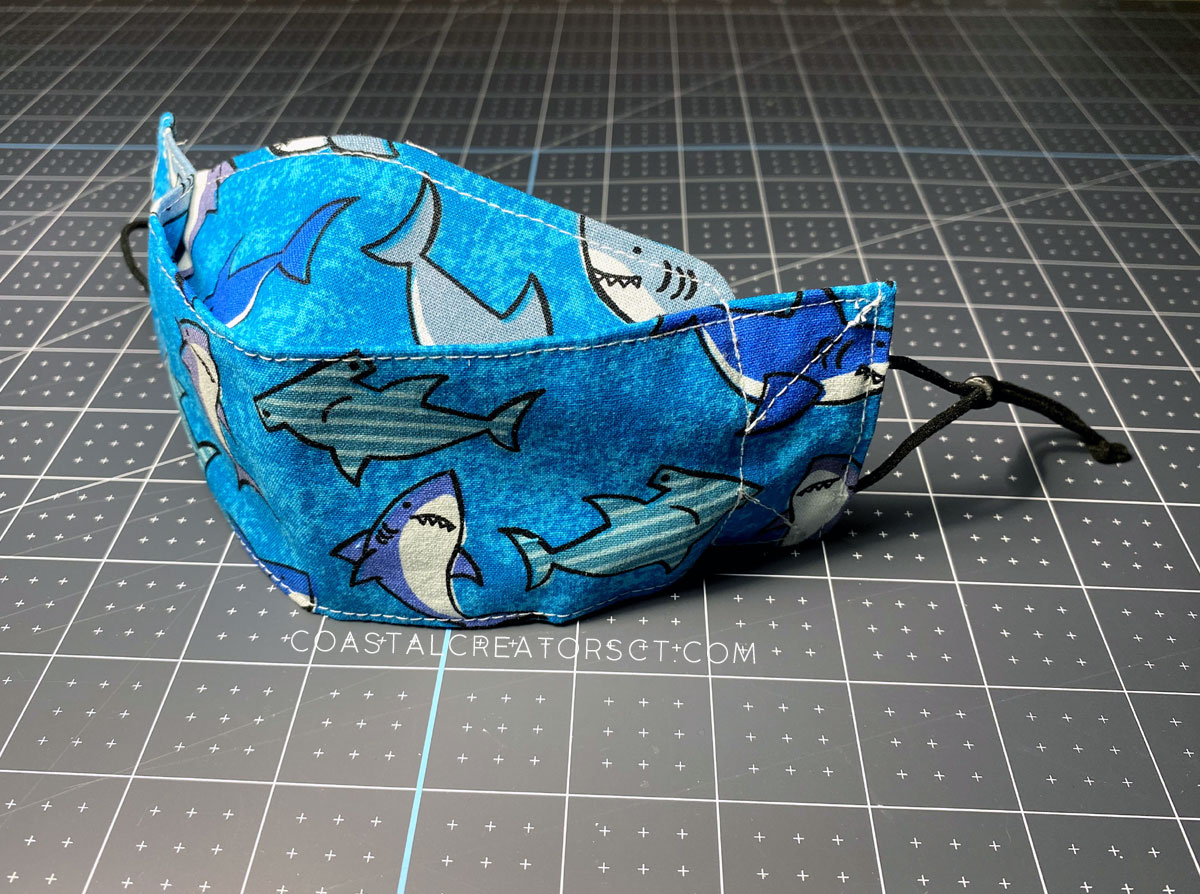
My 3D Face Mask for Kids pattern is based off of the Sweet Red Poppy pattern with my own variations added. Since she provided the printable pattern already I didn’t think there was a need to create a new one. You can print out the free 3D Face Mask Pattern for free from her website here and if you like the changes I made, just follow my sewing instructions.
Important! My instructions show you how to sew the elastic inside and not make a casing for the elastic. To follow my sewing instructions you will need to cut off a 1/4″ on either side of the 3D mask pattern where the elastic will be sewn.
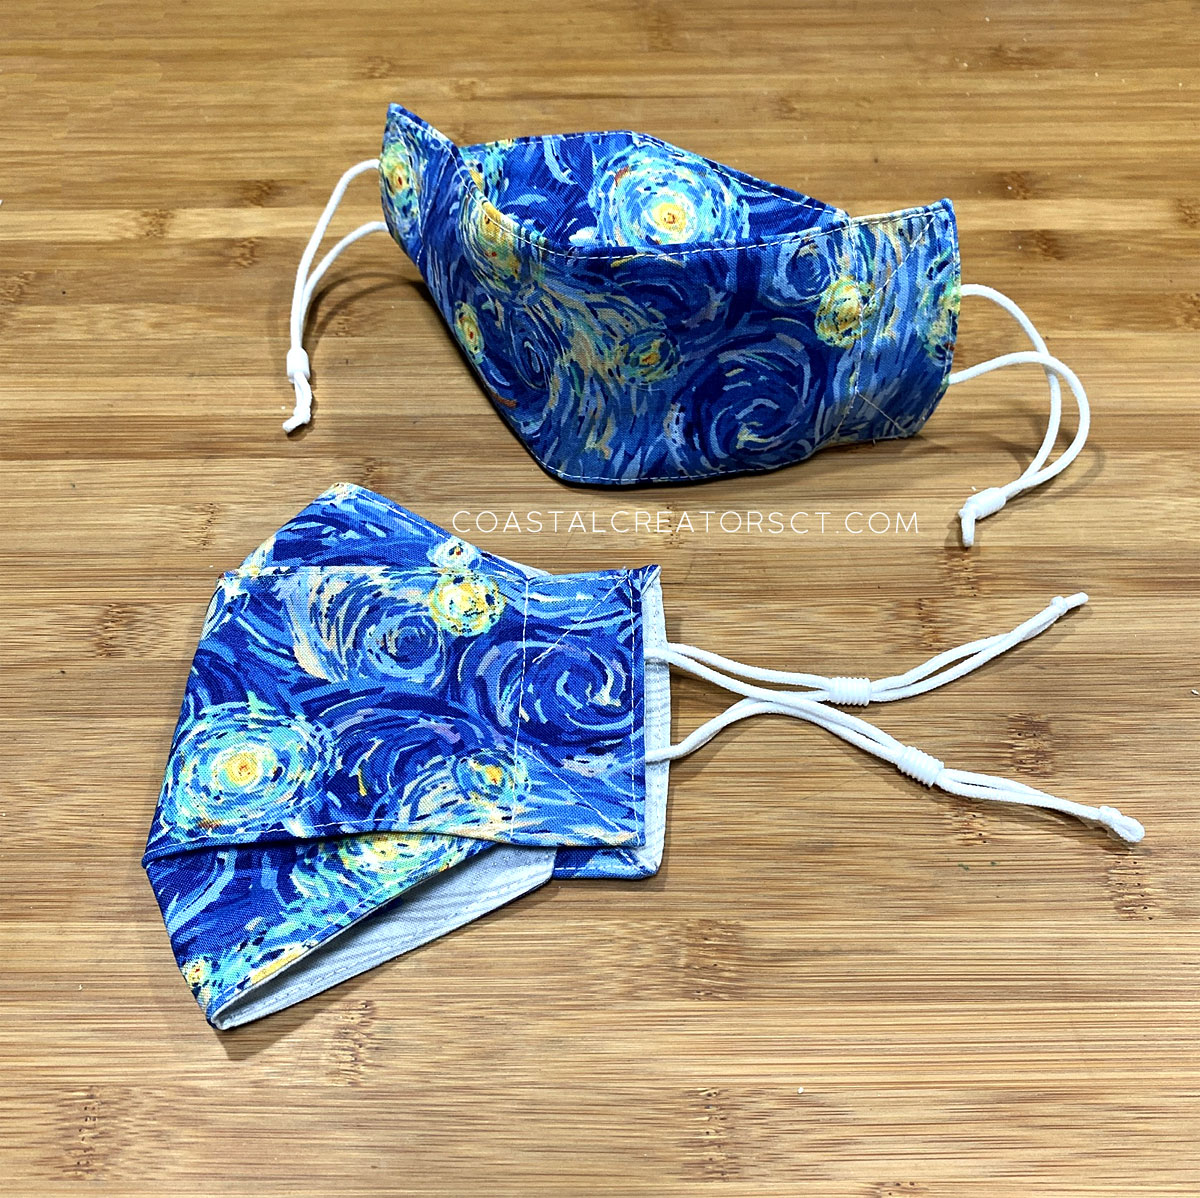
3D Kids Face Mask Supplies List
- 100% quilter’s cotton fabric, 2 different designs
- 3 mm Round elastic
- rubber bead adjusters
- Metal Nose bridge strips
- bone folder
- sewing machine
- thread
- scissors
How to Make a 3D Kids Face Mask
Watch my YouTube video if you find it easier to follow the instructions. Some steps may be confusing to read and it helps to hear someone explain the process.
video
Cut Out the Fabric Pieces
Lay the two pieces of fabric on top of each other, right sides together. Using the pattern you printed from the Sweet Poppy website (make sure to cut off a 1/4″ from the sides), lay the pattern on top of the 2 fabrics. You can pin the paper pattern onto the fabrics if you like. Then cut out the two fabric pieces you need to make the 3D kids mask.
Create Adjustable Elastic Ear Loops
Watch my video to learn how to make adjustable elastic ear loops. In the video I use pony beads as ear loop adjusters. Note: this video uses 1/4″ latex elastic. If you have that on hand and not the round elastic you can use it to make adjustable elastic ear loops. I find that latex elastic is rough on the ears and has strong smell so I stopped using it and switched to round elastic instead.
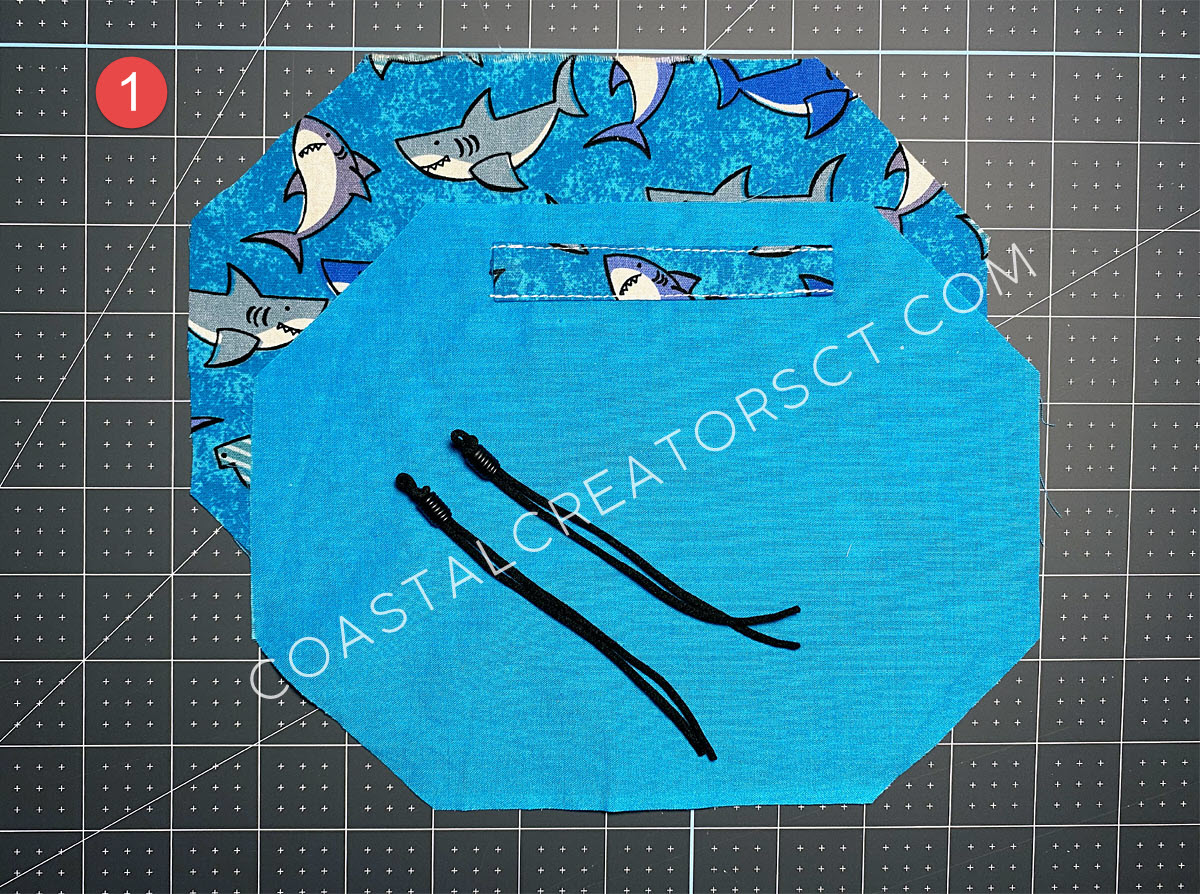
Cut a piece of elastic, 9″ long. Using the metal hook that come with the rubber beads (or piece of twine if you are using pony beads), pull the elastic through the bead. Adjust the elastic to that the ends match. Tie a small knot at the end of the loop so the bead adjuster does not come off.
Create the Nose Wire Pocket
For my version of the 3D kids face mask, I create a nose wire pocket and sew it on the inside fabric before sewing the two pieces of fabric together. Watch the video to learn how to create a nose wire pocket. The fabric is cut 1-1/2″ x 4-1/2″ for the nose wire pocket. I use metal nose bridge strips to insert into the nose wire pocket. I find that they are flexible and last a long time. They will break overtime, just like any piece of metal you would use in the pocket, so buying a pack of 50 or 100 is a good idea.
Sew the Adjustable Elastic Ear Loops to the Mask
Locate the side edge where the elastic should be placed. Place the fabrics right sides together. Lift up the top fabric and lay one end of the elastic ear loop 1″ down from the edge on the bottom fabric. Leave a 1″ gap and place the second end of the elastic ear loop on the fabric. Lay the top piece of fabric over the elastic. You can pin the elastic down or hold it in place as you sew.
Adult Measurements: If you are making the adult 3D face mask the space in between the elastic ends will be wider. Just start at 1″ from the edge for the first end and then put the other end 1″ from the opposite edge.
Sew the Fabric Together
Sew across the edge where you have just placed the elastic inside. Add the other elastic ear loop to the other side of the fabric and sew. Continue sewing all around, leaving a 2-1/2″ gap for turning.
Turn and Iron
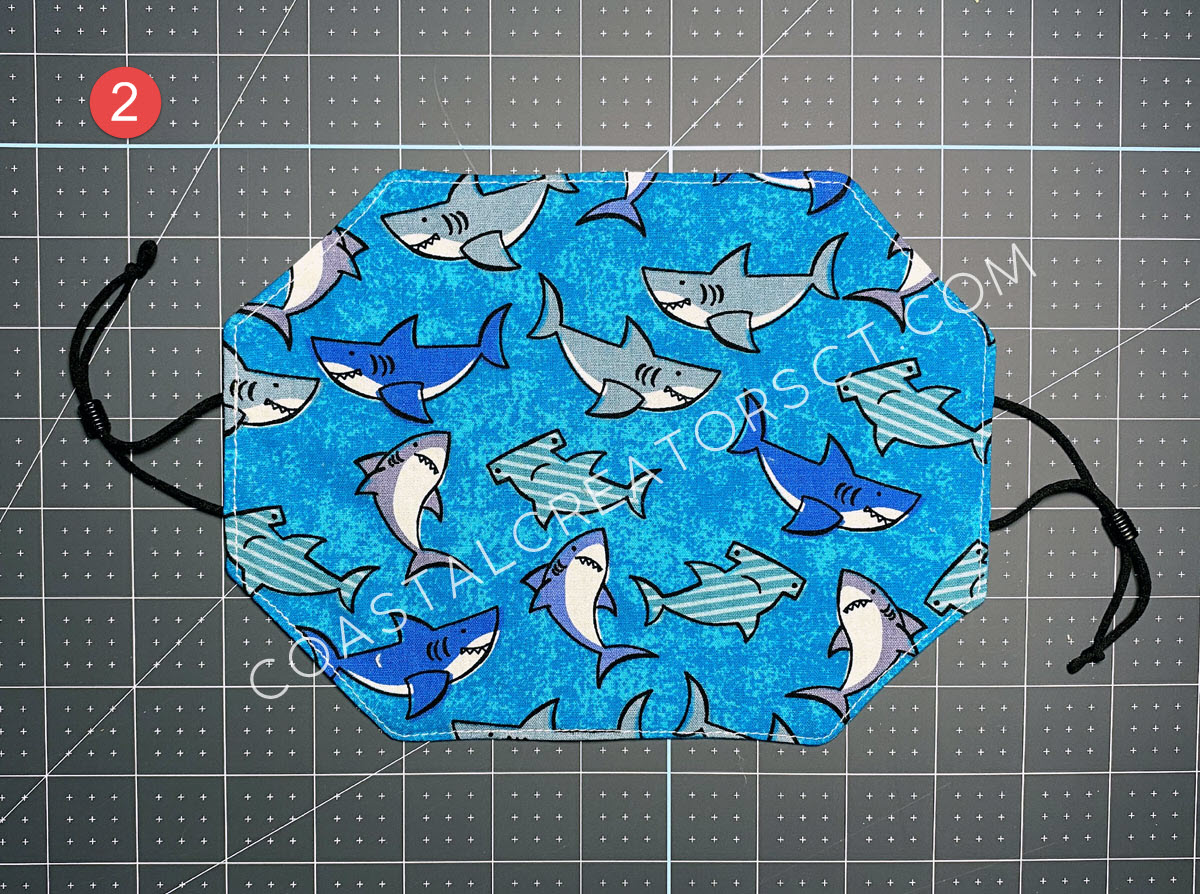
Snip each corner just at the tips to get rid of the bulk fabric. This will help you get a sharp point at the corners. Since this is an octagon shape, there will be 8 corners to snip. Using a chopstick or bone folder, poke out the corners and iron the whole piece flat. Make sure not to get near the elastic or bead adjusters with the iron because they will melt.
Top-stitch All Around
Top-stitch 1/8″ away from the edge all around the around the edge. If you are selling face masks, top-stitching is suggested to give them a professional look.
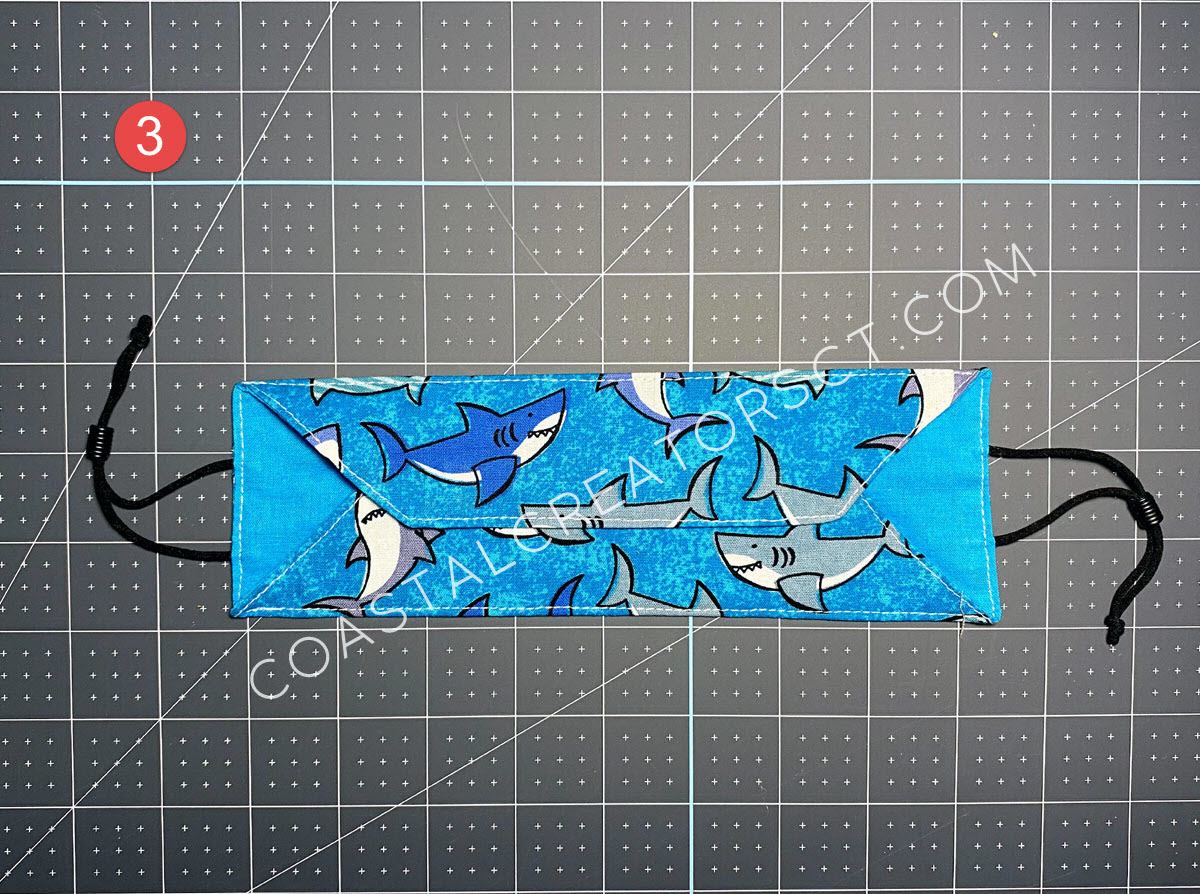
Fold up the Edges and Top-Stitch
Fold the long edges up right at the corners, pin and top-stitch 1/8″ from the edge. Open, lay flat and iron.
Create the 3D Effect
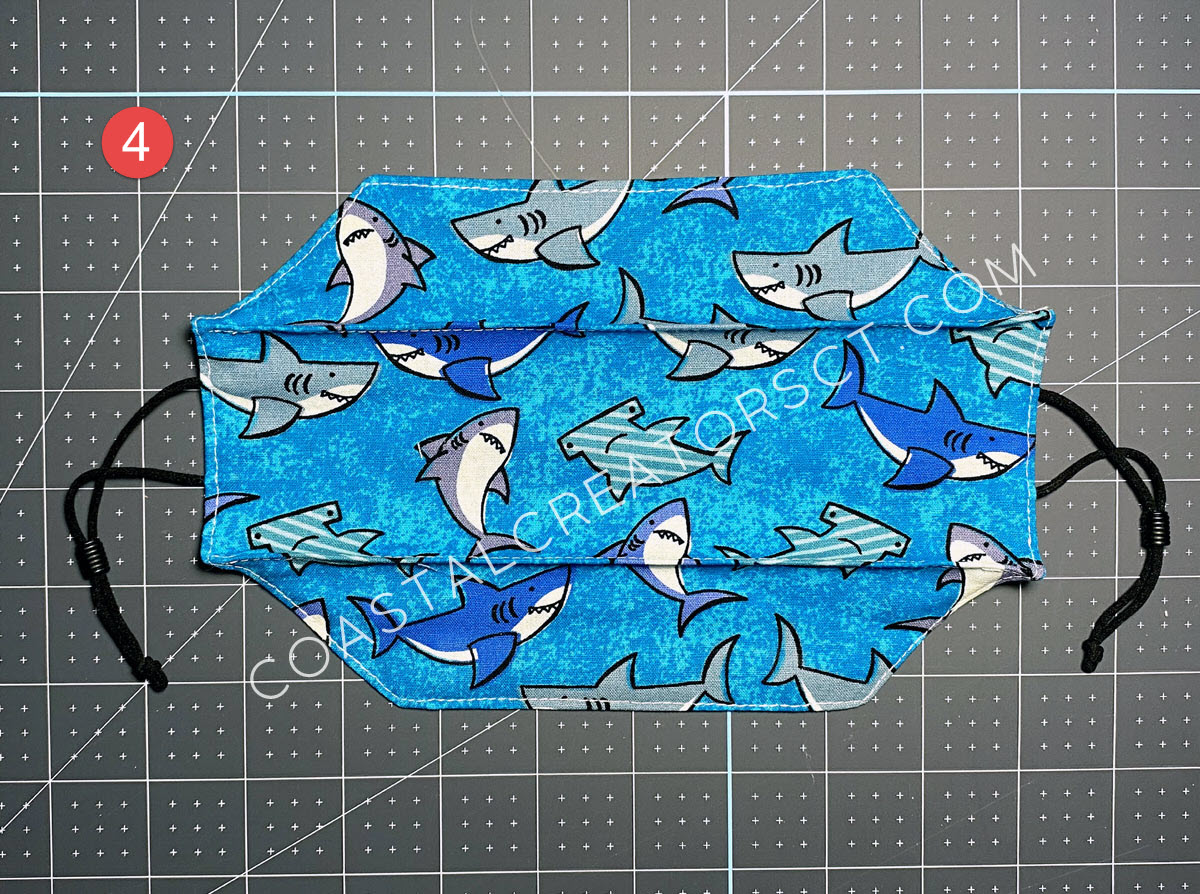
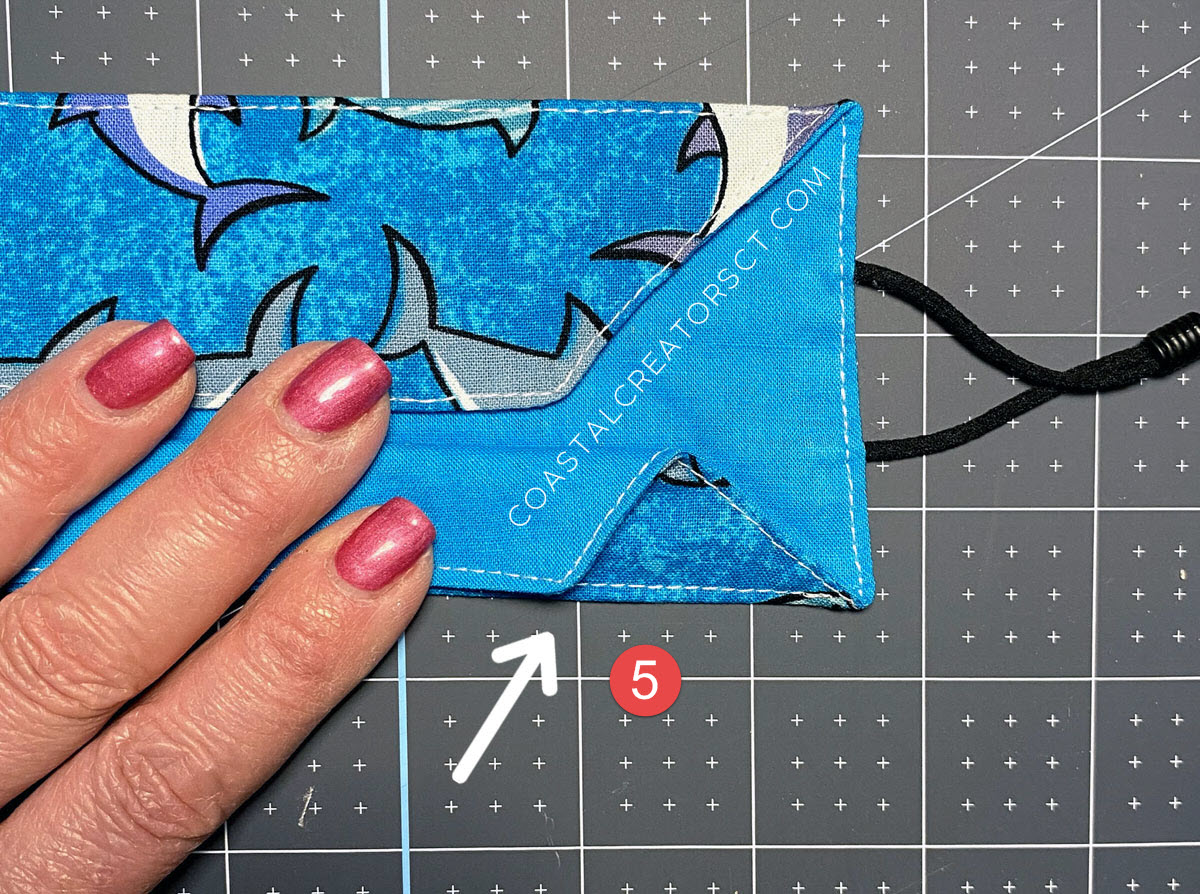
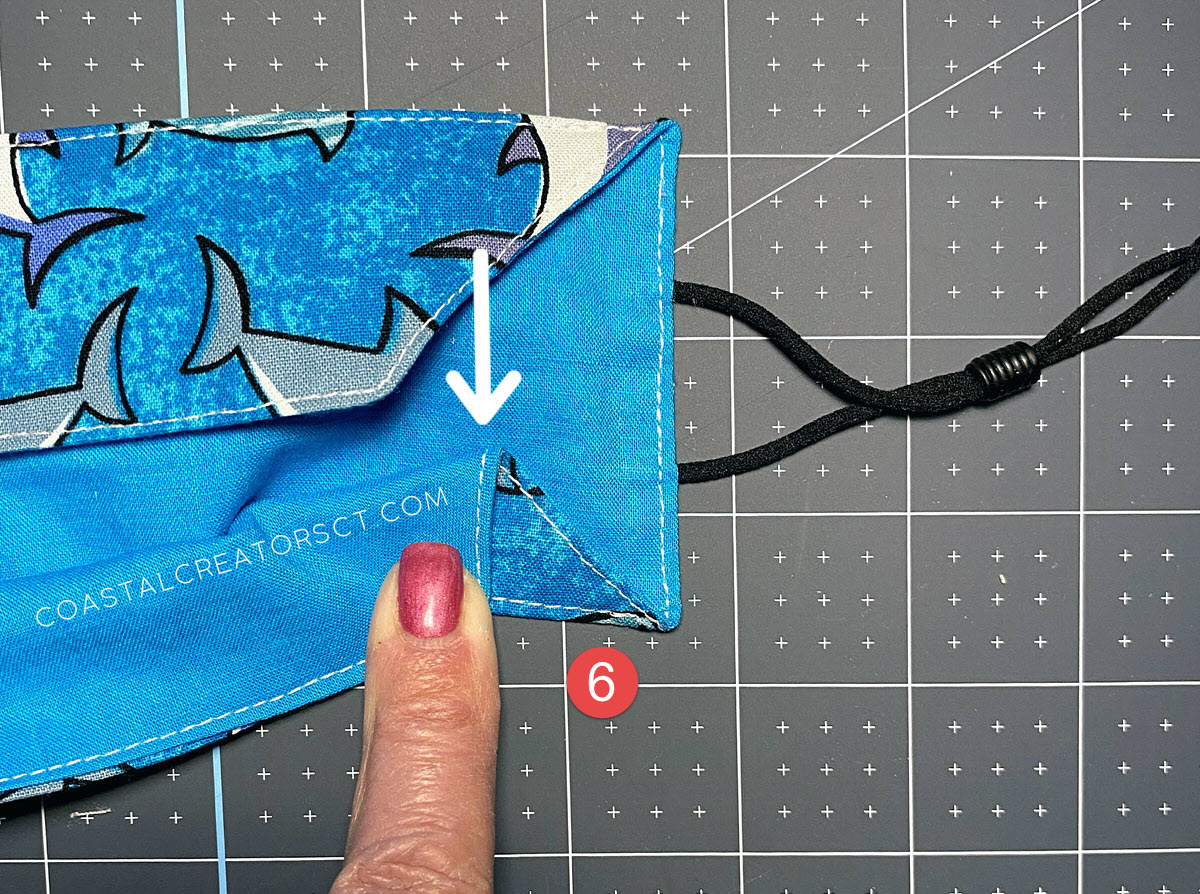
Fold the long down until you see a triangle shape. Place your thumb at the corner. Use you other hand to shift the fabric to the right until it is parallel with the side. You must get this step correct to ensure the mask will have the 3D effect. Pin in place. Do this to the top side. Sew making sure to keep things even. I also like to sew the corners to create a nice triangle top-stitch on the front.
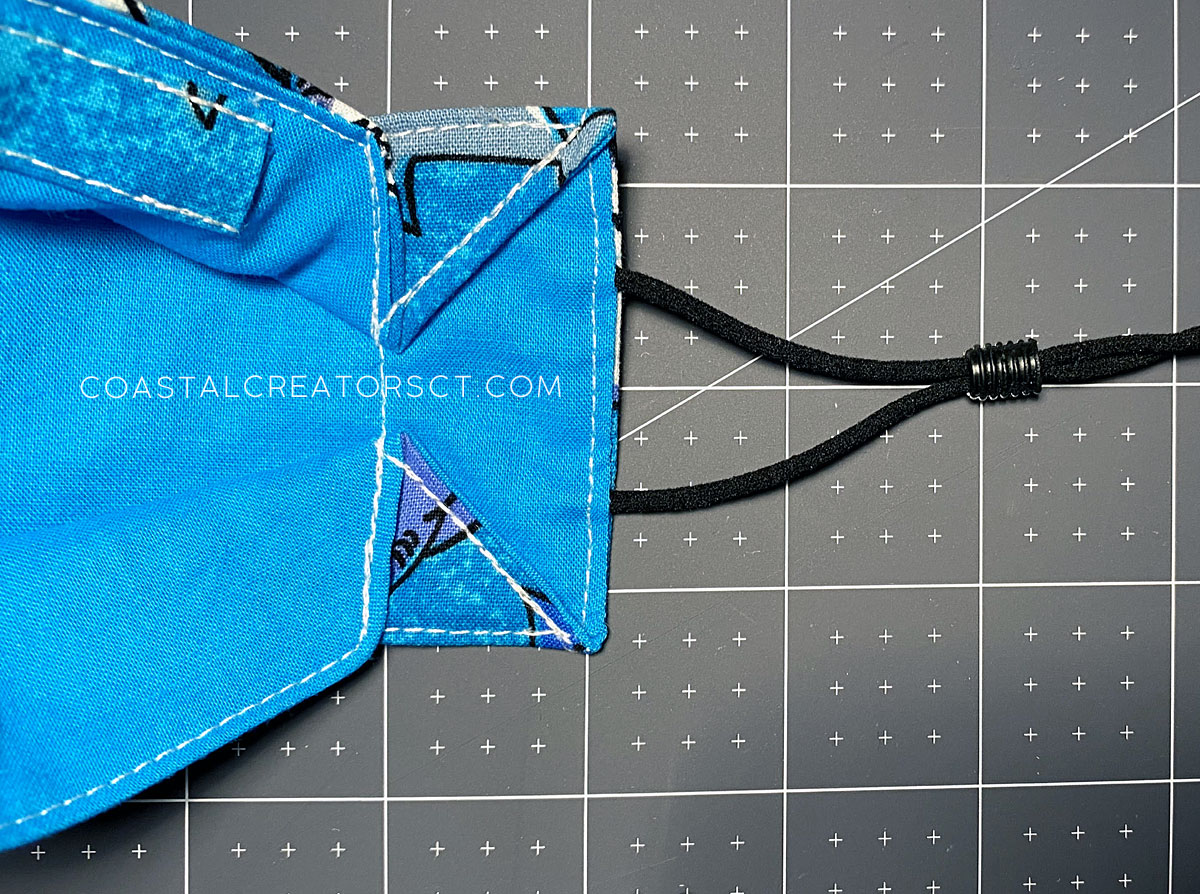
Update: I stopped sewing in between the triangle corners. I just sew each triangle individually.
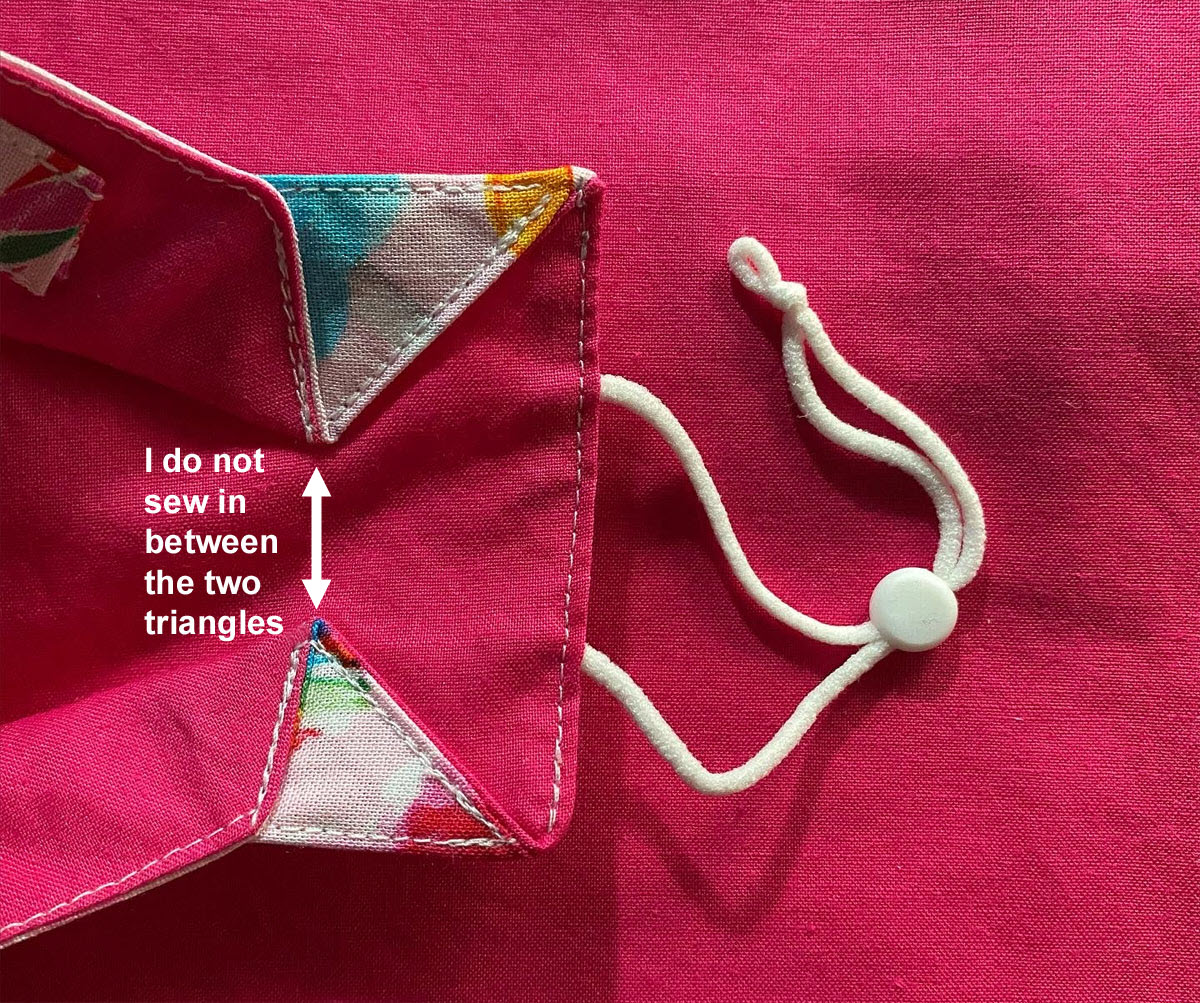
This is the original view where I sewed in between the triangle corners. It is much easier to not sew in between each corner and it looks just a good or even better.
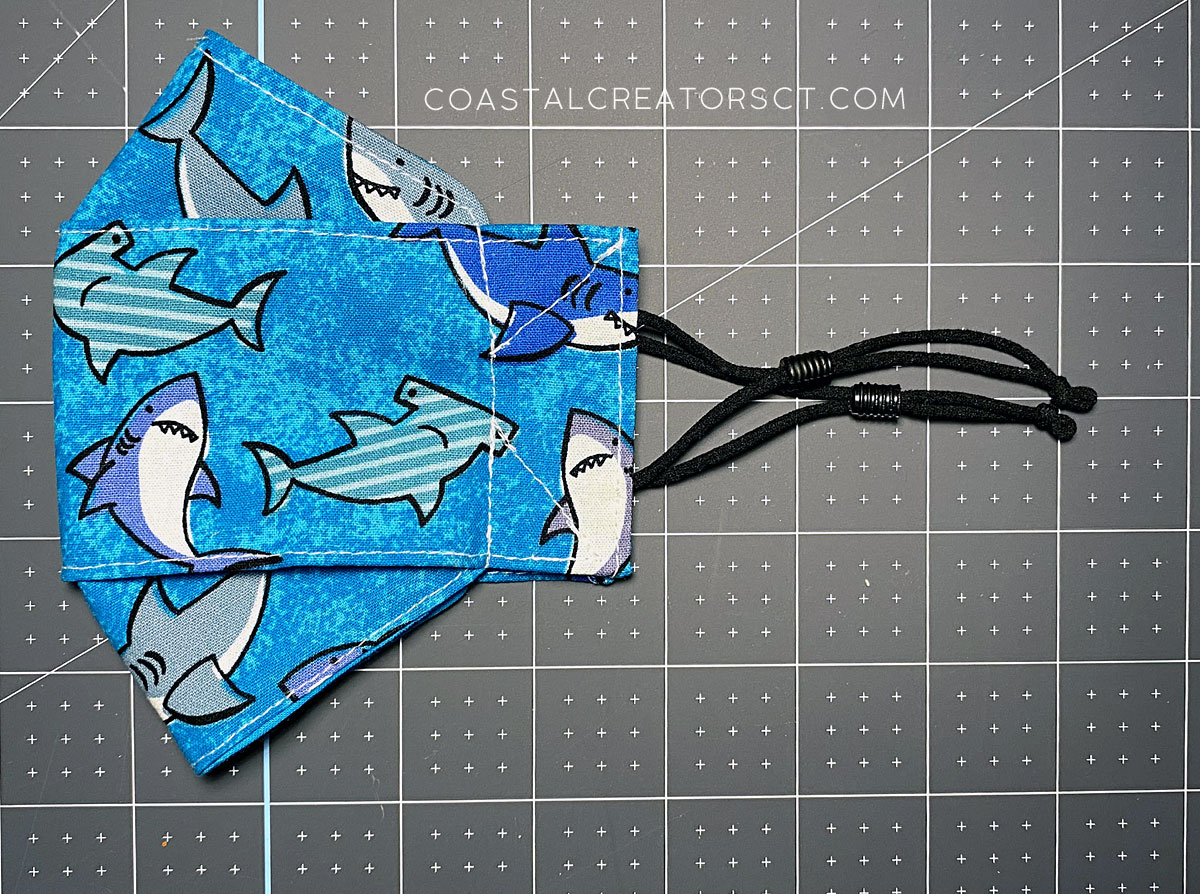
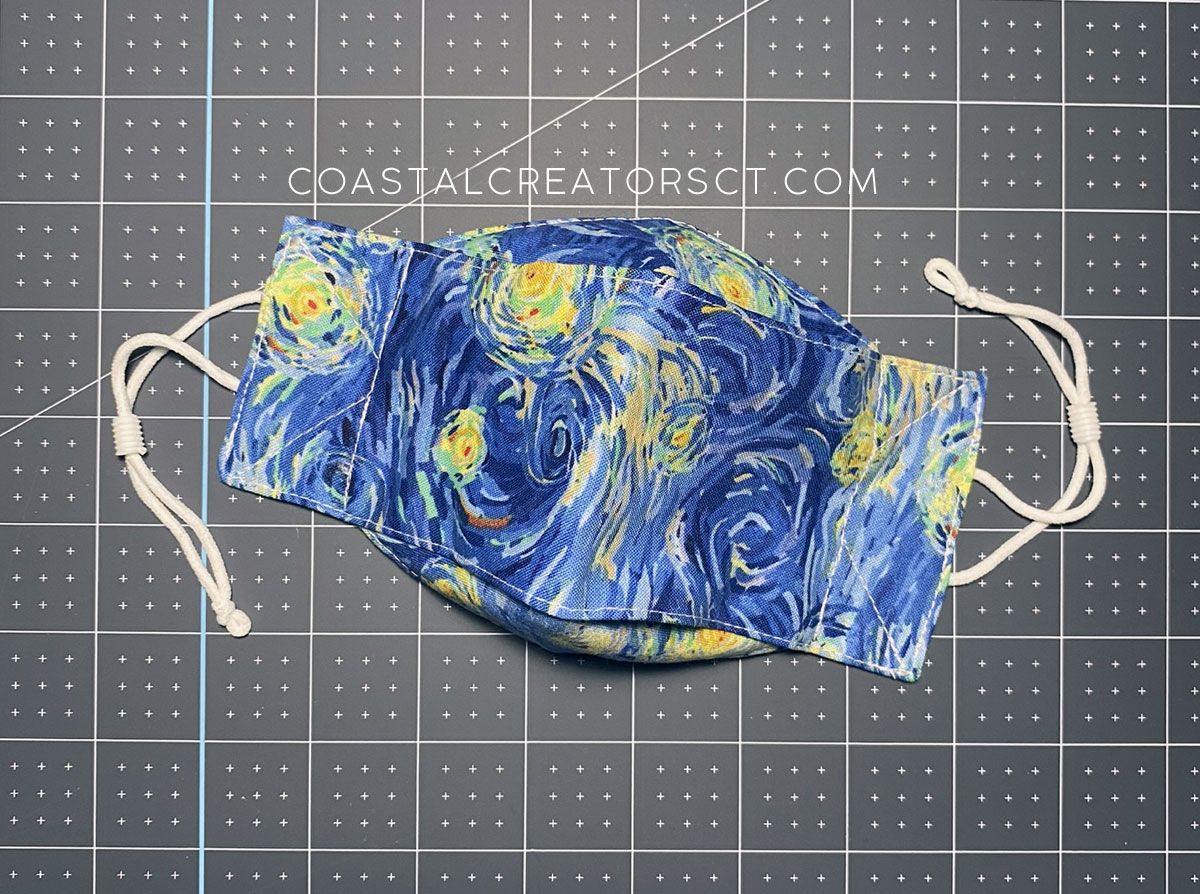
The unique 3D face mask design makes this look like an Origami face mask. It’s very artsy looking.
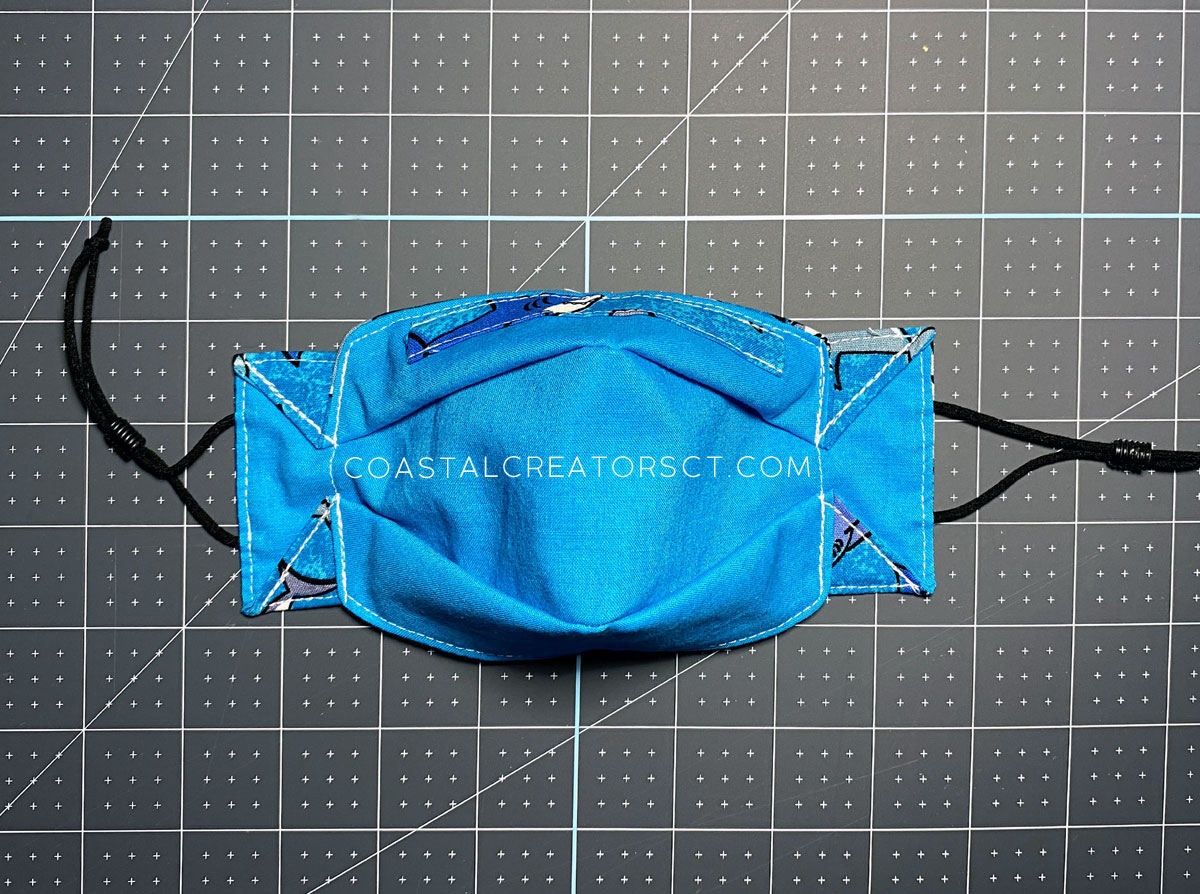
Sewing a 3D face mask for kids is a little bit more work but you will find that this face mask is super comfortable, especially if you make the elastic adjustable. No matter what face mask you create, I highly suggest you make the elastic ear loops adjustable because every face shape and size are different.

Leave a Reply