In 2026, the United States will celebrate its 250th anniversary and retailers across the country are already planning inventory for this once-in-a-generation milestone. The America 250 Semiquincentennial isn’t just another patriotic season. It’s a major historical event that will drive tourism, commemorative purchases, and strong demand for 1776–2026 merchandise. Retailers who prepare early will have a significant advantage.
If you’re looking for wholesale 250th anniversary products that are giftable, display-friendly, and easy to sell, now is the time to source inventory.
Best-Selling 250th Anniversary Product Categories for Retail
Retail buyers preparing for America 250 are prioritizing products that are:
- Lightweight and easy to ship
- Affordable impulse buys
- Display-friendly
- Suitable for bookstores, museum shops, and gift boutiques
- Clearly marked with 1776–2026
Here are categories retailers should consider stocking.
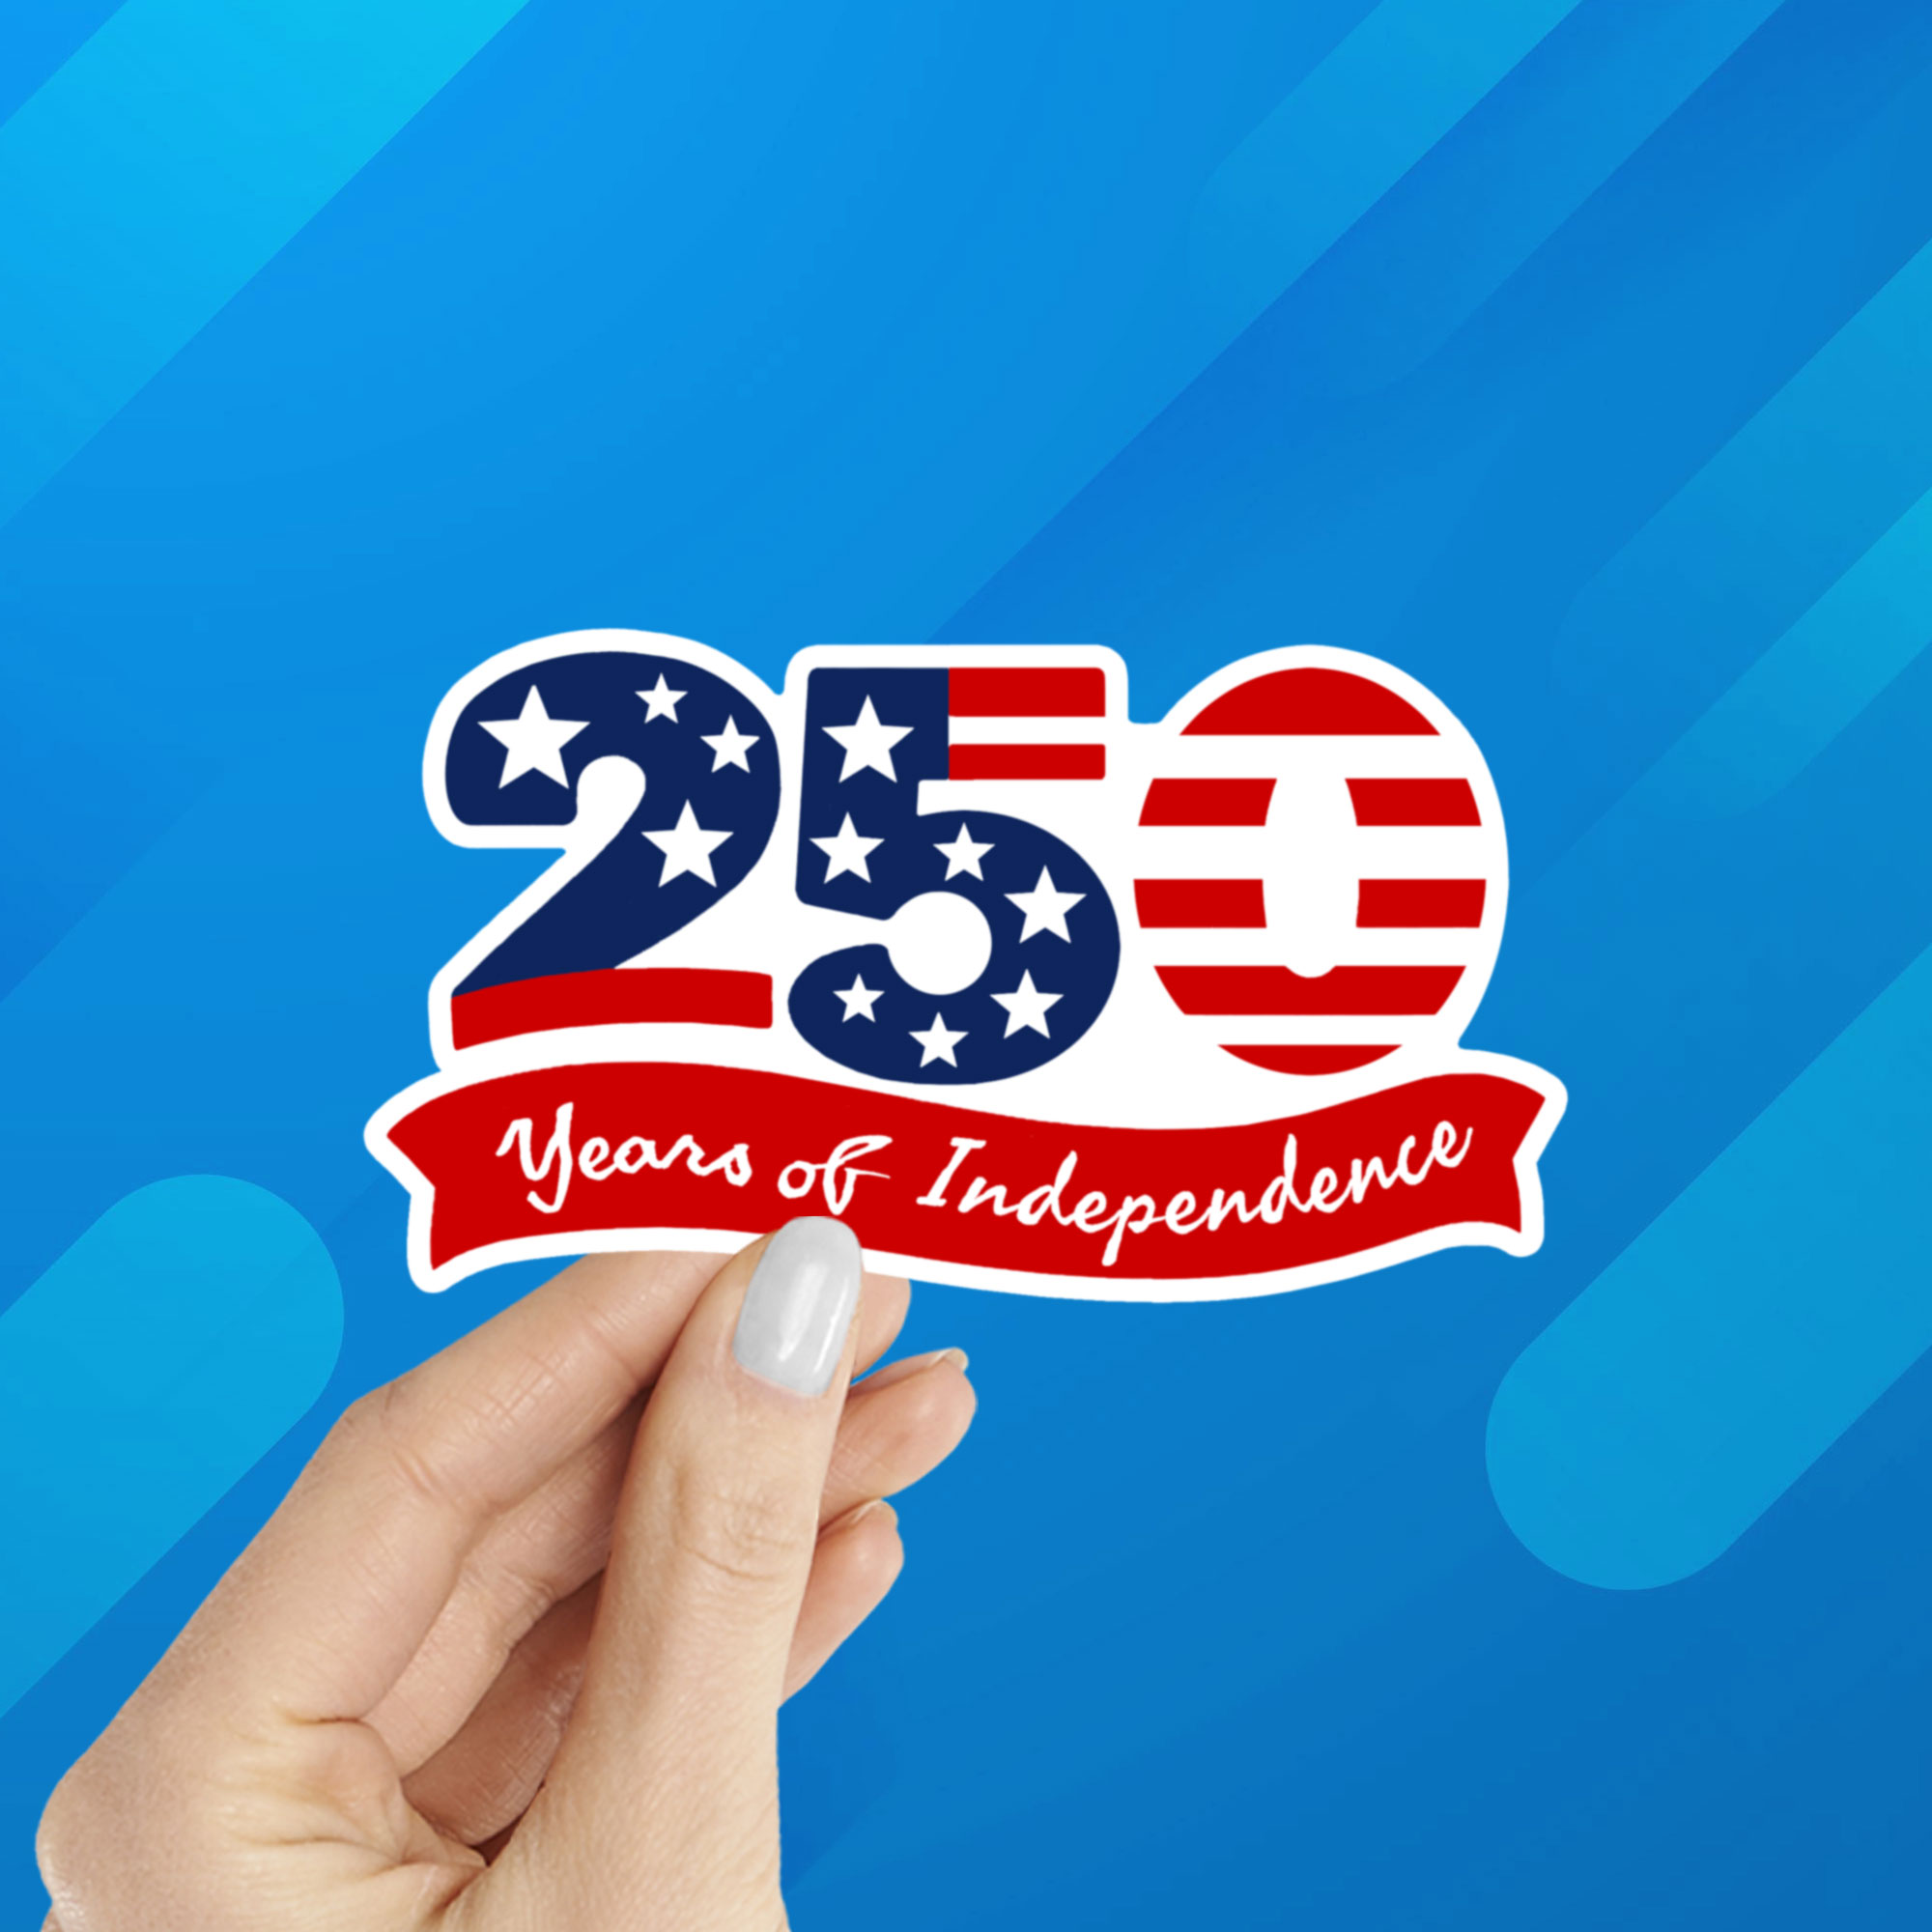
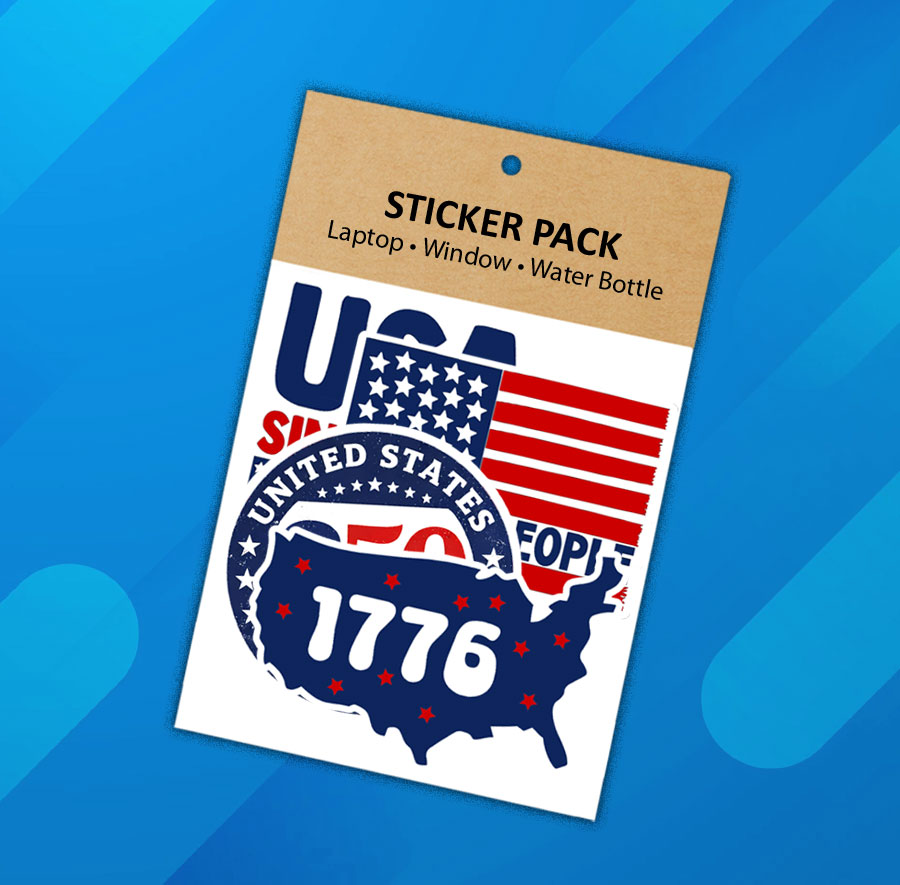
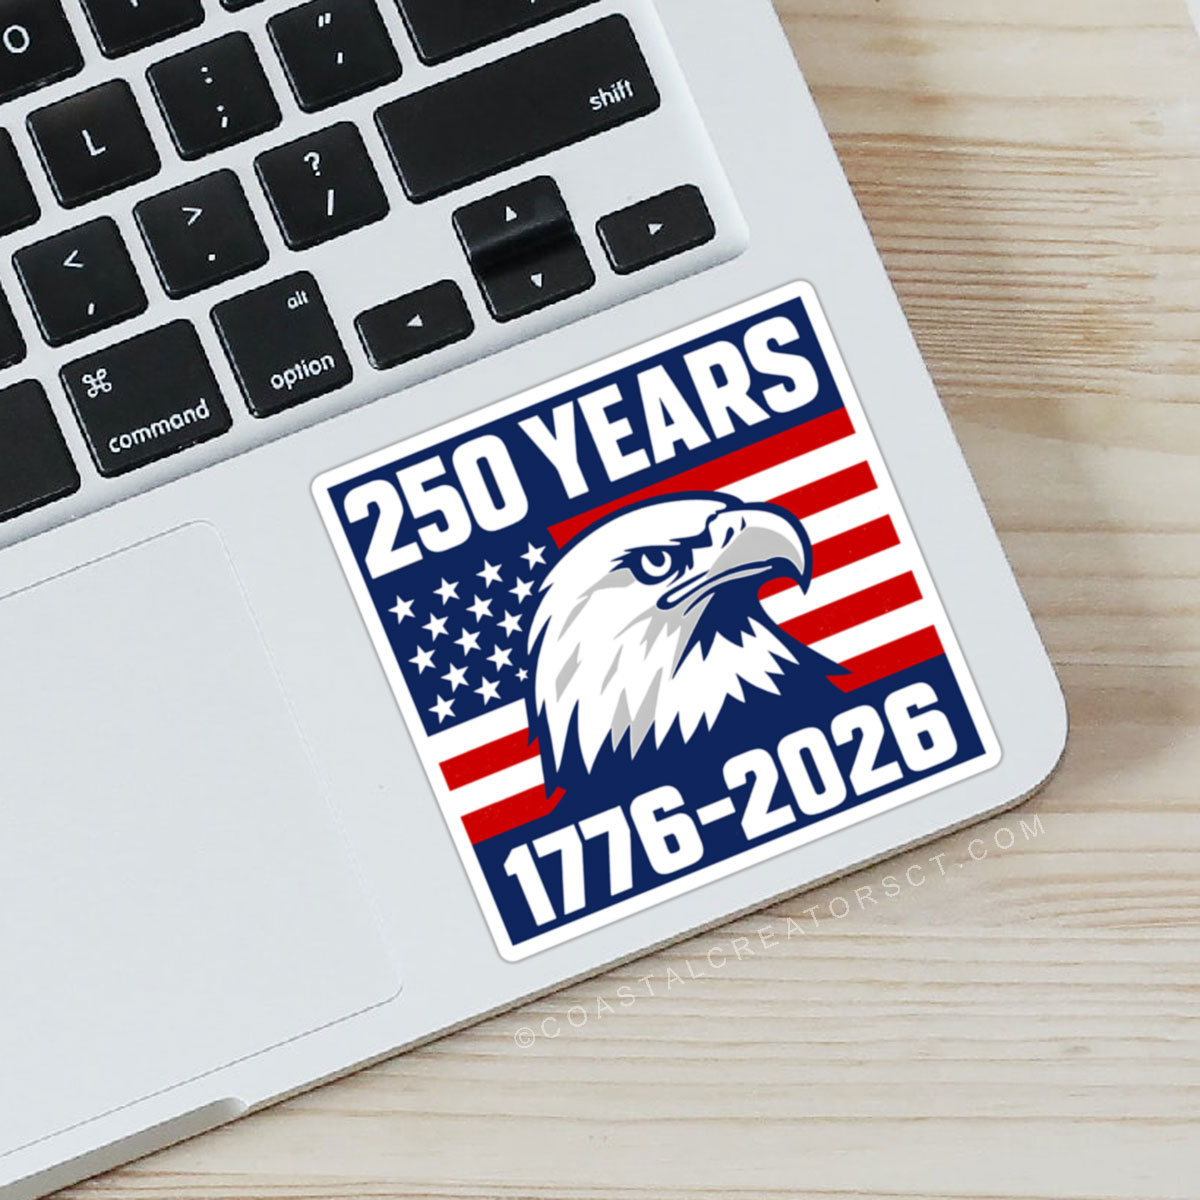
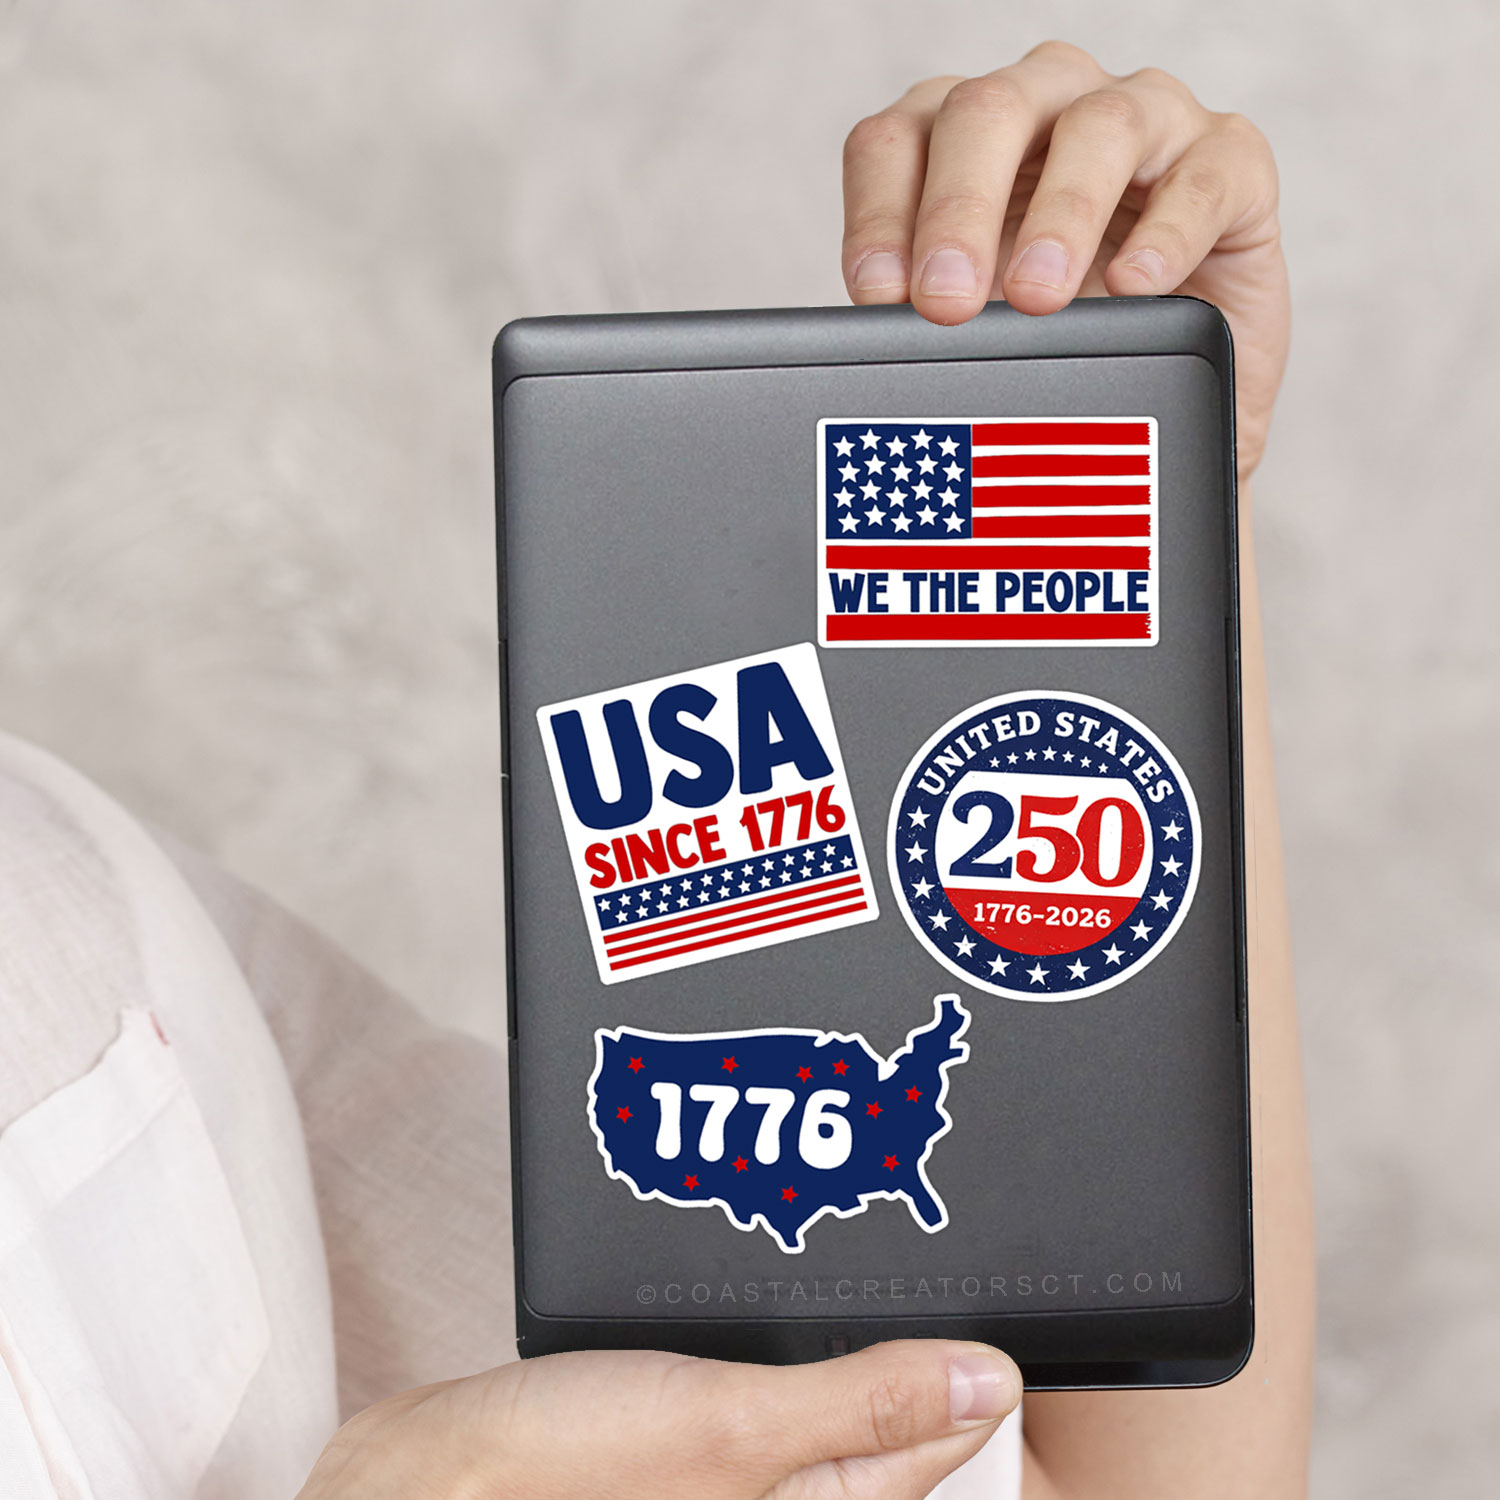
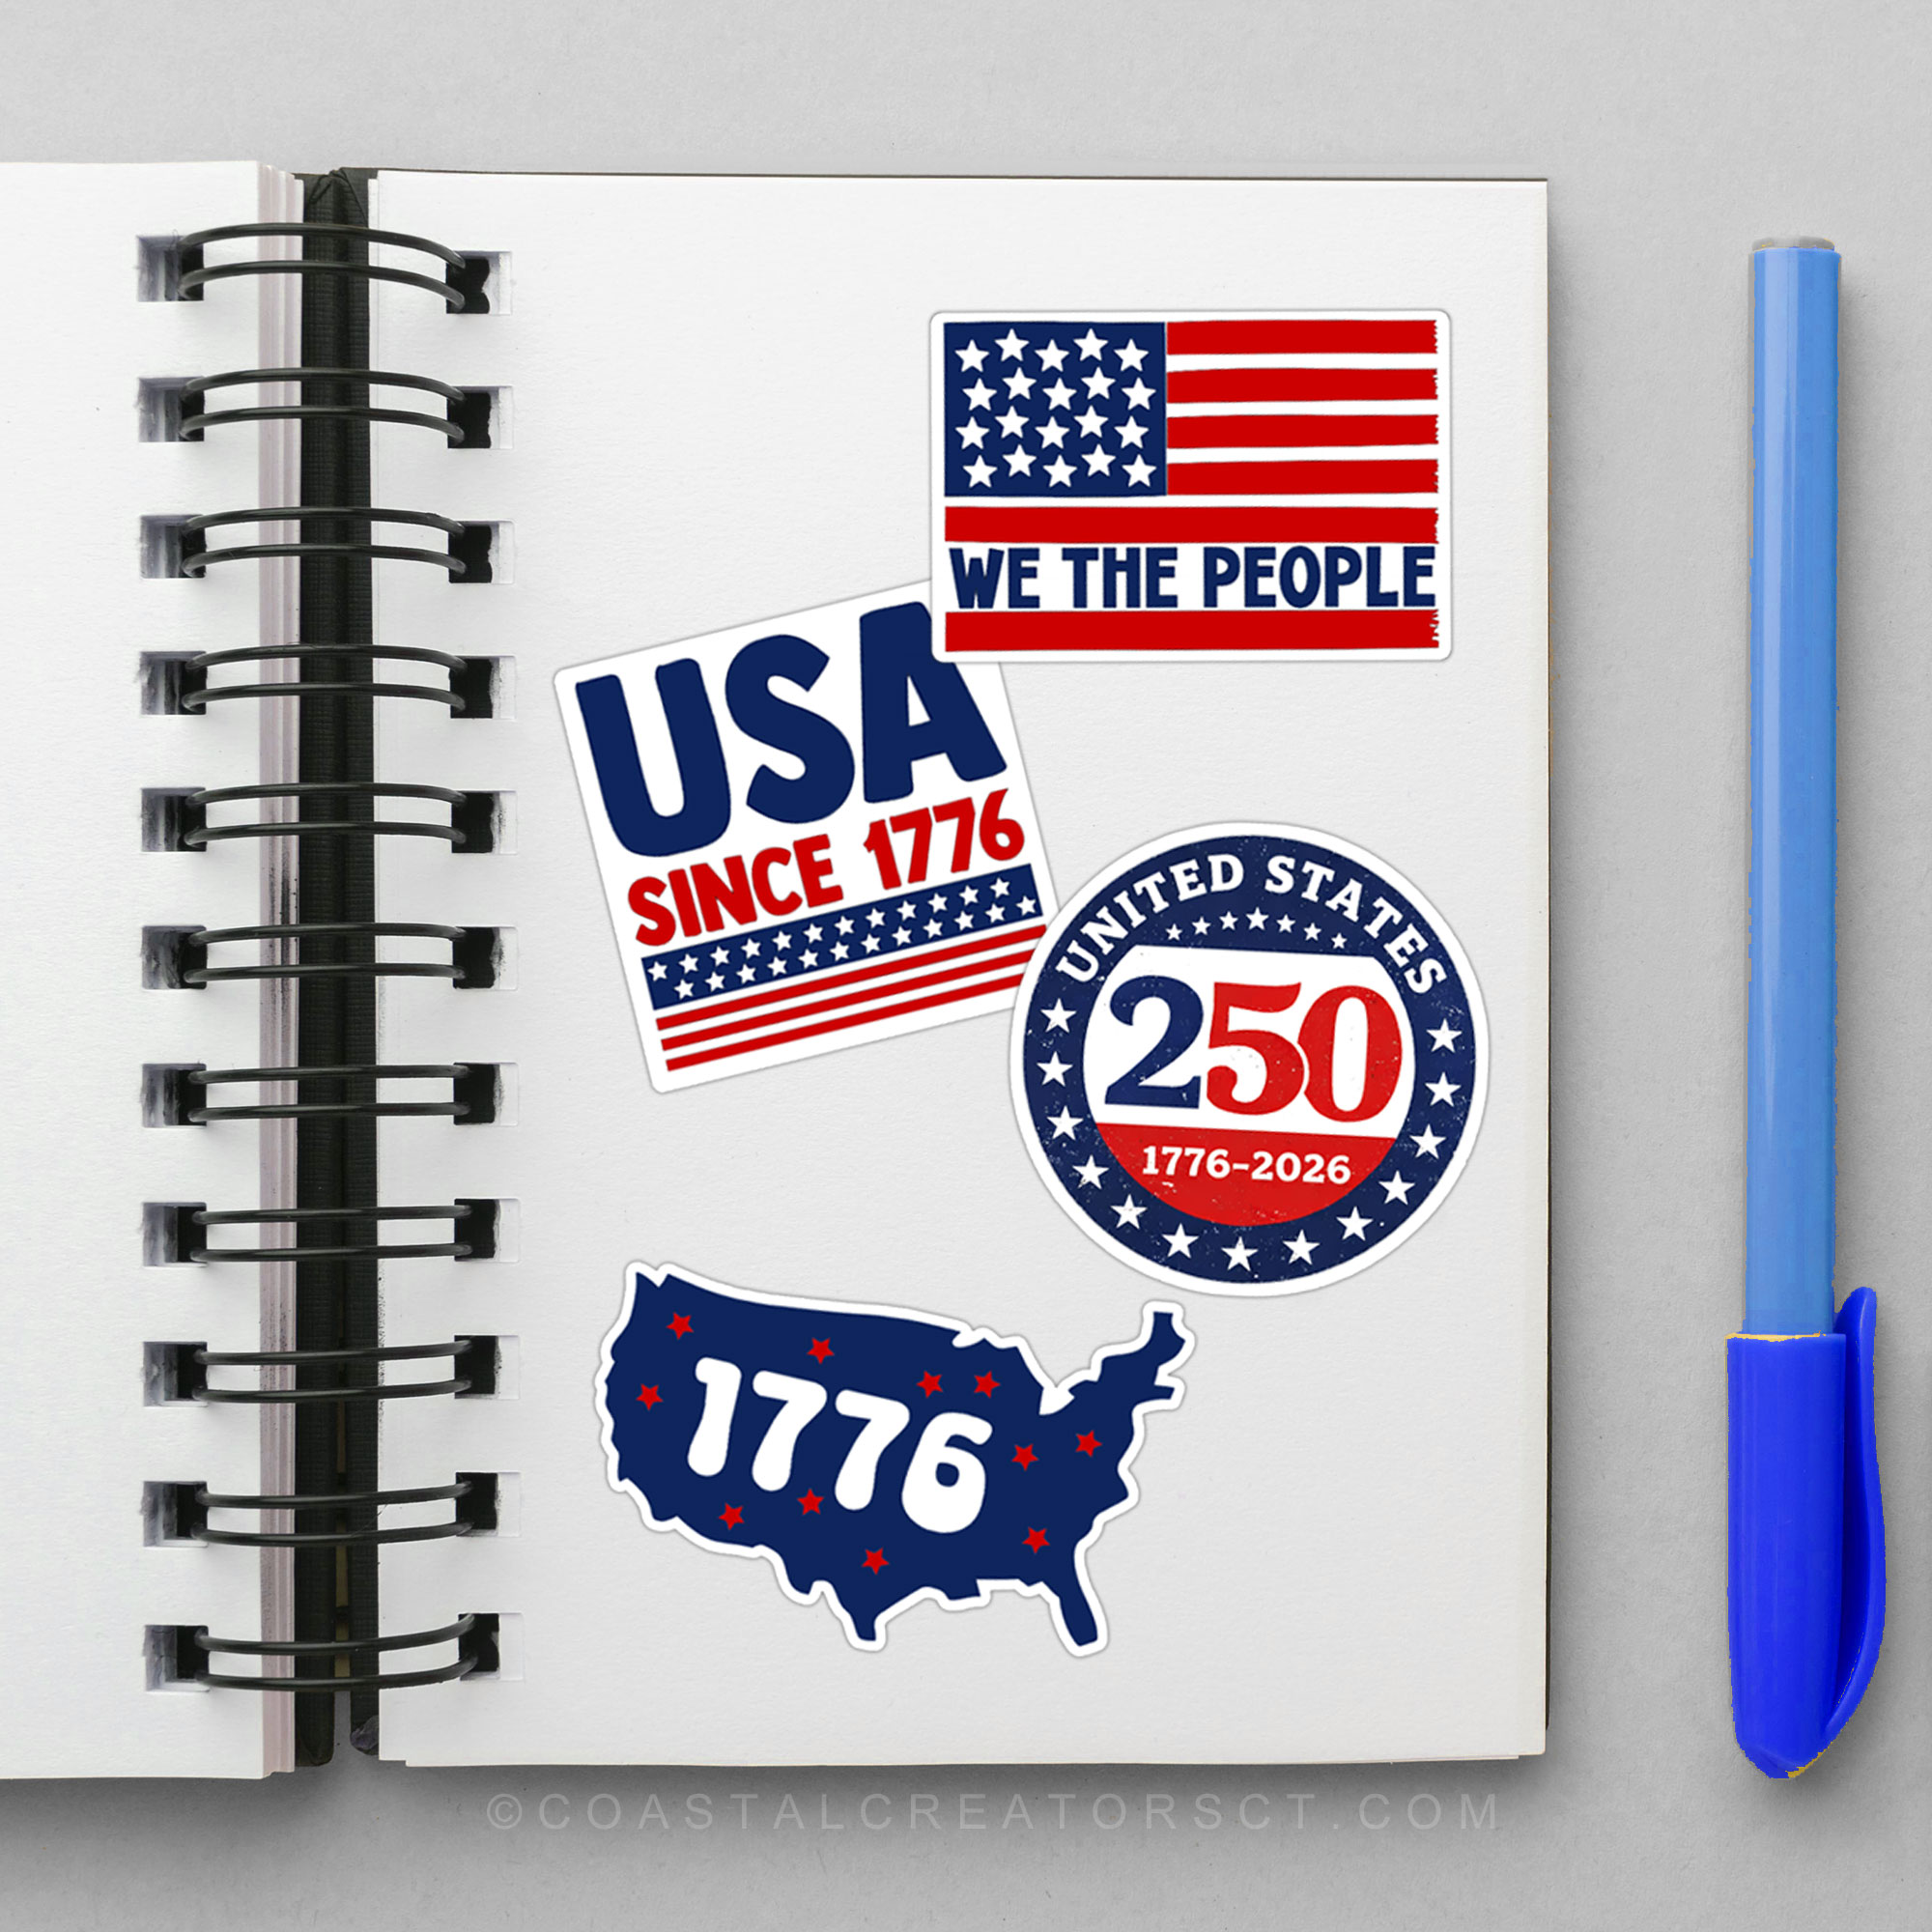
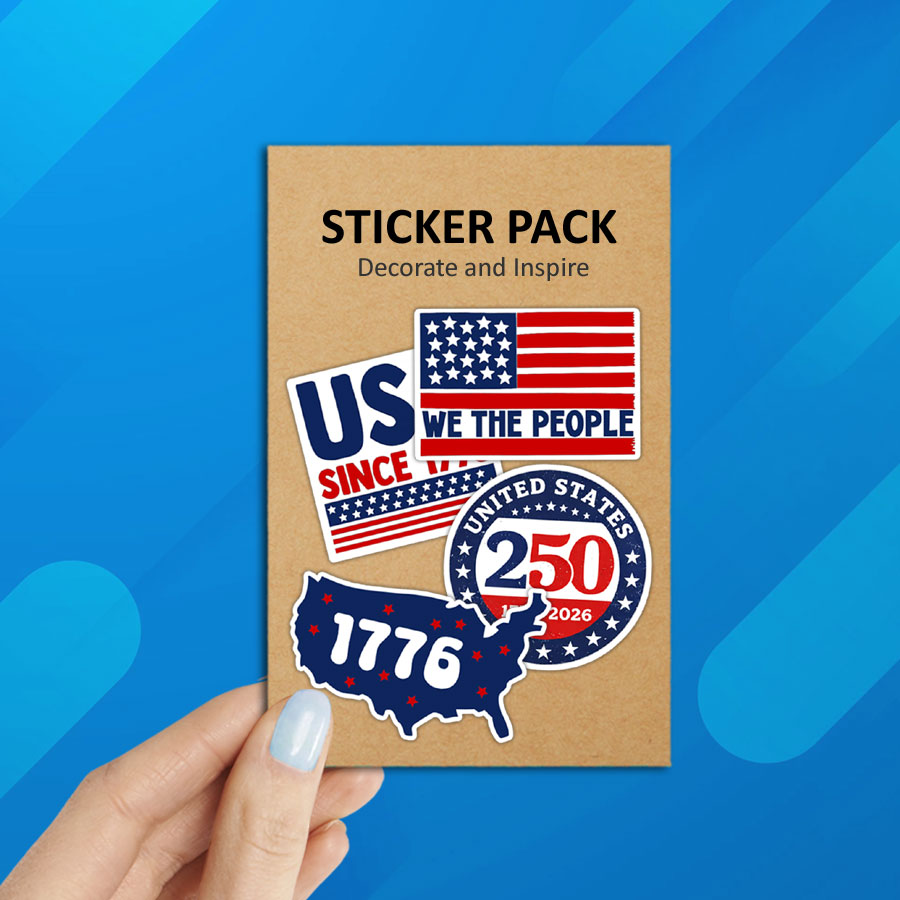
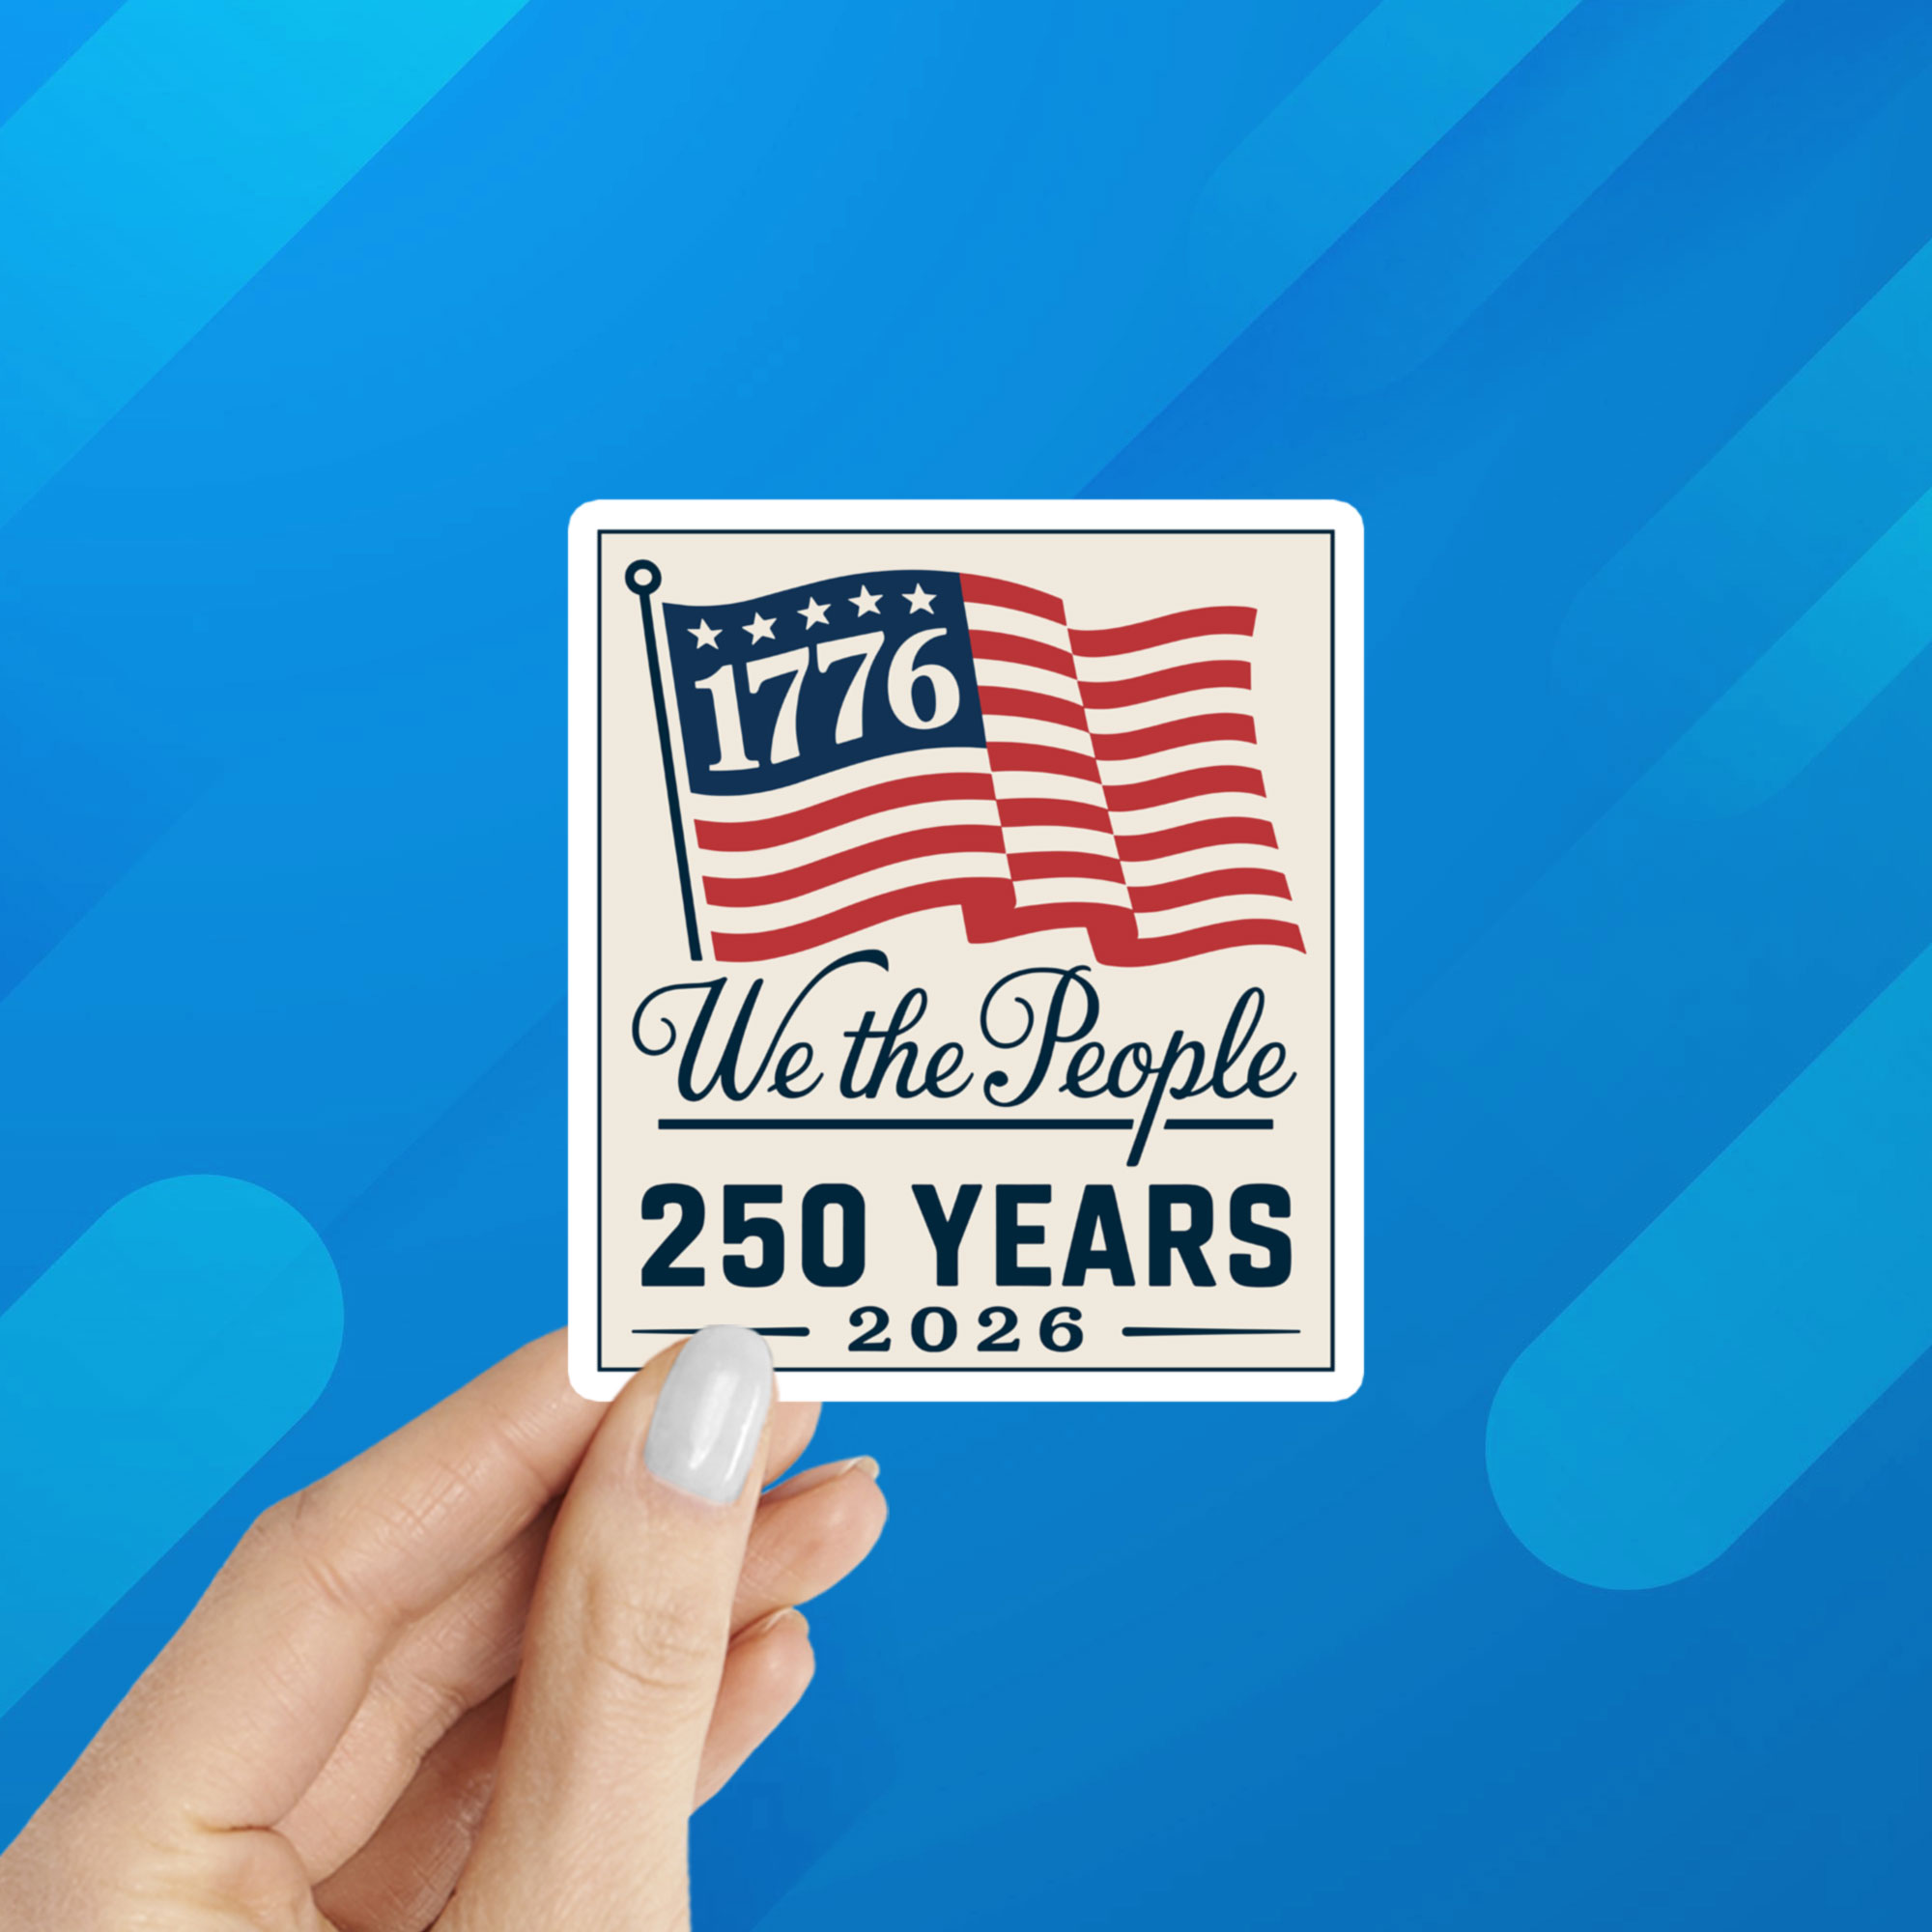
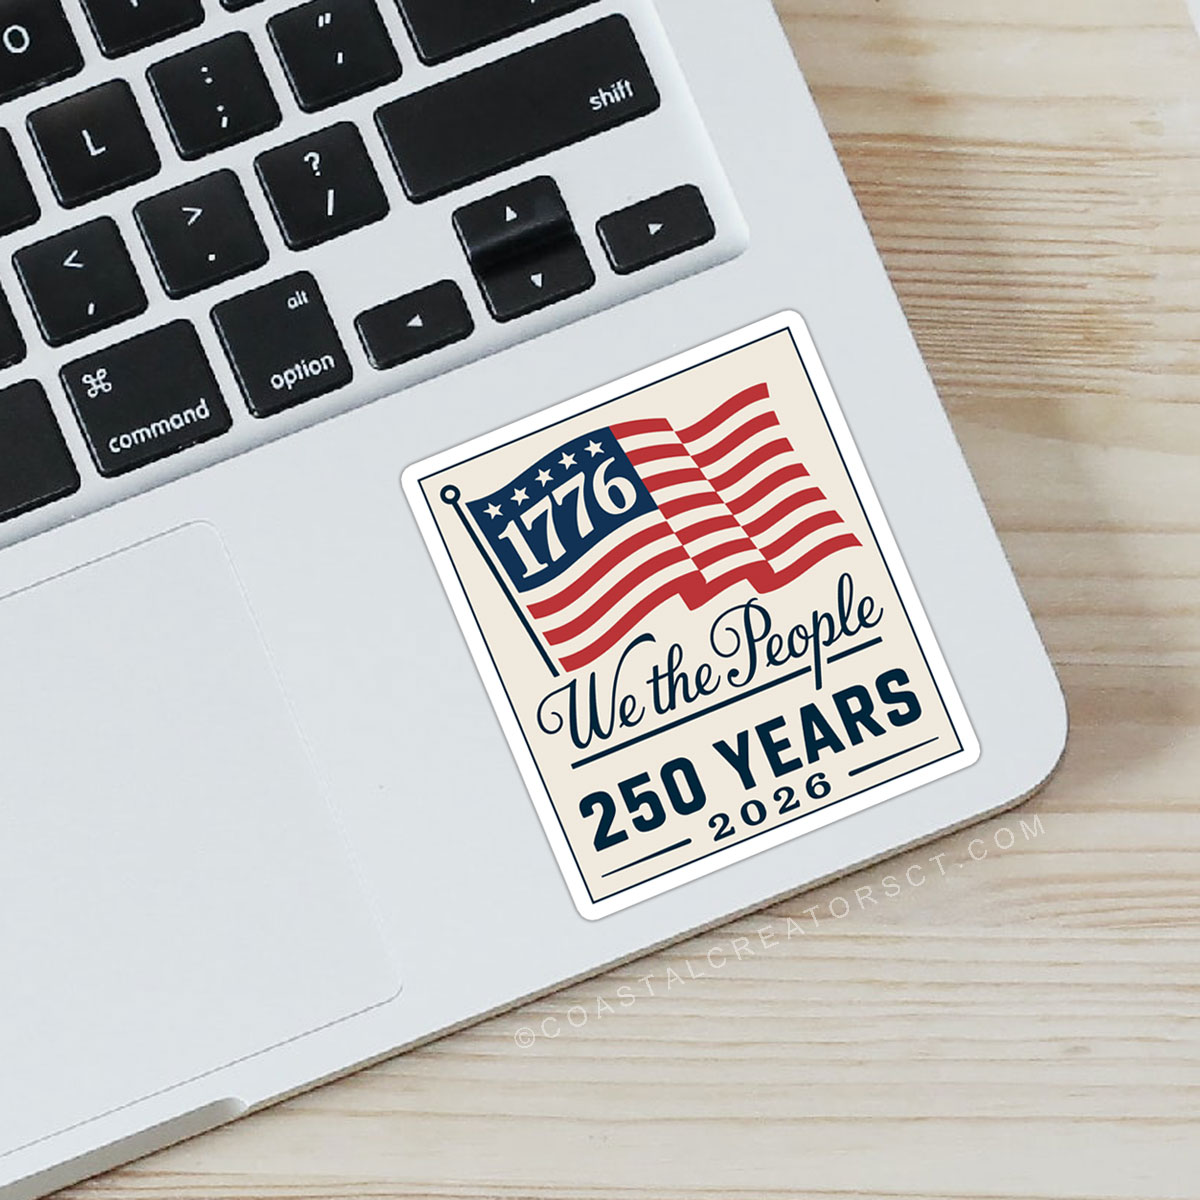
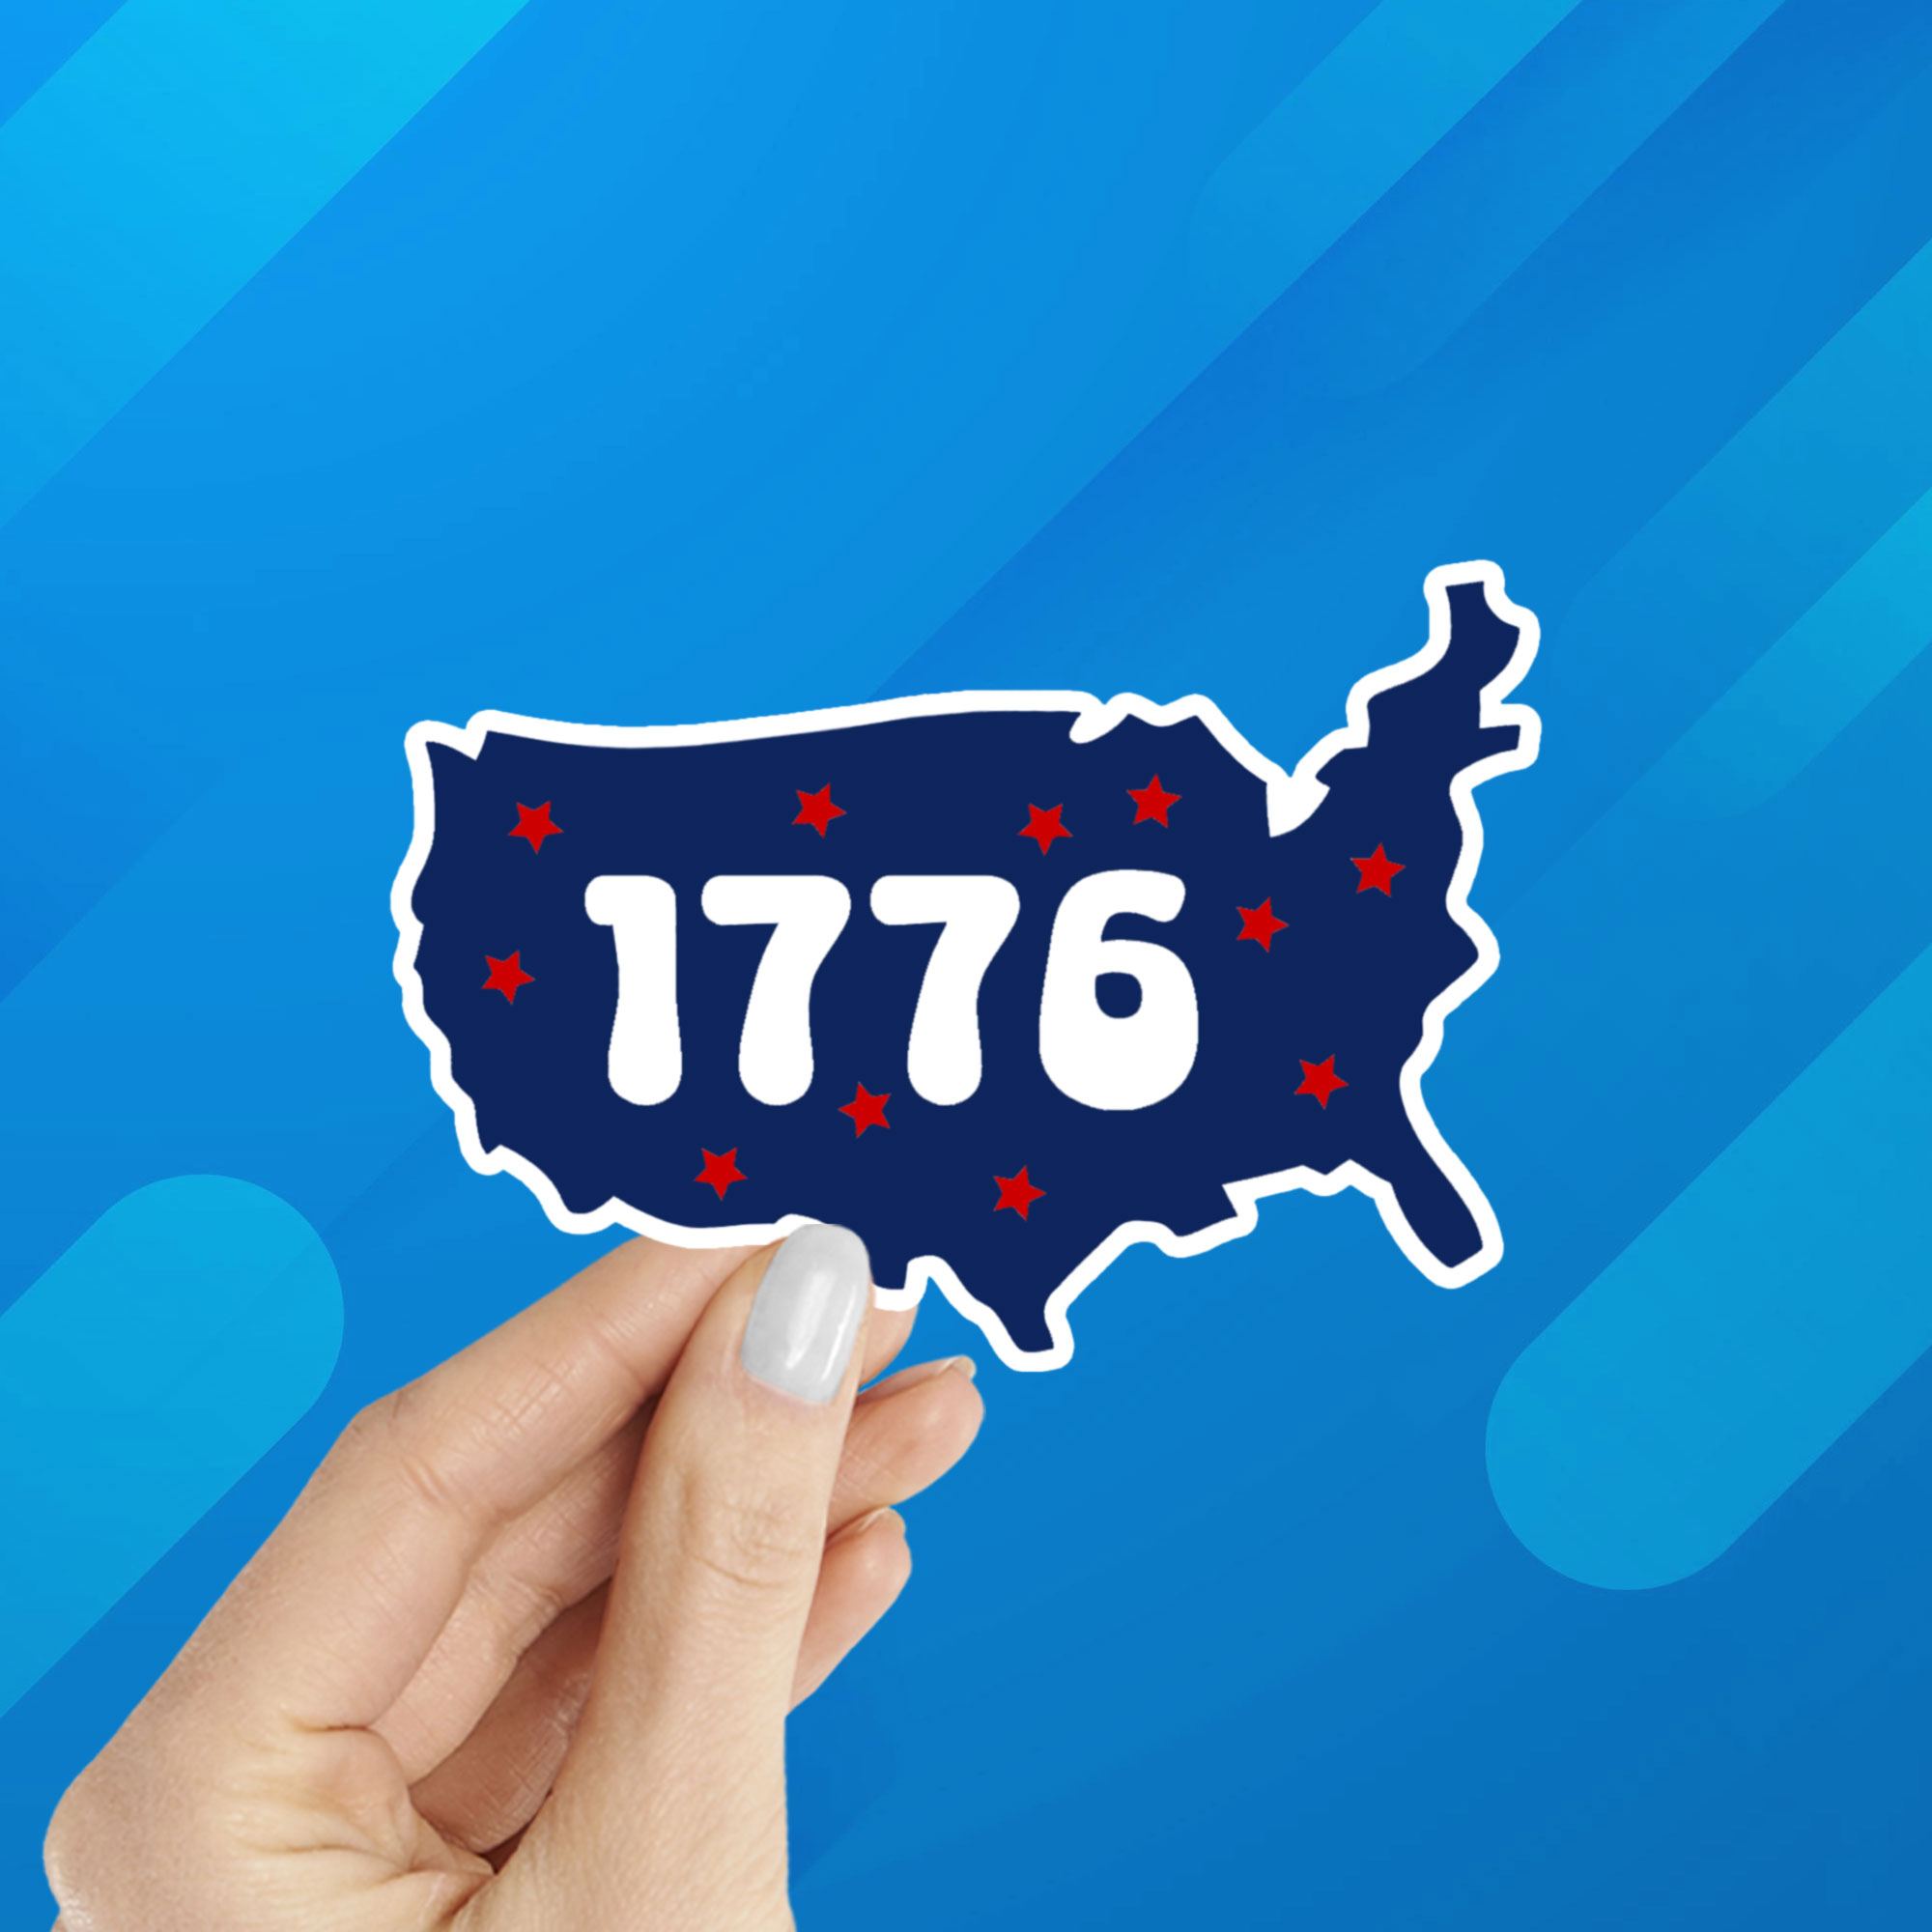
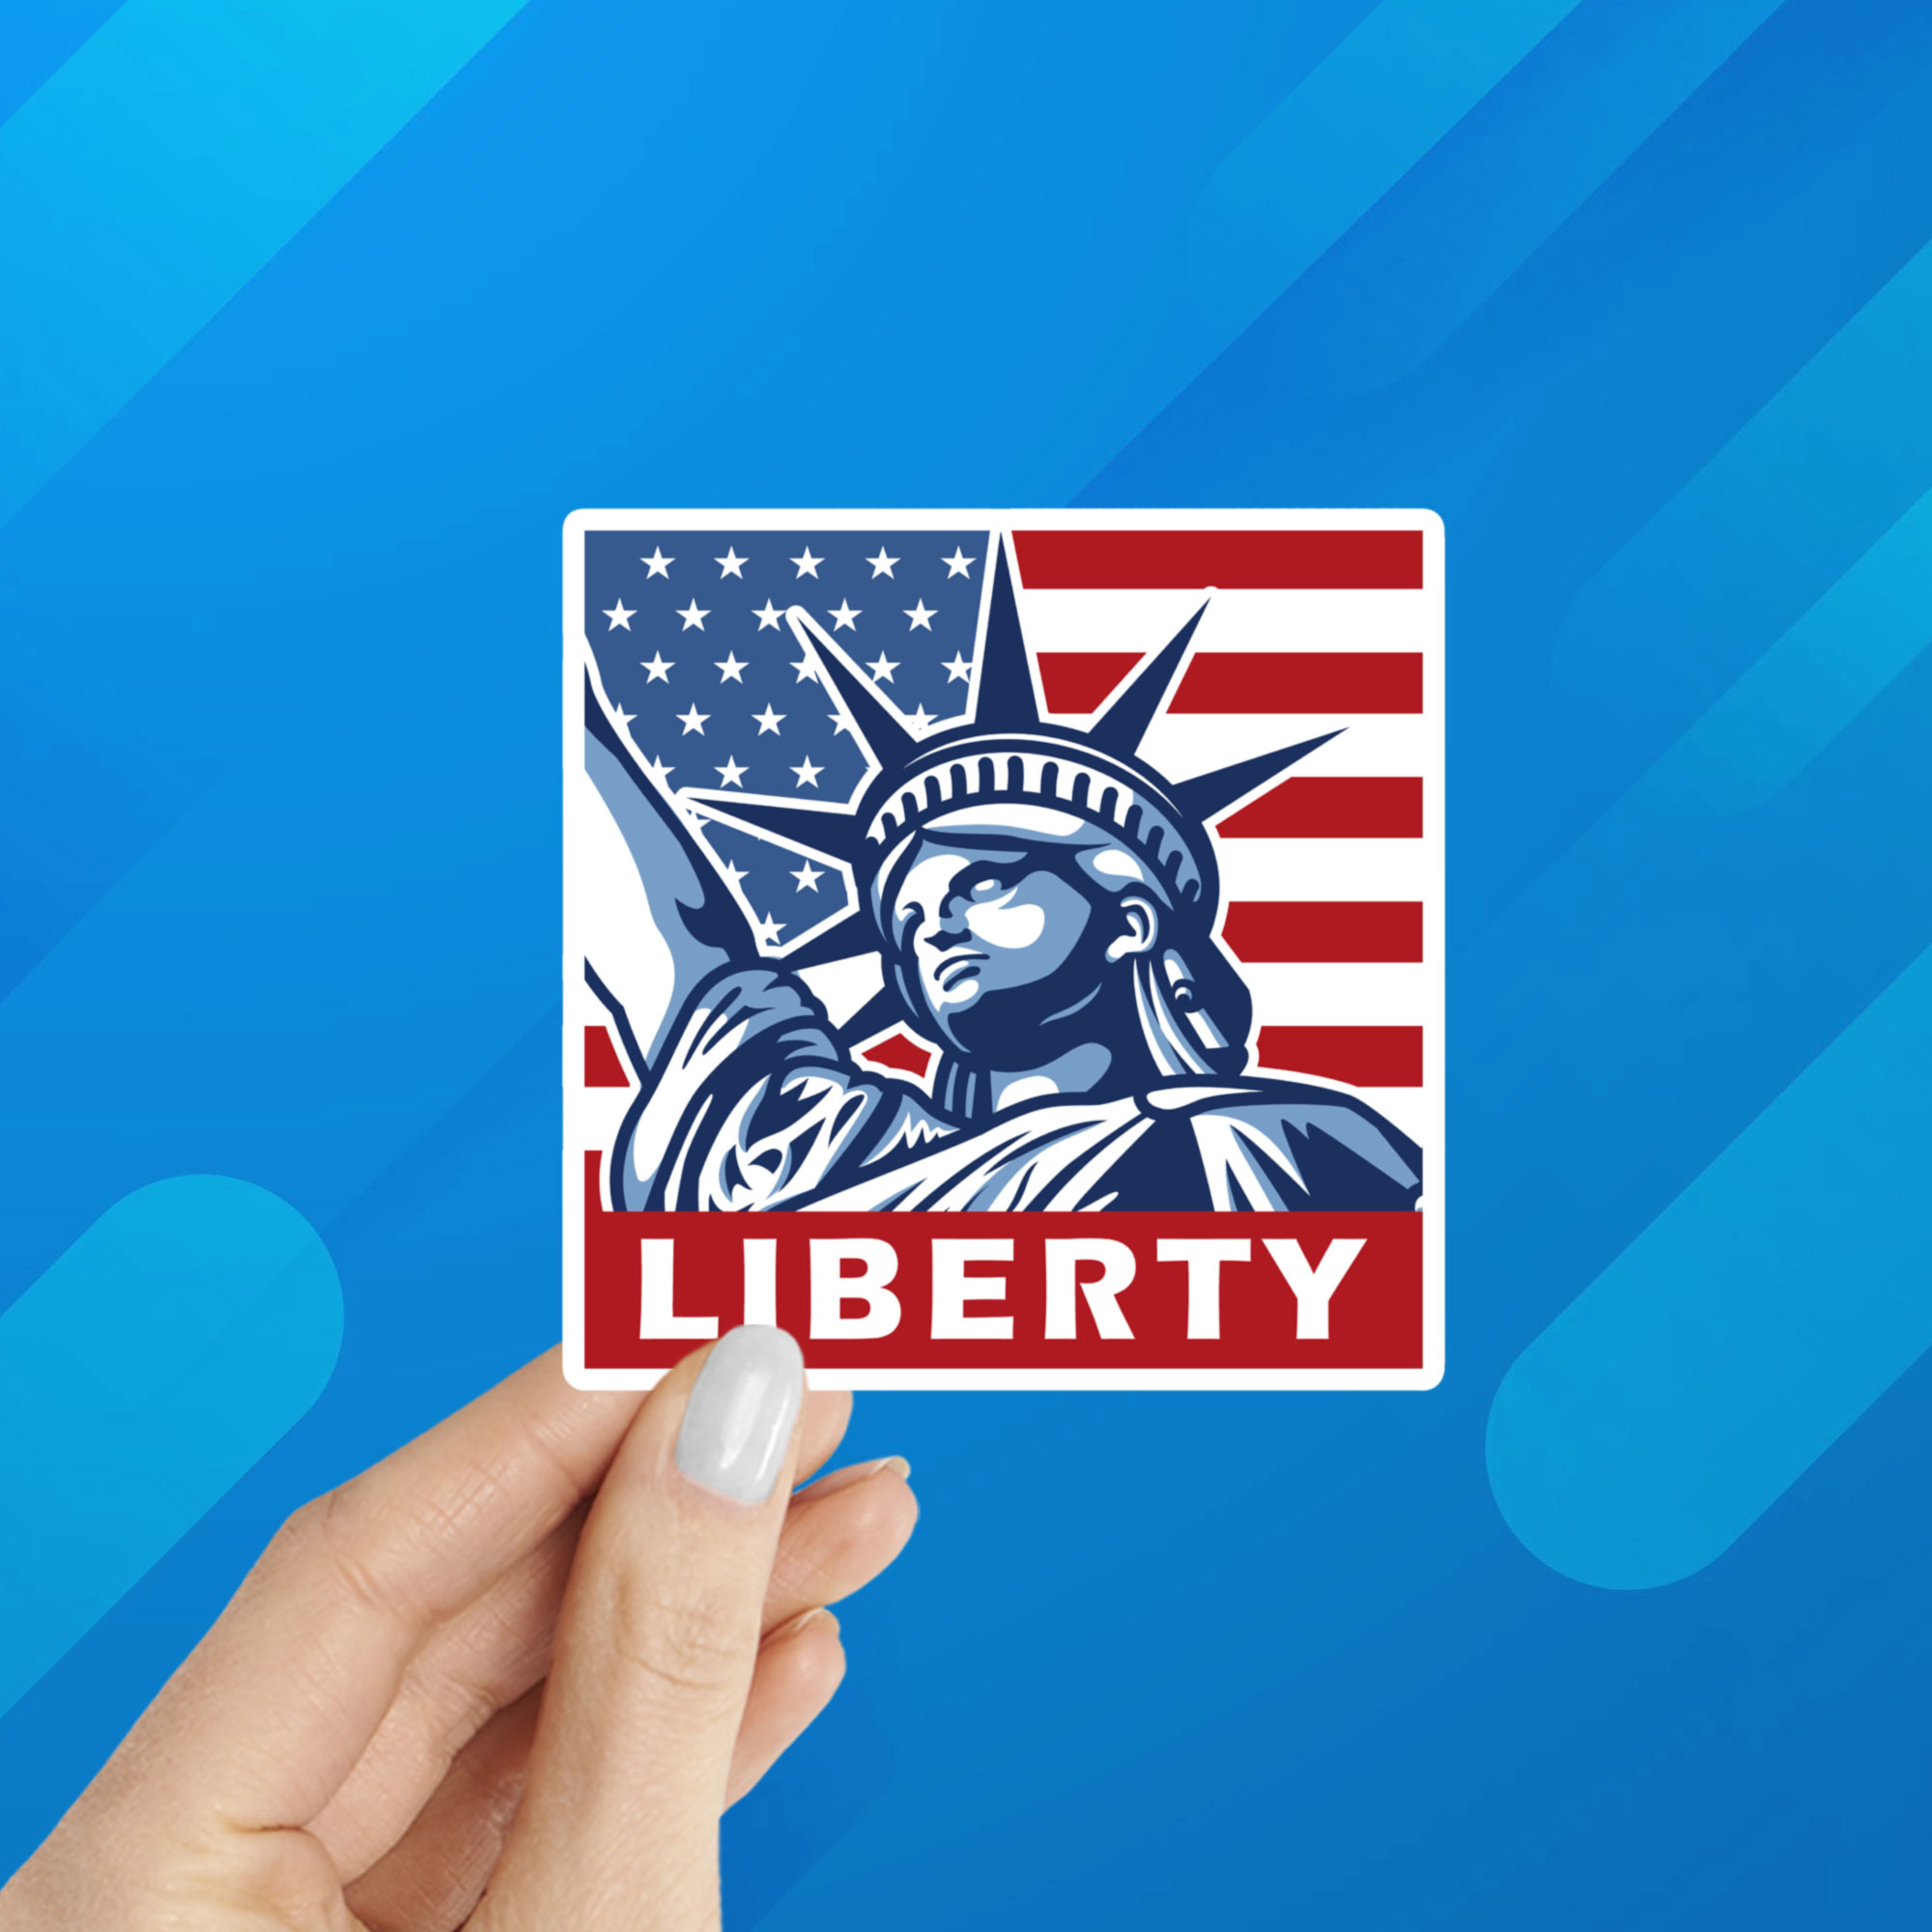
250 Years of Independence and “We the People” Stickers
Stickers continue to be one of the fastest-moving retail categories.
For the 250th anniversary, anniversary-specific designs create urgency and limited-time appeal.
Why retailers love them:
- Under-$10 impulse price point
- Popular with teens, tourists, and travelers
- Ideal for laptops, water bottles, and journals
- Minimal display space required
Commemorative 1776–2026 designs turn a simple sticker into a keepsake.


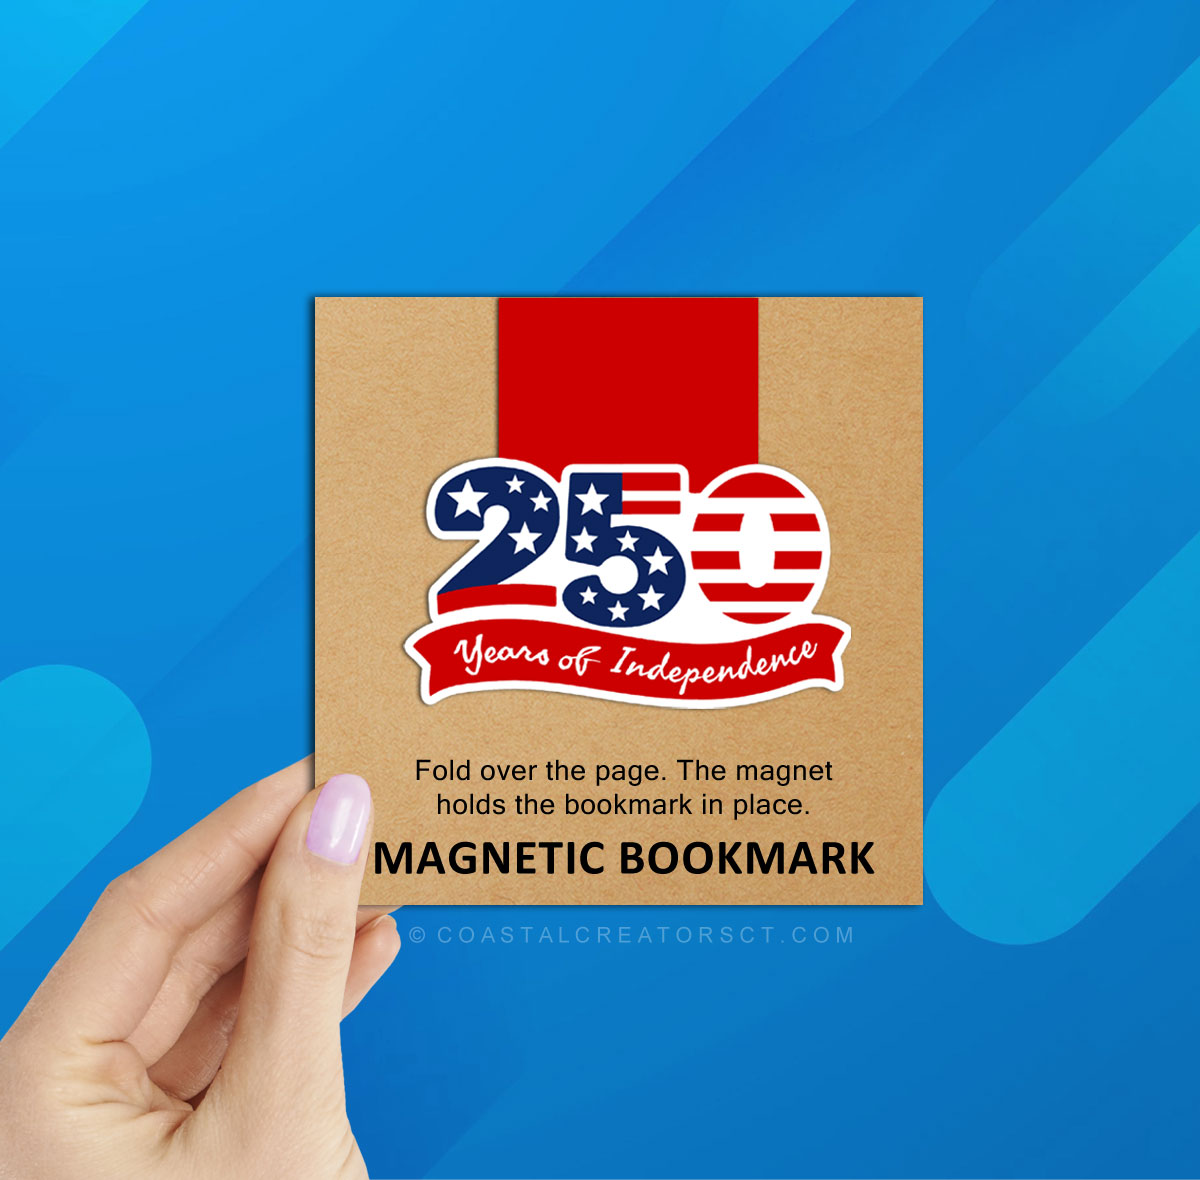
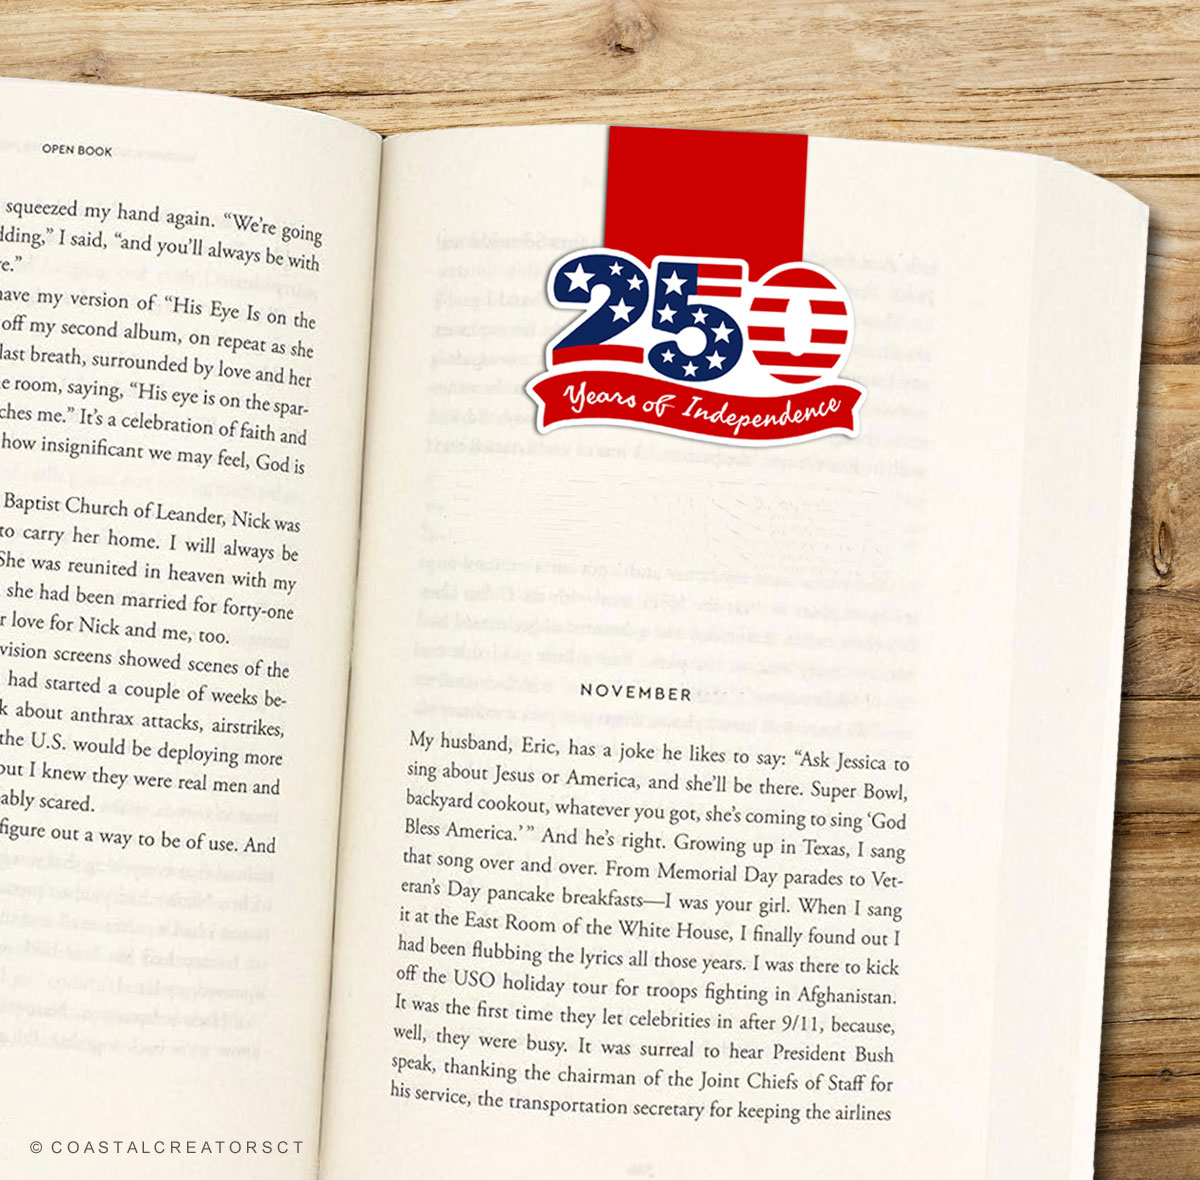
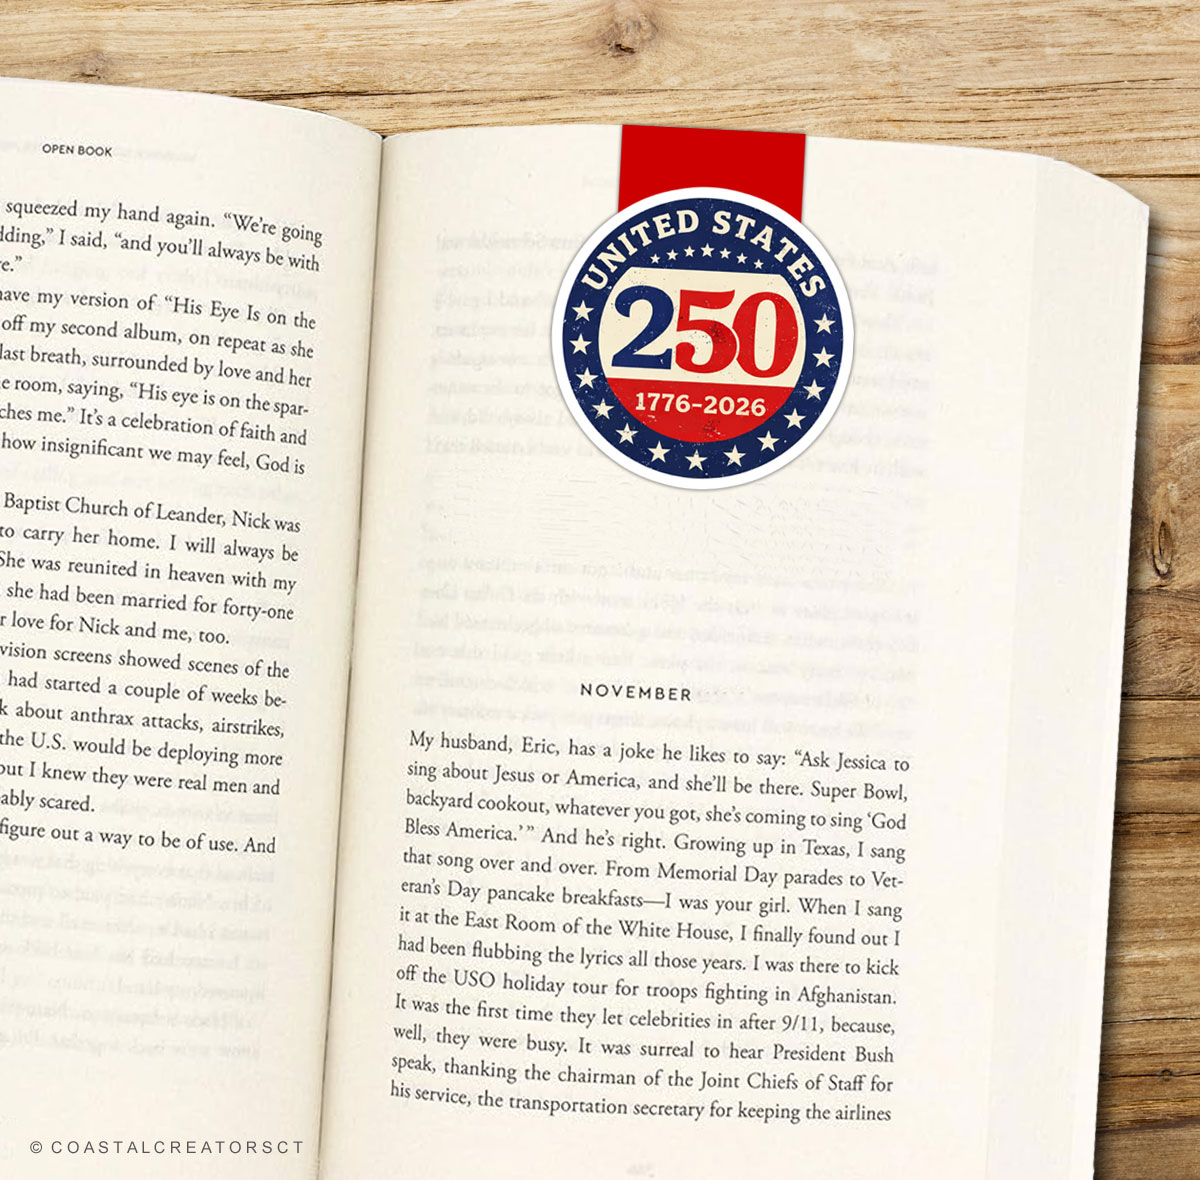
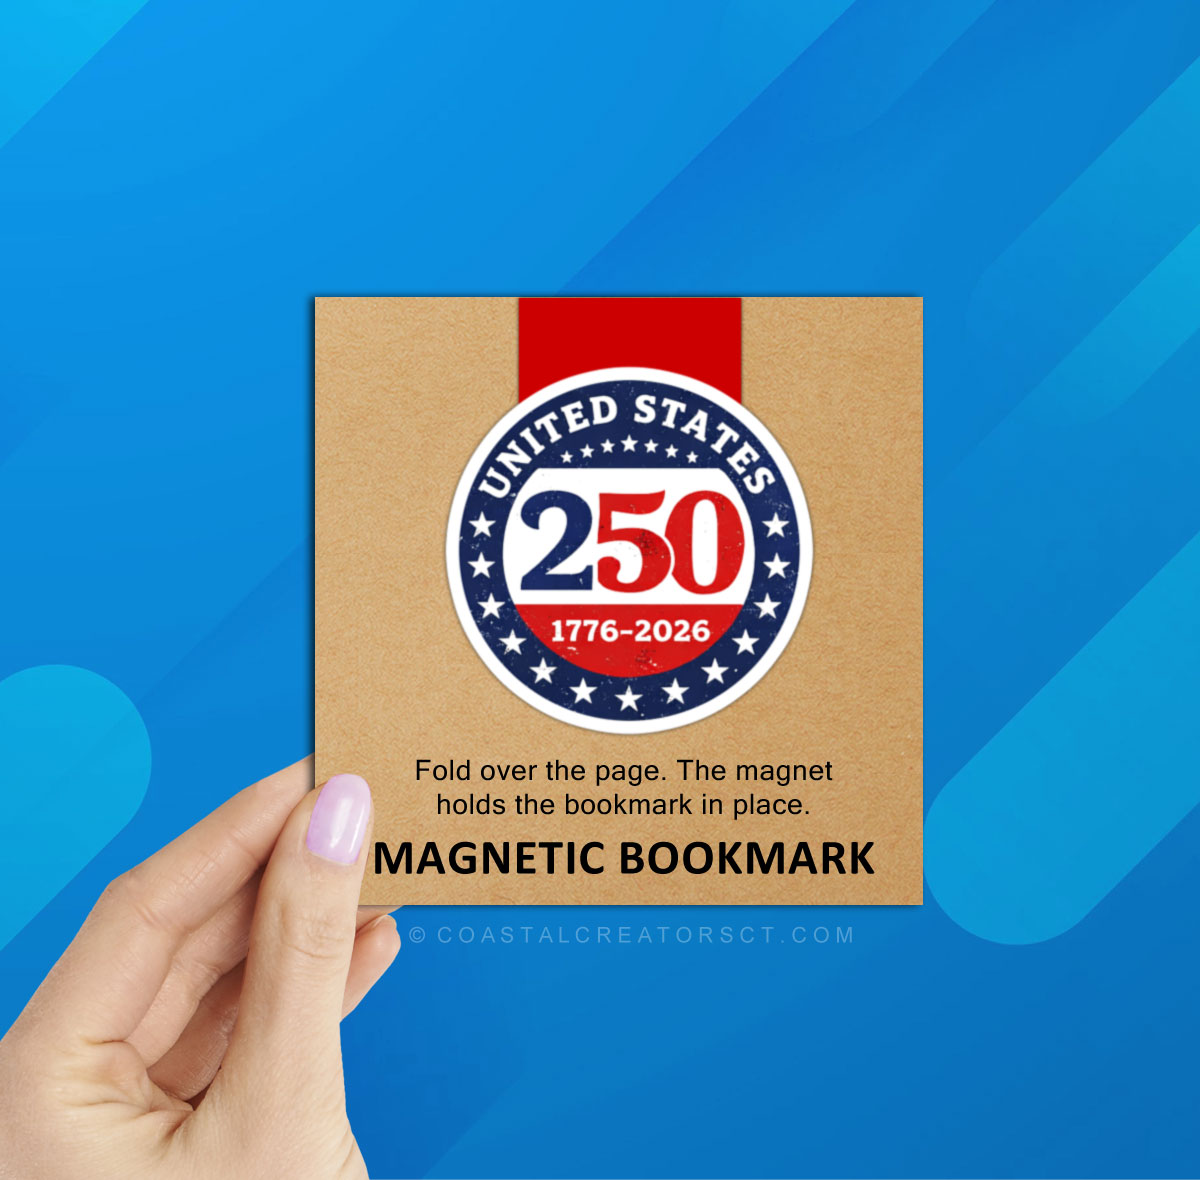
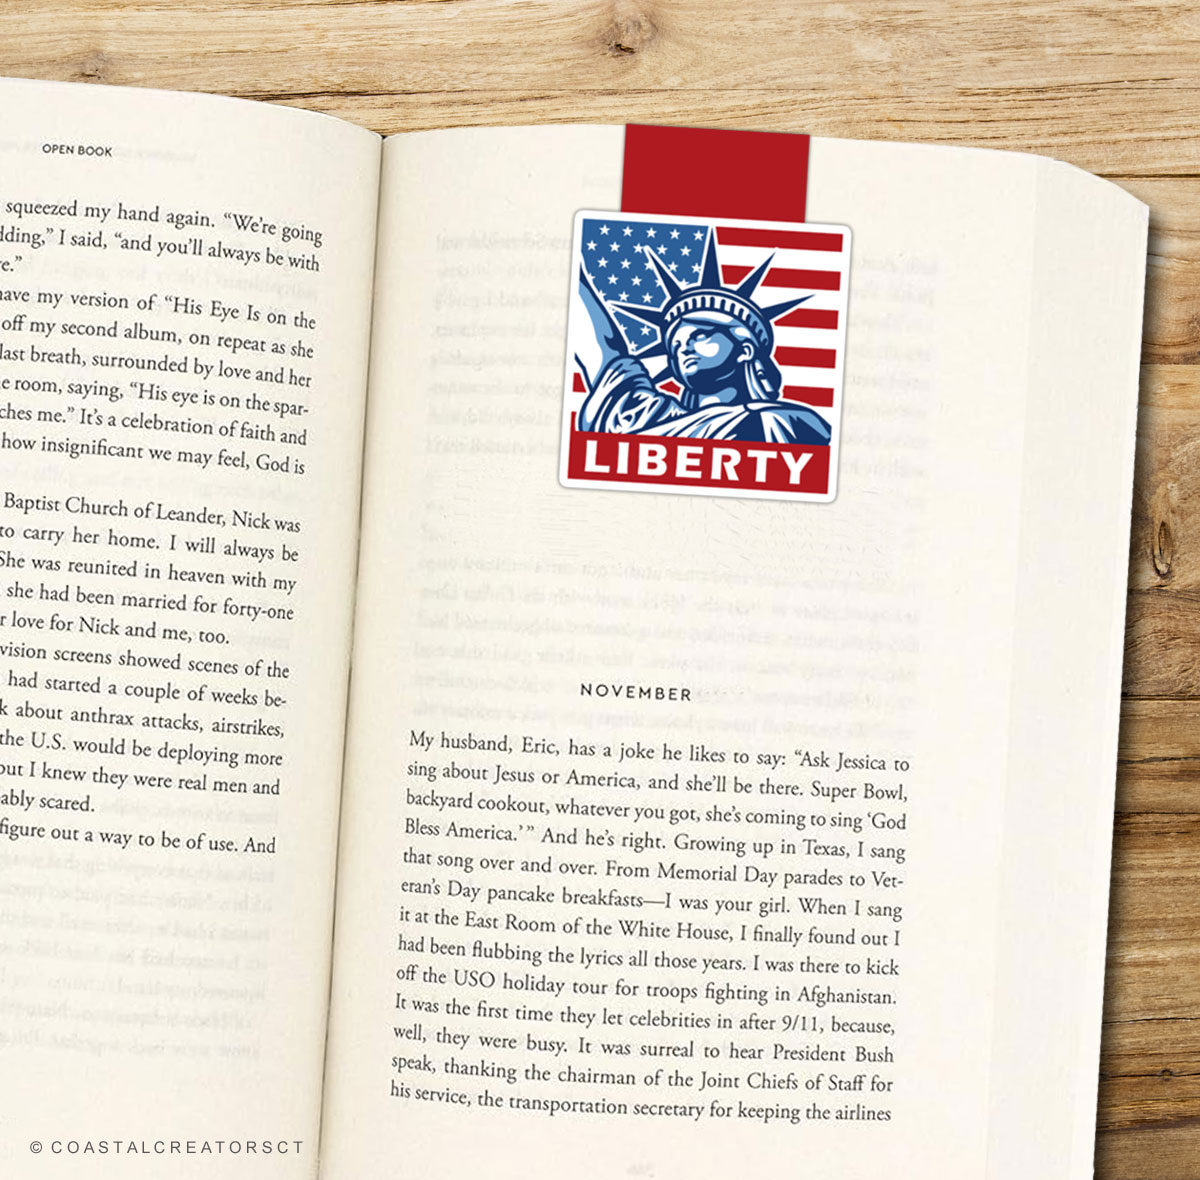
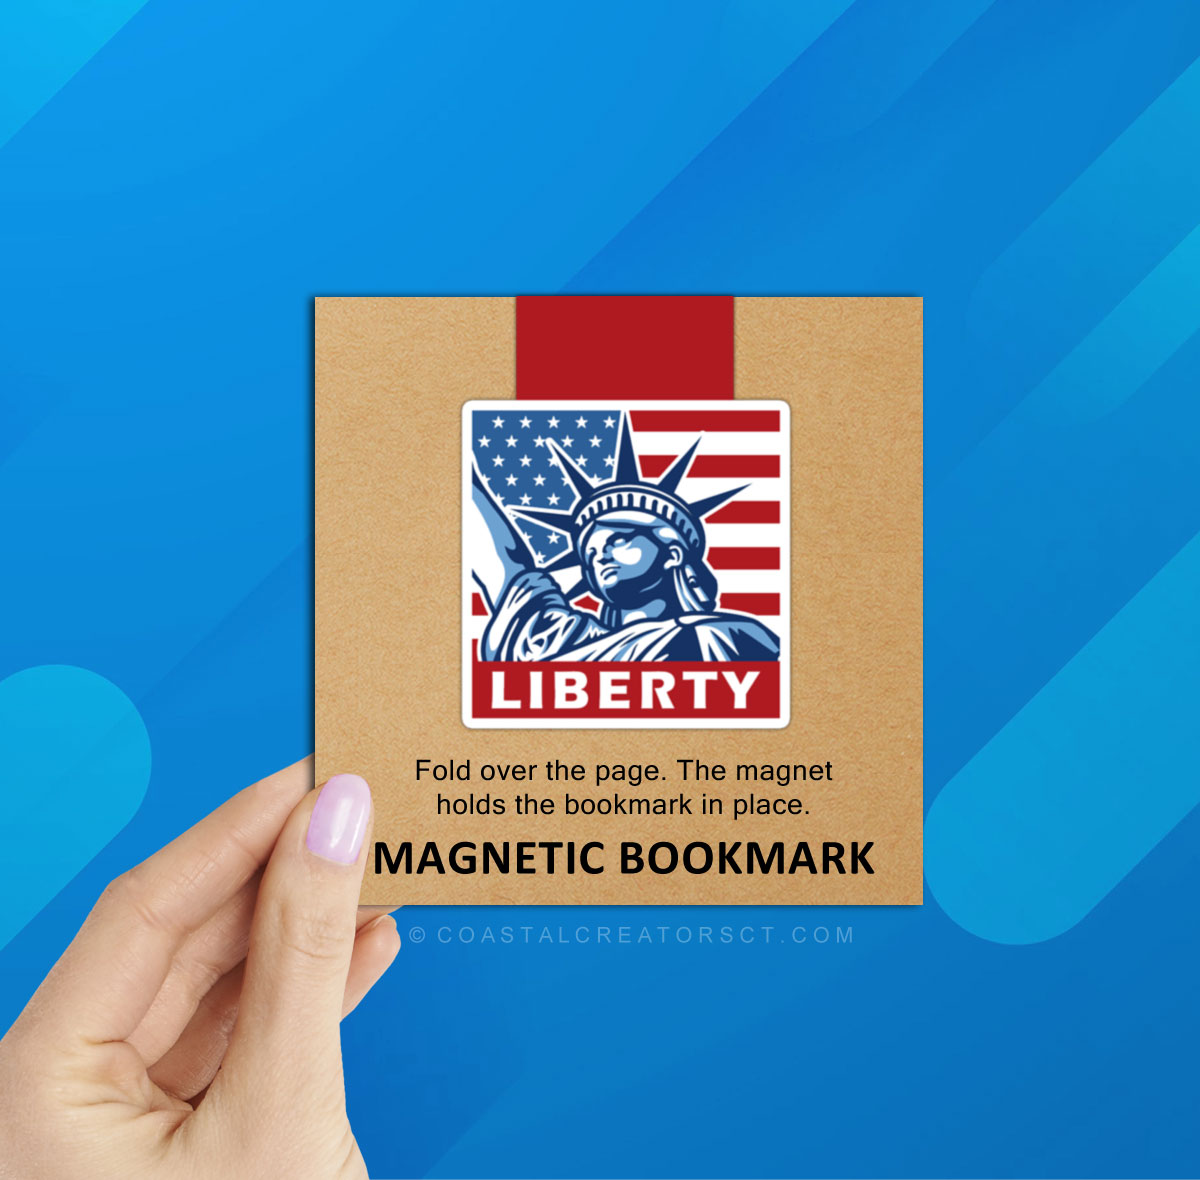
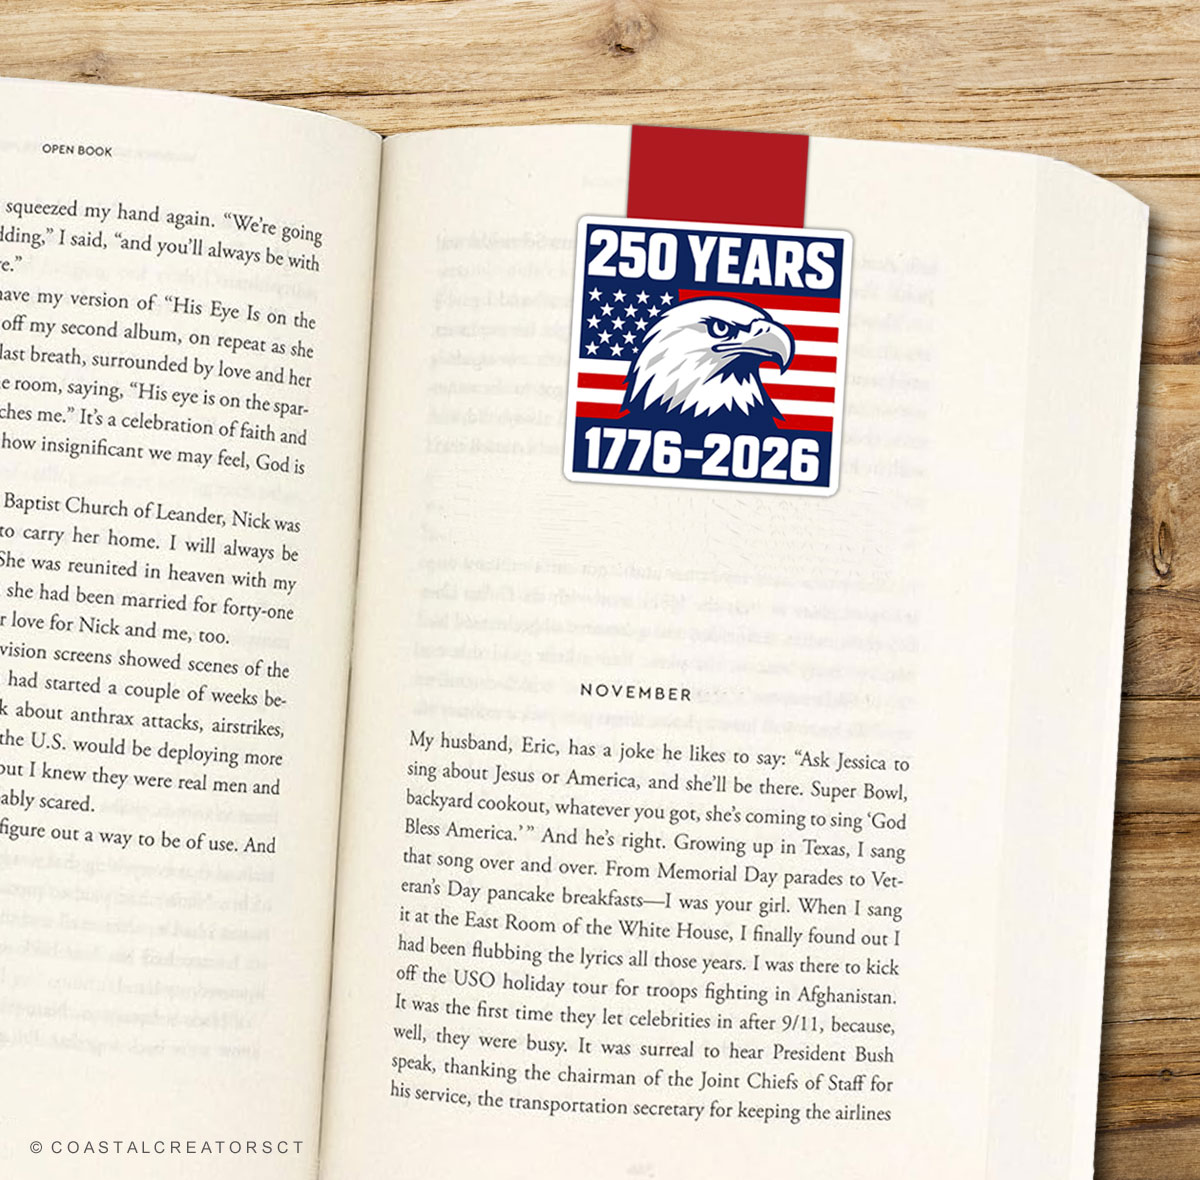
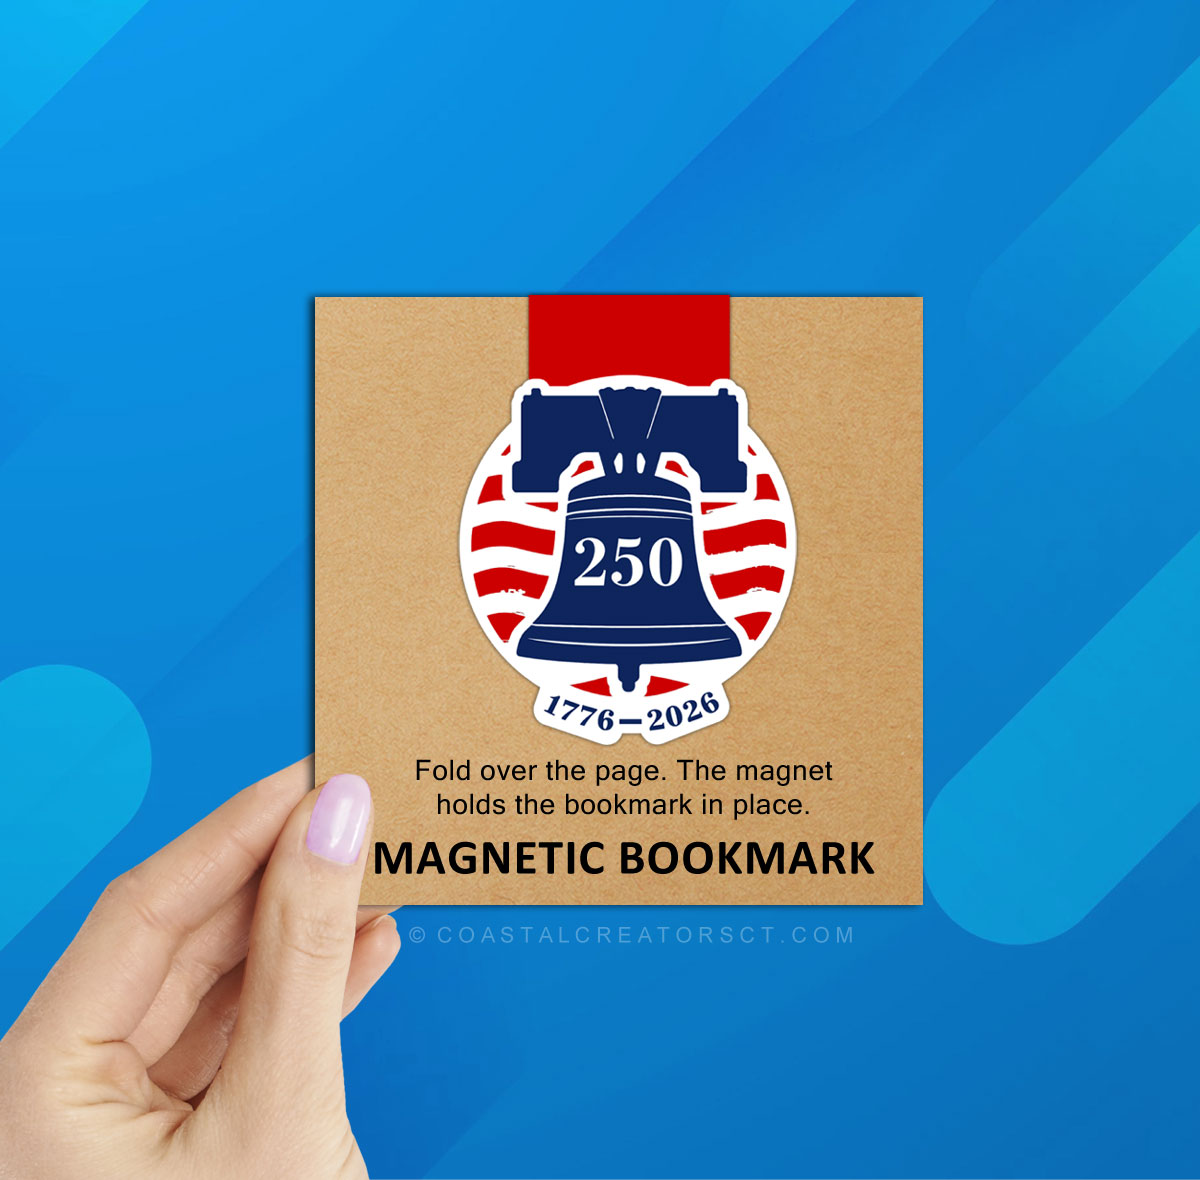
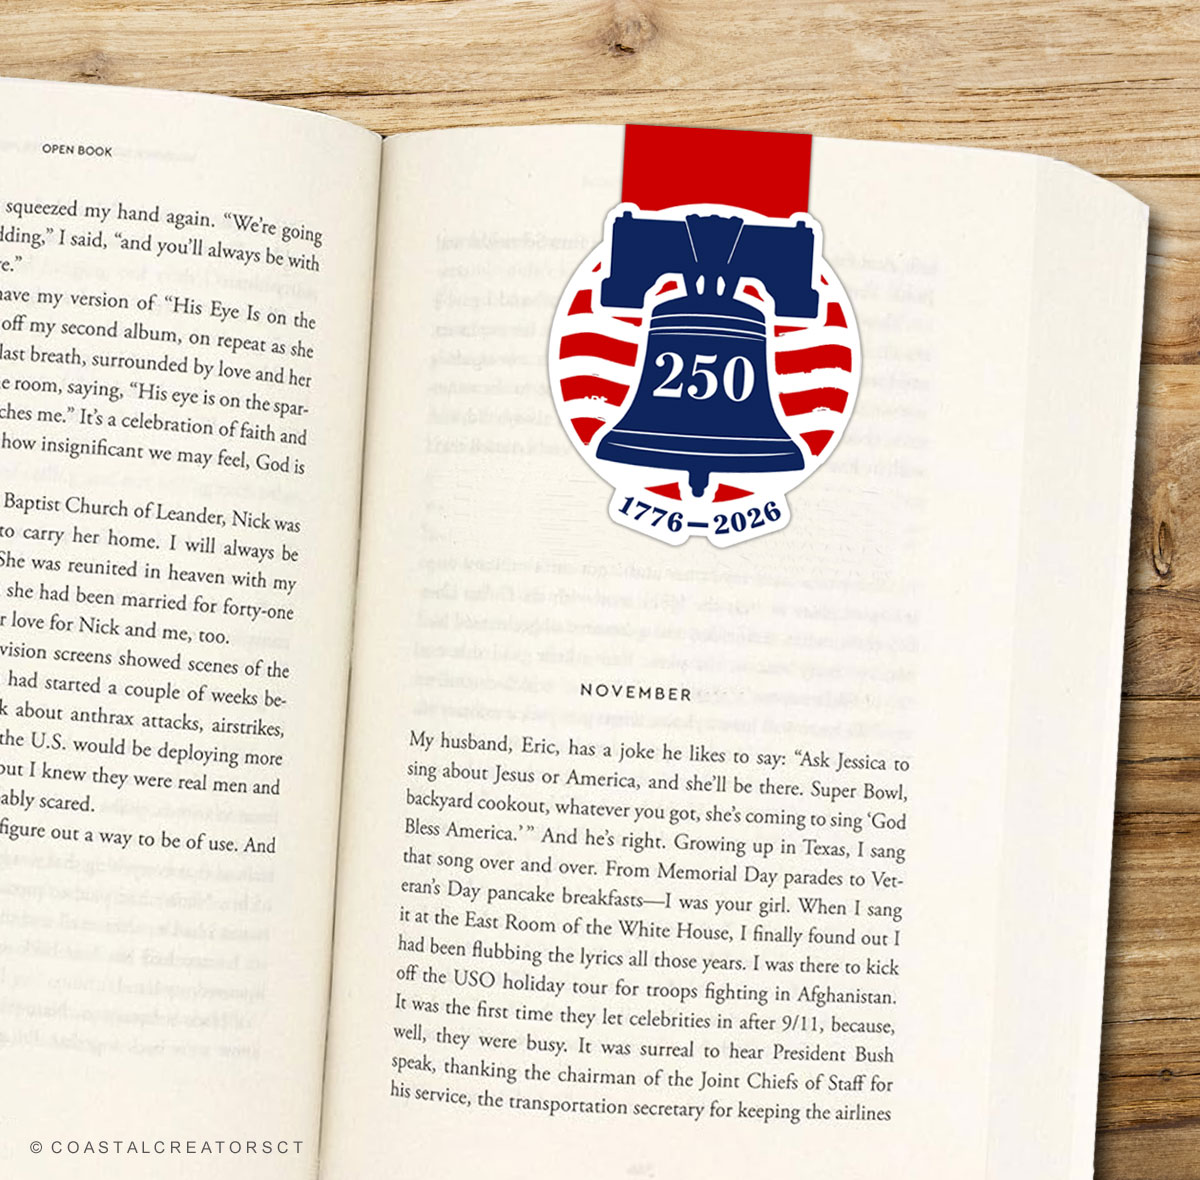
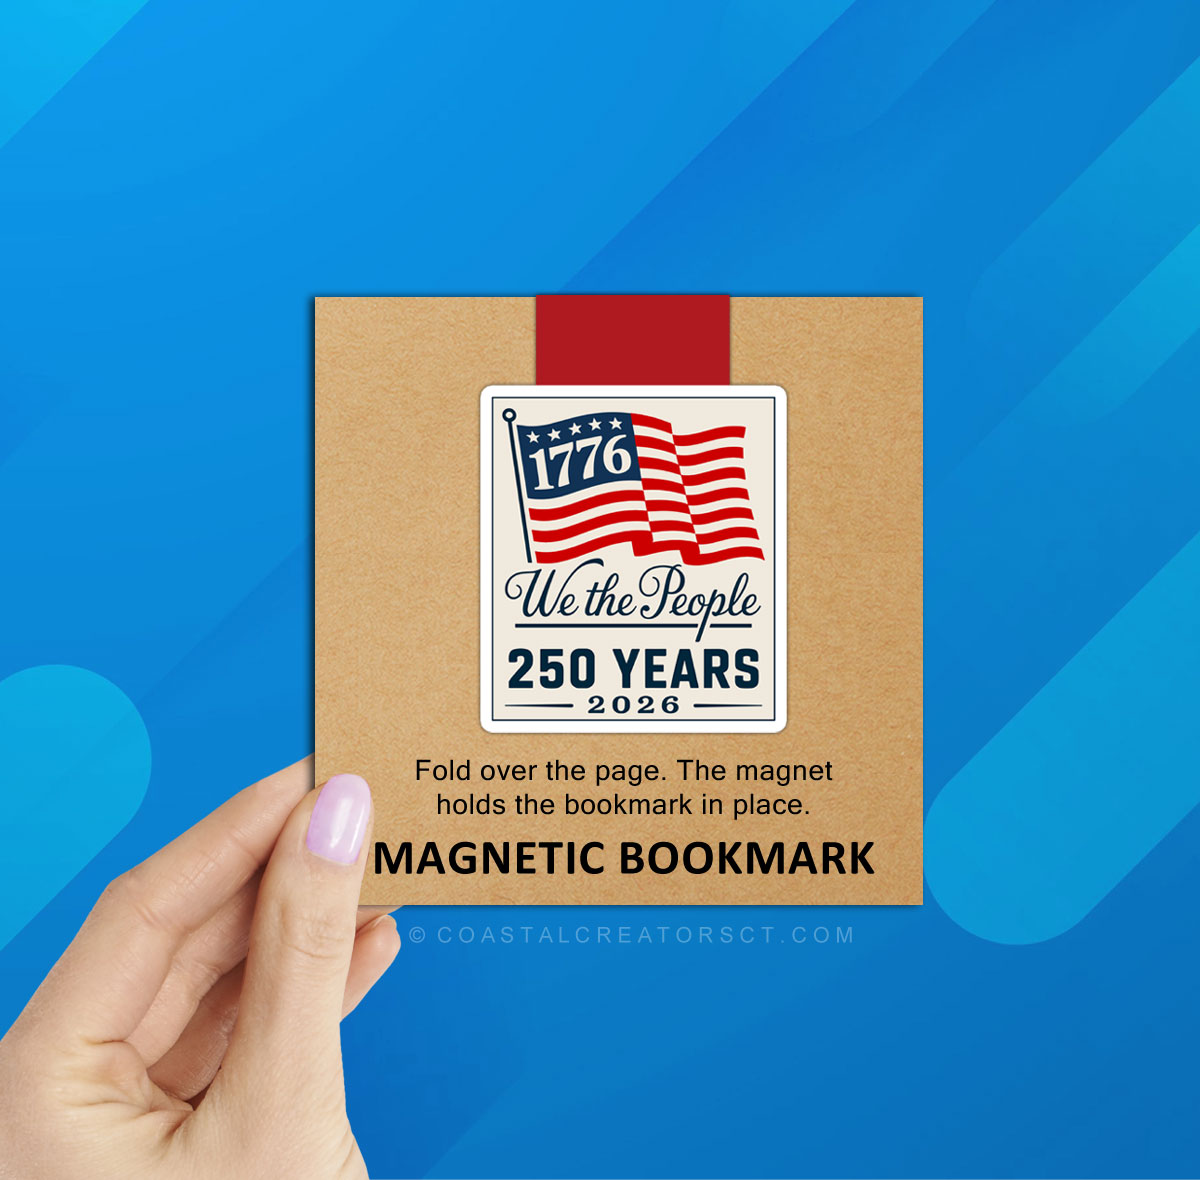
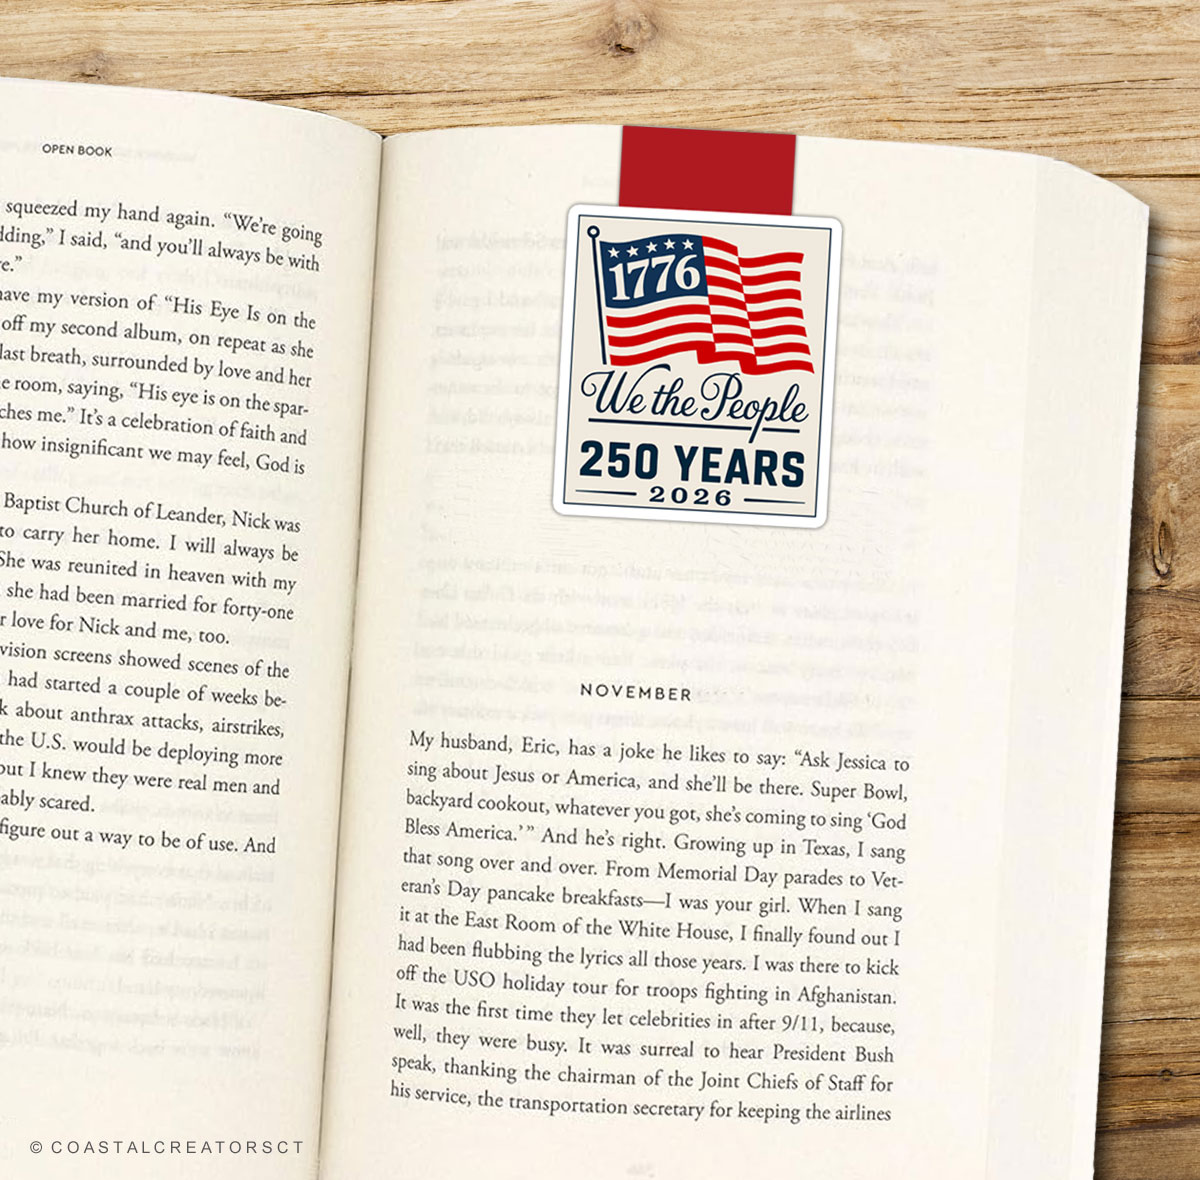
Magnetic Bookmarks (High-Margin, Low-Footprint)
Magnetic bookmarks are a strong category for bookstores, libraries, museum shops, and patriotic gift stores.
Why they work:
- Compact checkout add-ons
- Appeal to teachers, students, and history enthusiasts
- Ship flat and store easily
- Easy to bundle with journals or history books
Designs featuring “We the People,” Liberty imagery, patriotic colors, and 250 Years branding create collectible appeal.

250th Anniversary Journals & Keepsakes
Stationery is a consistent category in bookstores and museum stores.
Commemorative journals marked 1776–2026 appeal to:
- History lovers
- Tourists
- Teachers
- Customers looking for meaningful gifts
Journals pair naturally with bookmarks and stickers, increasing average order value when merchandised together.
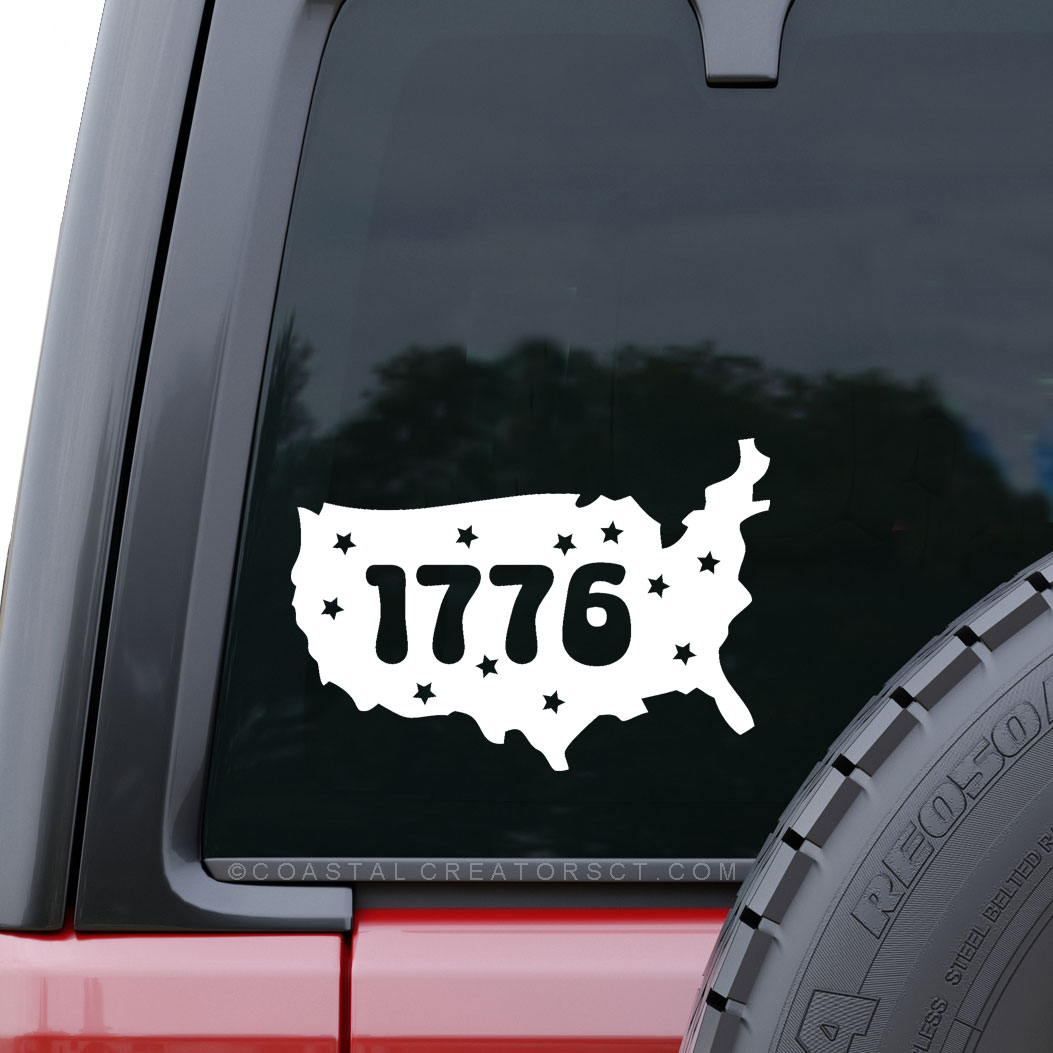
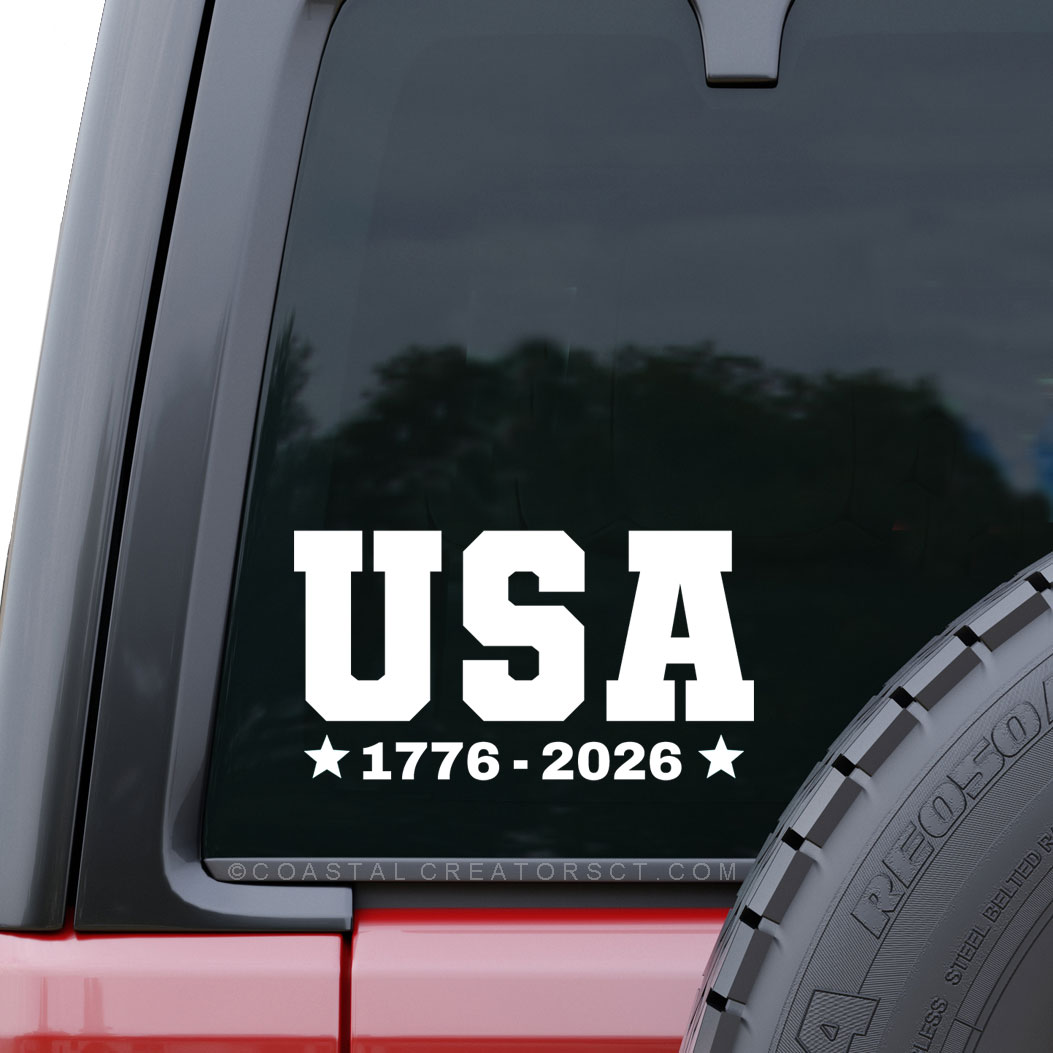
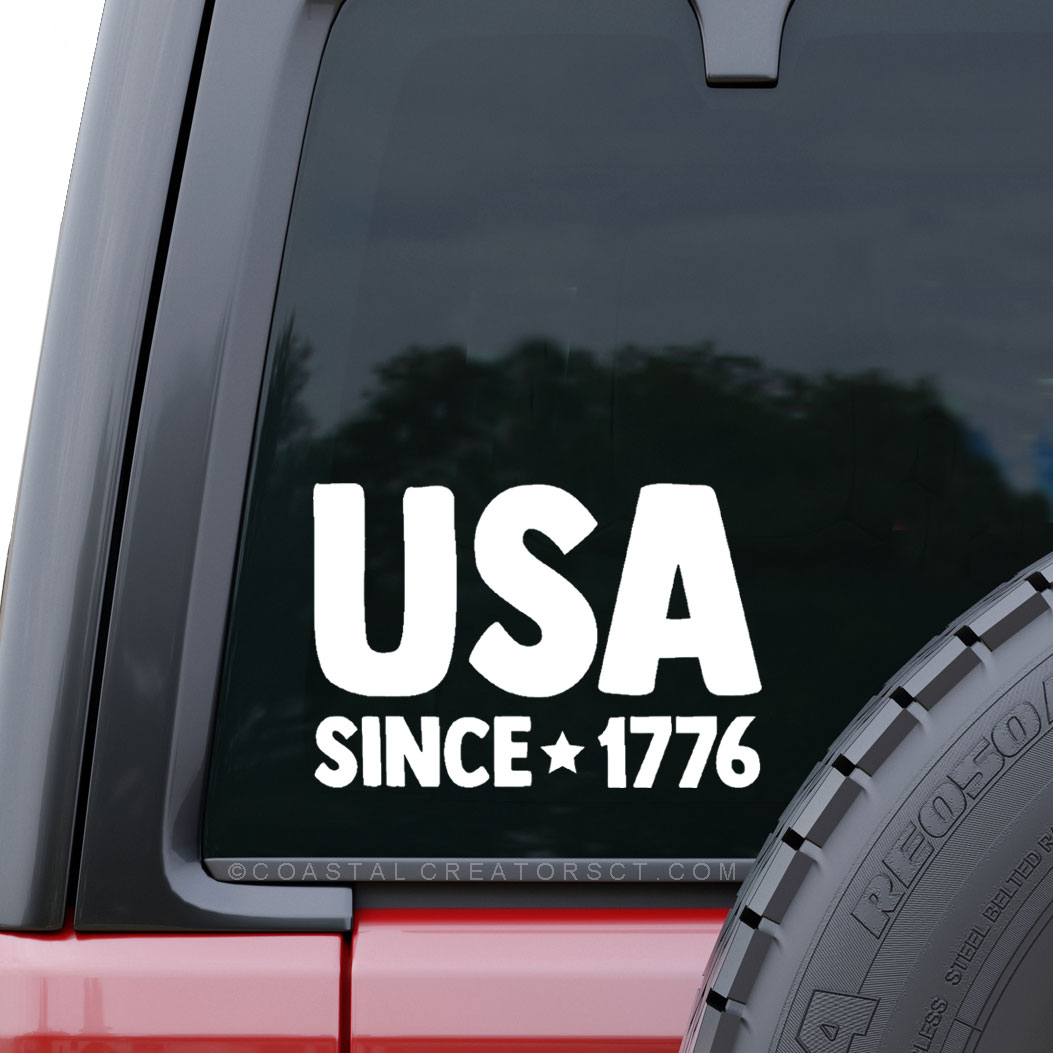
1776-2026 Car Decals
Car decals and window graphics provide strong visual appeal and repeat visibility.
These products perform especially well in:
- Coastal towns
- Tourist destinations
- Patriotic communities
- Small-town gift shops
Buyers appreciate bold USA typography, classic patriotic styling, and clean, high-contrast designs.

What Retailers Should Look for in a Wholesale Partner
When sourcing America 250 merchandise, retailers should prioritize:
- Reliable turnaround times
- Consistent quality printing
- Low minimum order quantities
- Modern but respectful patriotic design
- Products created specifically for resale
Retailers do not want generic mass-market patriotic décor. They want thoughtfully designed items that feel collectible and appropriate for a historic milestone.
Who Should Be Stocking 250th Anniversary Merchandise?
If your store experiences increased traffic during patriotic holidays or tourism seasons, America 250 inventory is a strategic addition.
Ideal retail categories include:
- Independent bookstores
- Museum gift shops
- Coastal gift stores
- National park stores
- Tourist destinations
- General gift boutiques
- Patriotic specialty retailers
This anniversary will not repeat for another 50 years. The next major milestone after 2026 will be 2076.
Why Retailers Should Source Early
Here’s the part most buyers underestimate:
Waiting until early 2026 will put retailers in direct competition for inventory and production capacity.
Smart buyers will:
- Secure product lines in advance
- Begin marketing “America 250” collections early
- Build pre-anniversary excitement
- Spread purchasing across multiple seasons
The retailers who prepare in 2025 will be positioned strongest when demand spikes.
Explore Wholesale 250th Anniversary Products
Retailers preparing for the 250th Anniversary of the United States can explore curated 1776-2026 merchandise designed specifically for resale at: faire.coastalcreatorsct.com
The America 250 milestone is more than a patriotic season. It’s a once-in-a-generation retail opportunity.
Why the 250th Anniversary Is a Major Retail Opportunity
The Bicentennial in 1976 generated an entire year of patriotic merchandise sales. The 250th anniversary is expected to do the same — especially with increased domestic travel and social media visibility.
Retailers should expect:
- Increased tourism in historic towns and coastal destinations
- Strong sales around Memorial Day, July 4th, and Veterans Day
- Demand for commemorative keepsakes marked 1776–2026
- Customers seeking meaningful, collectible items
This is not just décor-driven buying. Customers want practical products they can use and keep.