Coastal Creators of Connecticut

Coastal Creators of Connecticut coastalcreatorsct.com

  • HOME
  • BLOG
  • YOU TUBE
  • CONTACT
    • Our Policies

Craft a Wood Pumpkin Shelf Sitter to Keep, Sell or Gift

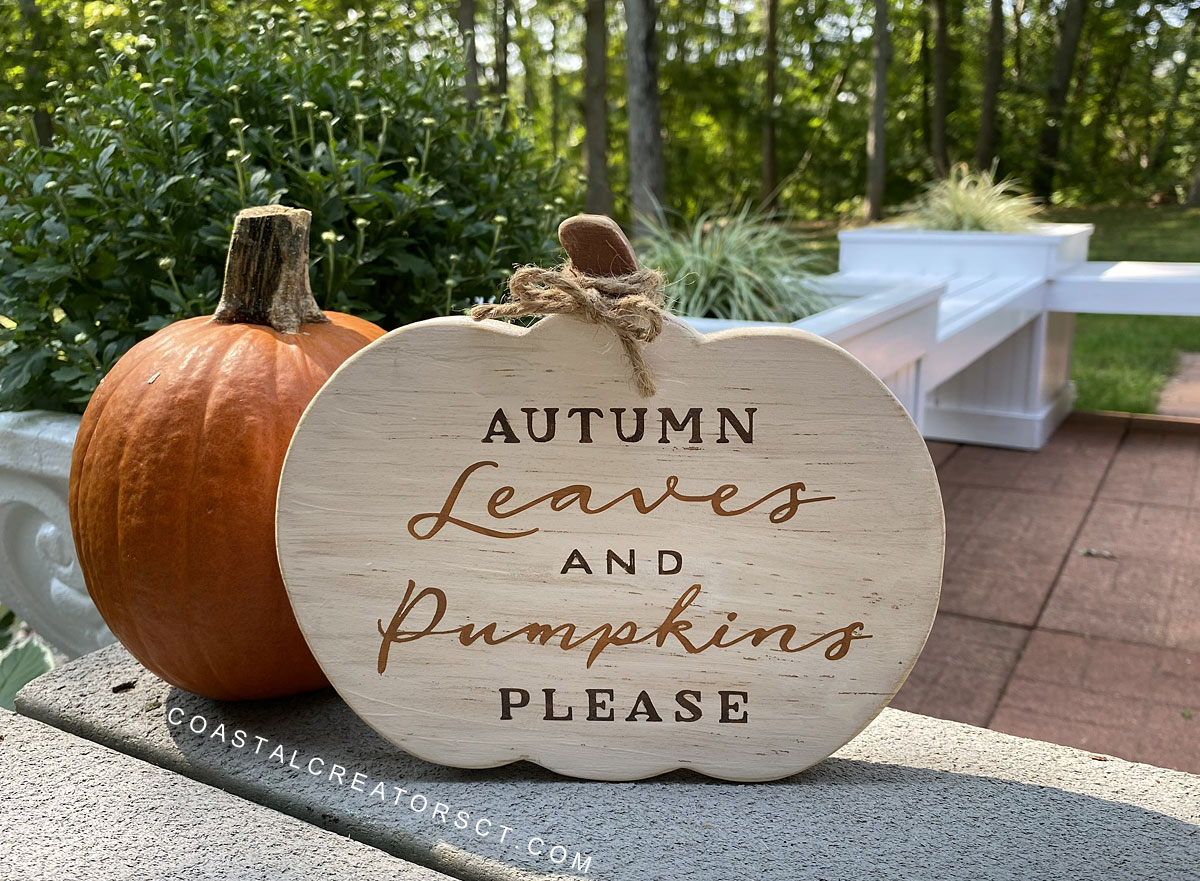
It’s fall and that means pumpkins and leaves, lots of leaves. We like to call it “leaf season” because we have so many trees in our yard. It’s a beautiful time of year in Connecticut. The trees are bursting with color. It’s also time for some Fall crafts. I am going to show you how to create this Fall wood pumpkin shelf sitter that you can keep, sell or gift! Wood crafts to sell are in high demand.
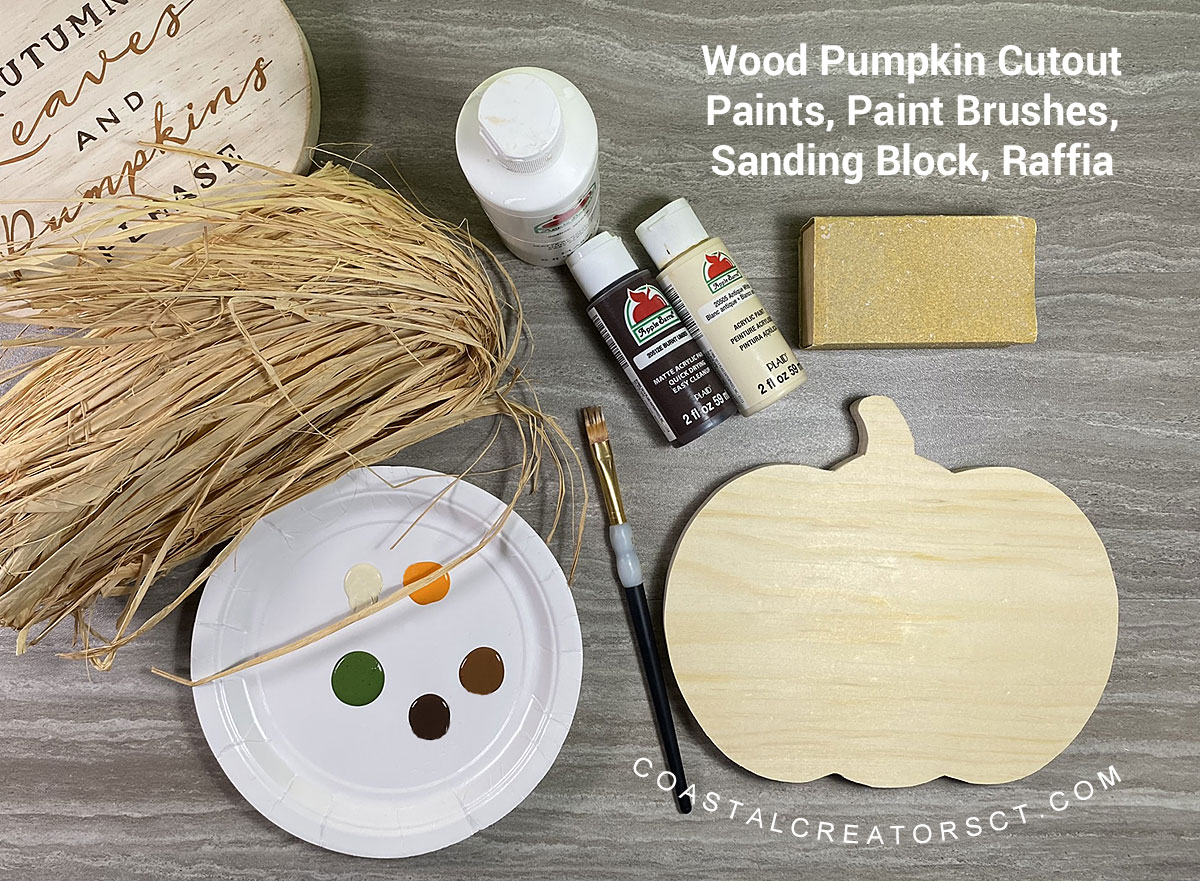
Craft a Wood Pumpkin Shelf Sitter to Keep, Sell or Gift

Craft a Wood Pumpkin Shelf Sitter to Keep, Sell or Gift

Supplies List

  • Pine wood (we used a 1×8)
  • Scroll Saw
  • Paints (I used Apple Barrel Matte white, Harvest Orange, Nutmeg Brown, and Burnt Umber)
  • Paint Brushes
  • 80 Grit Sand Paper (or sanding block)
  • Disposable eye liner brushes (optional)
  • Natural Raffia Ribbon
  • Oracal Stencil Vinyl
  • Vinyl Transfer Tape
  • Cricut Cutting Machine

Other colors that work well to paint these wood pumpkins are Apple Barrel Mossy Green, Antique White, Chestnut, Tuscan Red and Pumpkin Orange. If you don’t have a specific color you can also make your own by combining in colors.

Craft a Wood Pumpkin Shelf Sitter to Keep, Sell or Gift

Apple Barrel paints are good quality and they are very affordable. You can get each 2 oz bottle for 50 cent at Walmart. If you can’t find a specific color at Walmart you can also purchase Apple Barrel paints through Plaidonline.com or Amazon.


Tip: If you are selling these pumpkins you may want to purchase the exact color and not make your own. This keeps the colors consistent when you are making a lot of the same item.

Free Template and Stencils

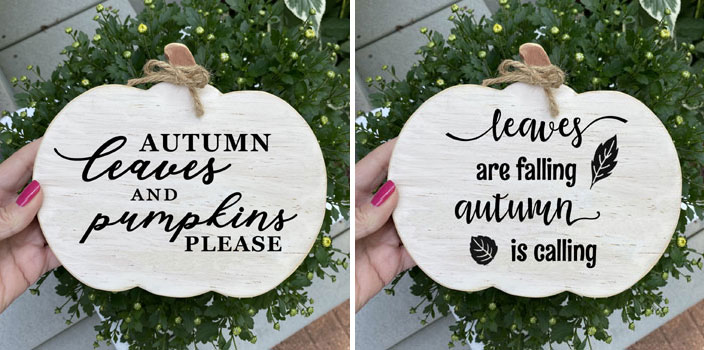
We are offering the pumpkin template and 4 stencils designs for Free to our email subscribers. Full instructions for how to use the stencil designs are also provided in the Template Gallery. Click Here to subscribe or fill out the form below to get access to the Free Template Gallery.

Note about Selling: If you are selling these pumpkins you are free to use the designs to make your own pumpkins but you cannot use our photographs in your listings. These are copyright to Coastal Creators.

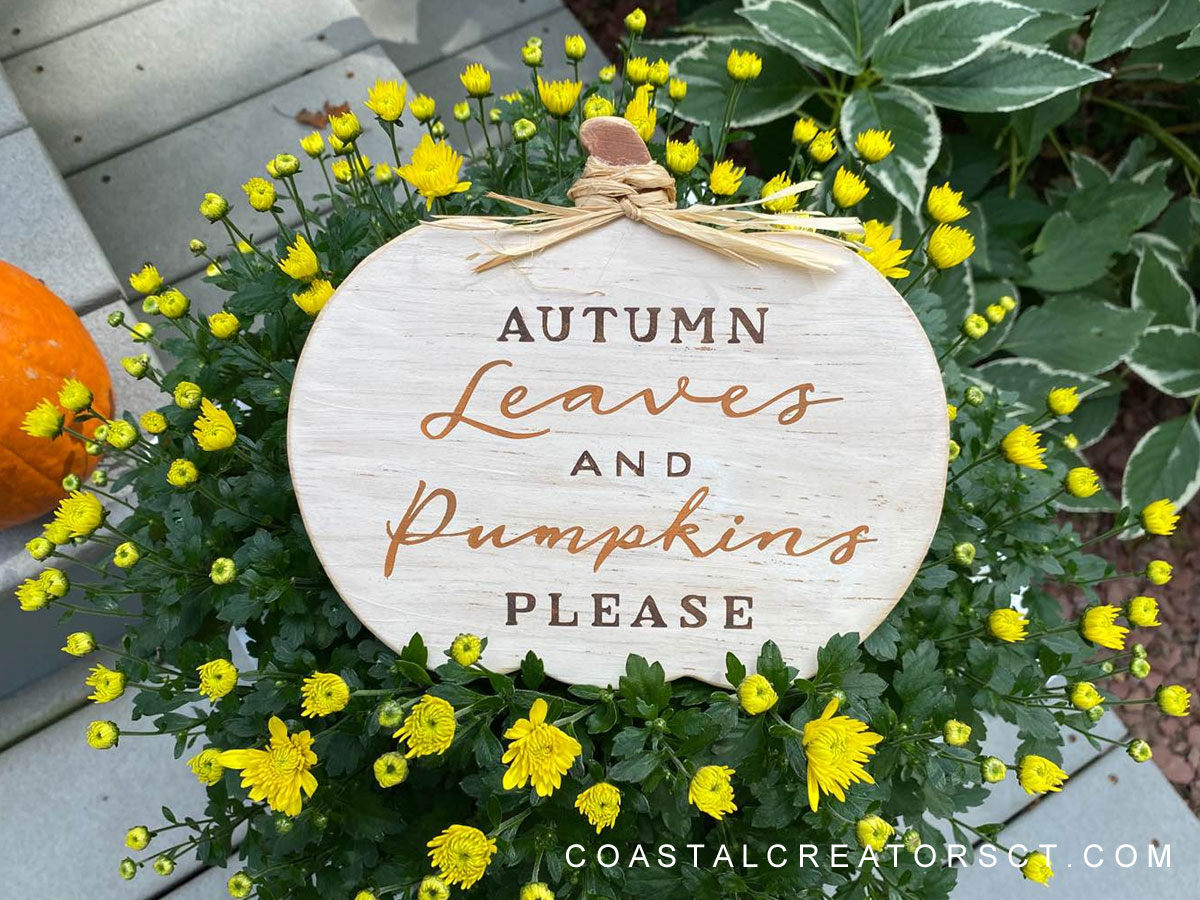
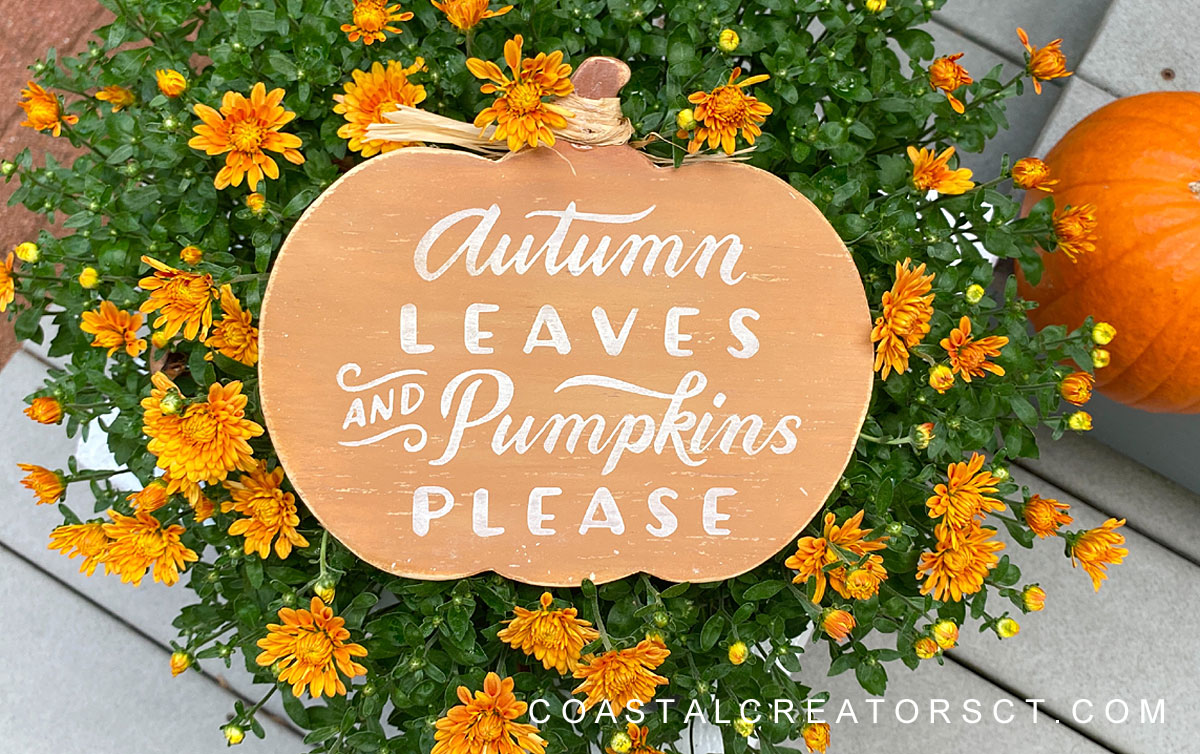
Here are two of the designs you will get plus there are 2 more.

Video Tutorial

Step-by-Step Instructions

Note: These instructions assume you know how to cut out a stencil using a Cricut or Silhouette or other cutting machine. I am only showing you how to make the pumpkin project, not how to use the cutting machine. However, feel free to ask questions in the comments below if you need help cutting the stencil.

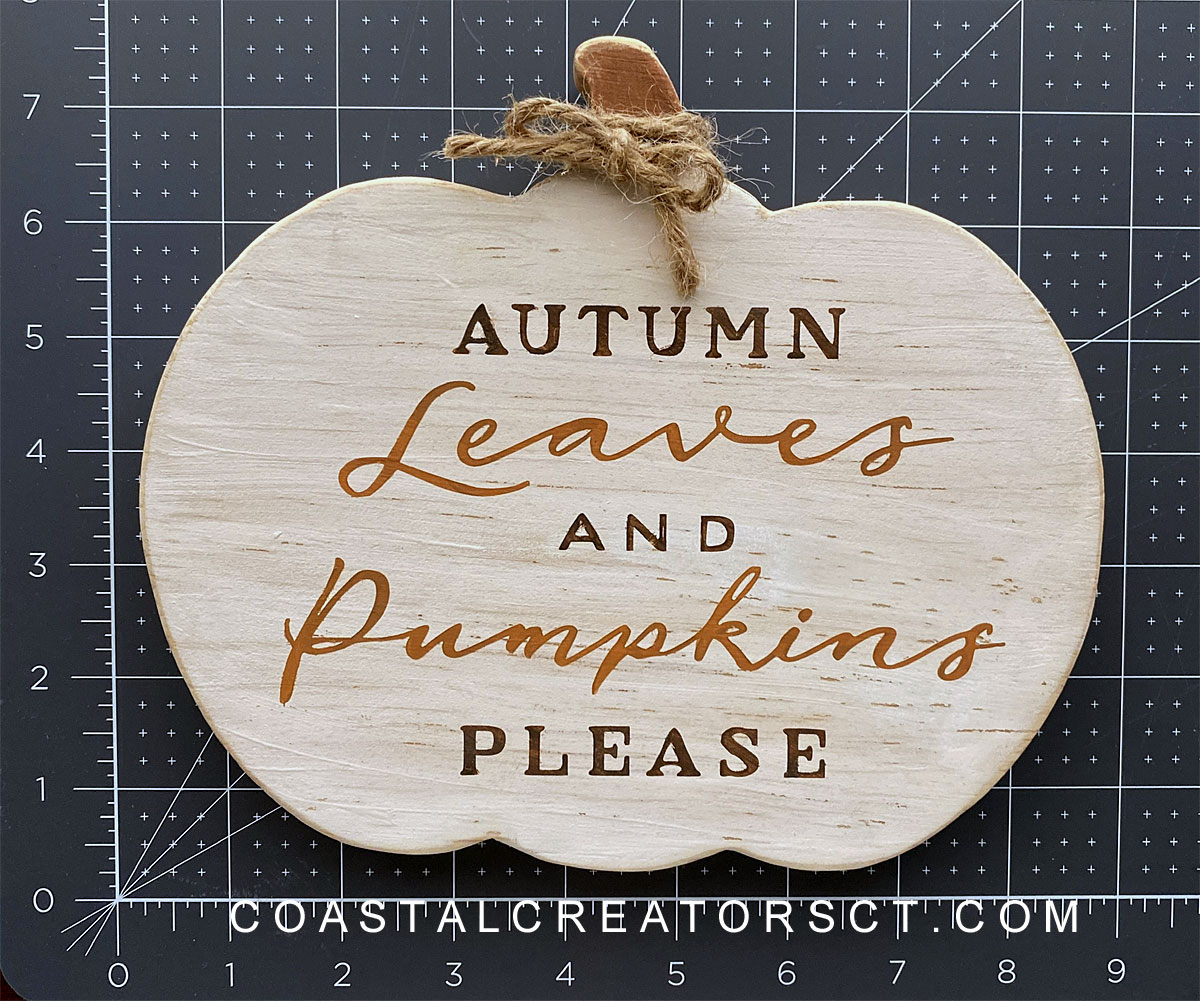
1. Cut the pumpkin shape from the 1×8 pine board. The finished size is 8-1/4″ wide x 7-1/4″ high x 3/4″ deep. We cut the pumpkin from the pine board using a scroll saw.

You could always make a larger pumpkin. When you go to print out the template just enlarge it through the printer.

Craft a Wood Pumpkin Shelf Sitter to Keep, Sell or Gift

2. Cut the stencil and add transfer tape on top.

Craft a Wood Pumpkin Shelf Sitter to Keep, Sell or Gift

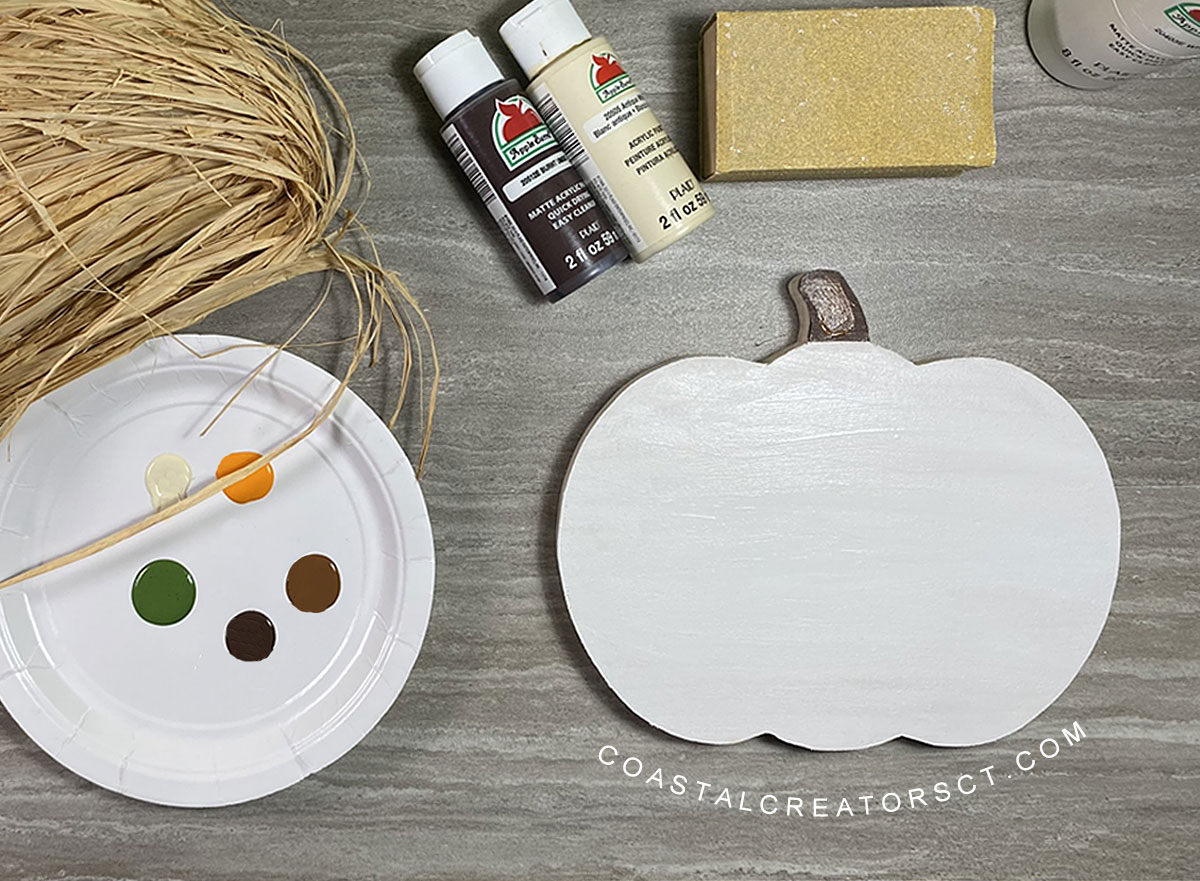
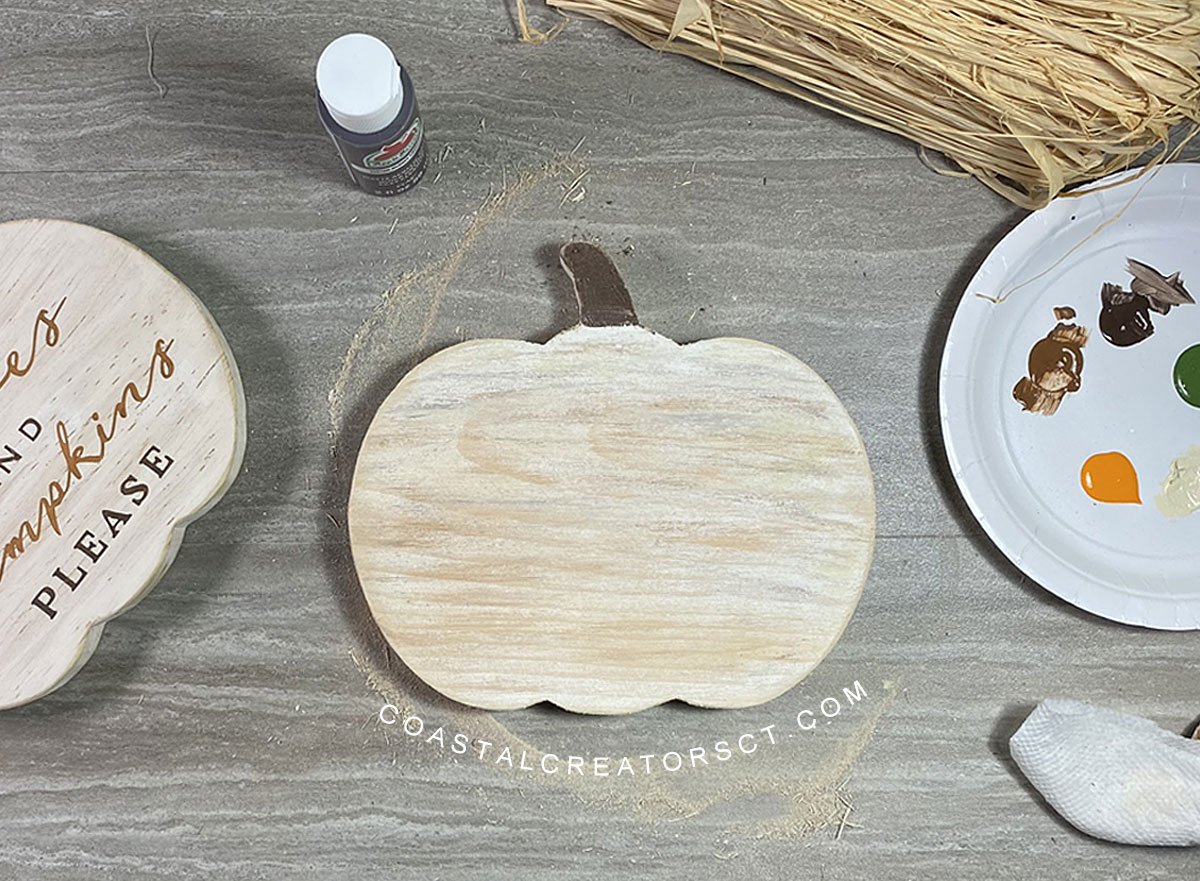
3. Paint the pumpkin white and the stem dark brown.

Craft a Wood Pumpkin Shelf Sitter to Keep, Sell or Gift

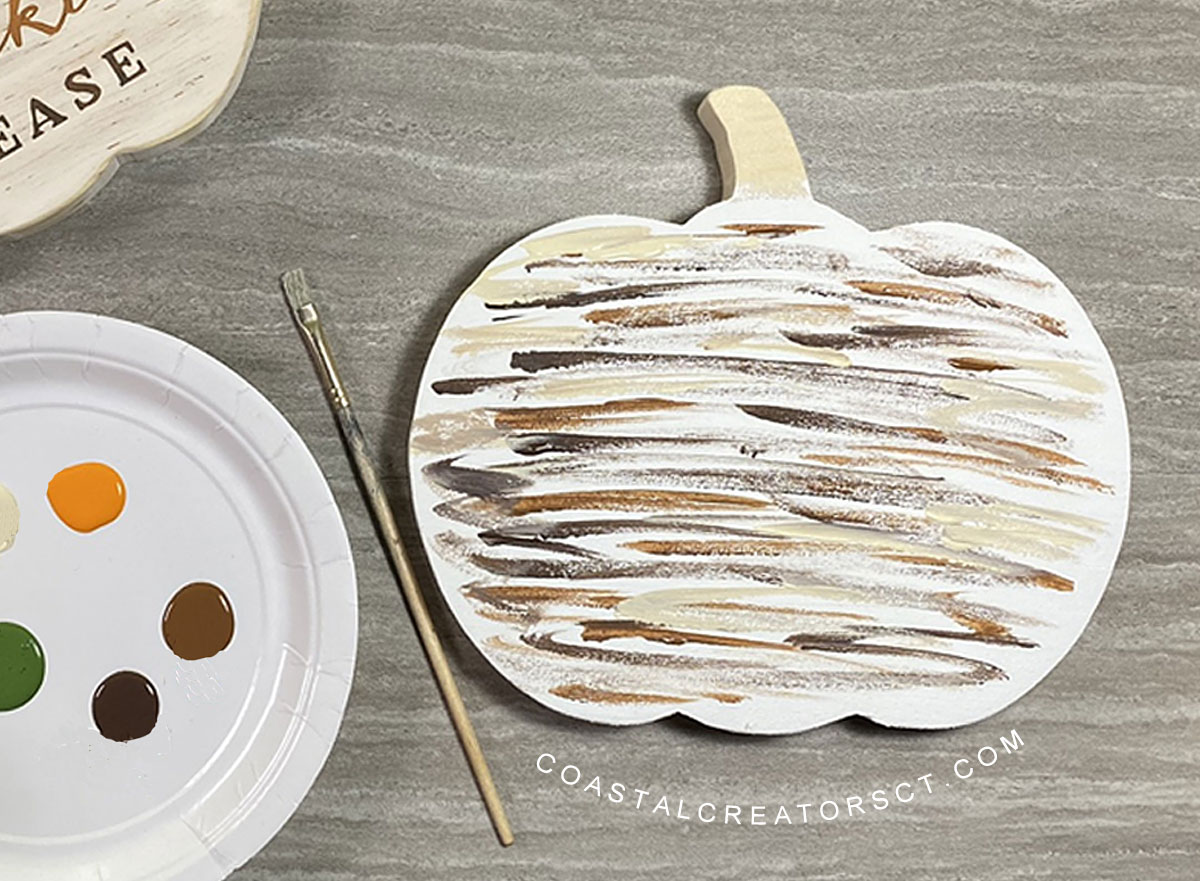
4. Add streaks of brown to the pumpkin. You will have to play around with the amount of color you put on to create the final look you want.

Alternative: you could paint the background color brown, let it dry and then add white paint over-top. When you sand, the brown color will come through.

Craft a Wood Pumpkin Shelf Sitter to Keep, Sell or Gift

4. Sand the pumpkin with a coarse sand paper. We used 80 grit and made out own sanding block by stapling the sand paper to a piece of scrap wood. Make sure to sand the edges to give the pumpkin a rustic look.

5. Add the stencil and paint. Make sure you really flatten out the stencil so you don’t get a lot of bleeds. You want to use very little paint. You can use any type of brush. Remove the stencil.

Tip: To clean up bleeds, I use disposable eye liner brushes. They are super small and cost around 7 to 10 cent each. They are also great to use if you are teaching a painting class because they are so affordable and the students can take them home.

Disposable Eye liner brushes are great for cleaning up painting bleeds when making wood signs

5. Tie a piece of raffia to the stem. You could also use twine if you prefer that look.

Your pumpkin is finished. Now you can place it on your shelf, give it as a gift or sell it on Etsy, Facebook Marketplace, in Facebook group, and more.

Happy Crafting!

Craft a Wood Pumpkin Shelf Sitter to Keep, Sell or Gift

Coastal Blue Marble Painted Pumpkins

Blue marble painted pumpkins are a unique coastal take on a traditional Fall pumpkin. If you like to decorate with shades of blue, these marbled pumpkins are for you. They are easy to create and take just a few supplies.

Get into the Fall spirit by making your own Marbled blue Pumpkins! It’s an easy DIY for a super cool effect! Great for Halloween party decorations or just for impressing your friends.

Supplies you’ll need:

  • Nail Polish
  • Toothpicks
  • White Pumpkins
  • Plastic Container

Can you believe that these blue marbled pumpkins are created by adding 4 to 5 drops of nail polish to a cup of water? As long as the water isn’t too cold the nail polish will stick to your pumpkins, creating a marbled effect.

If you don’t can’t find white pumpkins in your local area, you can always buy rustic harvest white pumpkins from Amazon. You will also need Indigo blue nail polish.


This craft idea was originally posted on AliceandLois.com

Coastal Blue Marble Painted Pumpkins
Source: Alice & Lois

DIY Dollar Store Halloween Decoration Ideas

Decorate for Halloween on a budget with these Dollar Store Halloween decor ideas. You can get supplies to make all of these Halloween craft decor projects from your local Dollar Store. We love Dollar Tree. They have the best supplies and always the freshest ideas. If you don’t have a Dollar Tree near you, not to worry, you can get most of the items you need to make budget Halloween decorations at many dollar stores.

Get inspired by these creepy, scary and just fun Halloween decoration ideas from popular bloggers around the web. Most of these crafts are quick and easy and can be made in under one hour. You won’t believe how professional your results will be and your friends will think you bought everything from Homegoods.

Halloween Decoration Supplies

You will need to have basic craft supplies on hand to make these Halloween decorations. Here are some we suggest.

  • plastic skull
  • Halloween-themed ribbon and fabrics
  • acrylic paints and paint brushes
  • gold and silver metallic paints
  • picture frames
  • cheesecloth
  • balloons
  • liquid starch
  • plastic crows, bats, bug, spiders
  • Mod Podge, twine and raffia
  • pumpkin bucket
  • glue, scissors and a craft knife
  • hot glue gun and glue sticks
  • candle holders and vases


Dollar Store Halloween Decor Ideas

Spiderweb Halloween Paper Lanterns

Spiderweb Halloween Paper Lanterns

Houseful of Handmade

Free PDF Pattern

This Halloween craft requires the use of a Cricut or other paper cutting machine. You can get the flameless candles at most dollar stores. You will also need some black paint. Such a genius idea!

DIY Skull Candle Holder

Homegoods Reproduction Skull Candle Holder

Endlessly Inspired

You’ll need some plastic skulls, 2 Terra Cotta saucers, black paint and a glue gun to complete this project. In just a few minutes you will have a skull candle holder that your friends will swear you bought at Homegoods.

Bleeding Halloween Candles using Crayons

Bleeding Halloween Candles using Crayons

The Krazy Coupon Lady

If you don’t have a fancy spiderweb candle to add to your skull candle holder, you can just make a creepy candle by using a plain dollar store candle and a crayon. Melt the crayon over and around the edge of the candle to give it a creepy look. You could use red for blood or black and grey crayons for a dark and sinister look.

Spooky Spider Web in a Mason Jar

Spooky Spider Web in a Mason Jar

This craft is so easy and quick you will want to get the kids involved. All you need is some cotton, plastic spider, Mason jar, and a battery-operated light. Pull the cotton until it looks like a web, insert the candle in the bottom and place a plastic spider close to the outer edge of the jar and you’re done. As an alternative, you could fill the jar with a little dish soap and plastic eyeballs.

Skeleton Hands Halloween DIY Wreath

Skeleton Hands Halloween DIY Wreath

Tried and True

To create this skeleton Halloween wreath you will need plastic skeleton hands, silver spray paint and a chalkboard for the center. If you can’t find a chalkboard at your local dollar store you could substitute cardboard and black paper. Draw a design on the black paper. Or peruse the greeting card aisle and you may find a Halloween greeting card that you cloud use as the design.

DIY Skeleton Candy Dish

DIY Skeleton Candy Dish

Four Front Doors

This DIY Skeleton candy dish require a plastic skeleton, black acrylic paint, silver metallic paint, glass dish, and glass candle holder. If your local dollar store doesn’t have a glass dish or glass candle holder you could try your local Goodwill shop to find a used one.

Cheesecloth Halloween Ghosts

Cheesecloth Halloween Ghosts

Town N Country Living

These Halloween ghost are easy to make and the kids will want to help. You will need balloons, cheesecloth, liquid starch, black felt, scissors, and a hot glue gun.

Painted Mummy Mason Jars

Painted Mummy Mason Jars

It All Started with Paint

These painted mummy Mason jars are a unique decoration for your Halloween decor and they are easy to make. You’ll need Mason jars which you should be able to get at your local dollar store, gold, white, and black paint, rubber bands, and bat cardboard cutouts.

The secret word is scary.

Dollar Store Picture Frame Halloween Lantern

Dollar Store Picture Frame Halloween Lantern

Moe Than a Mom of Three

You can make the cheapest of lanterns just using 4 Dollar store picture frames. Remove the backing and glass. Hot glue 4 picture frames together to form a cube. You could leave it at this point and fill it with pumpkins and skulls.

Dollar Store Picture Frame Halloween Lantern

Love to Frugal

To create a roof for the lantern, take a fifth picture frame apart. You may need to use a saw to create the angled (mitered) corners. Glue the individual pieces together to create the roof of the lantern. Now you have a cheap lantern that looks great for Halloween decorations.

If you want to go even further, take a shower curtain ring or regular curtain ring or even a key ring and put a piece of wire or string around it. Glue the string or push the wire down inside the lantern at the top peak. Use a glue gun to secure it in place. Or, you could use heavy twine or rope to create a handle.

You may want to paint the lantern black and add a bit of silver paint to give it a distressed and aged finish. If you are going to use your lantern for another holiday or to decorate at another time of year, you may want to consider what color would work well for other occasions and be more versatile. A black lantern with a bit of gold or bronze dry-brushed over the black may be more versatile.

Fanged Vampire Pumpkins

Fanged Vampire Pumpkins

Martha Stewart

Free Mouth Template

You can use a small real pumpkin or get a small plastic pumpkin from the dollar store for this project. You will need plastic vampire teeth that you can easily find at the dollar store. The eyes are red map tacks but you could use anything that is red – a dot of paint, a piece of red hot candy, a regular straight pin with a red head.

Lay the template on the pumpkin, trace an outline and cut out with a serrated knife or hand saw. Wedge the teeth into the pumpkin.

Coastal Christmas Trees

DIY Coastal Home Decor Ideas

Sea Glass Crafts to Make and Sell

10 Beautiful Rustic Wood Centerpiece Boxes

Coastal Creators participate in the Amazon Services LLC Associates Program, an affiliate advertising program designed to provide a means for sites to earn advertising fees by advertising and linking to Amazon and other affiliate programs. Read more

  • HOME
  • BLOG
  • YOU TUBE
  • CONTACT

Copyright © 2025 · Coastal Creators · Our Policies