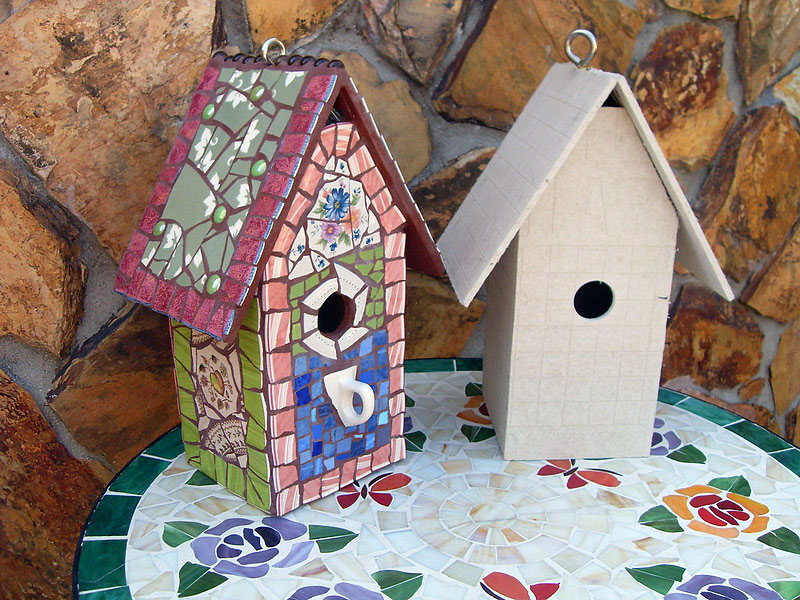
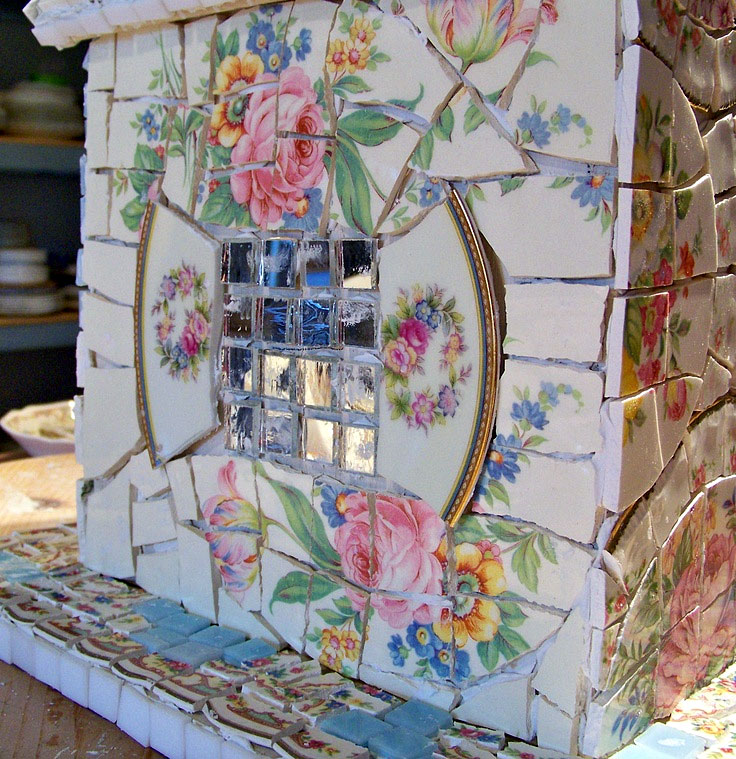
A Broken China Birdhouse is a labor of love created by adding broken china pieces to a wood birdhouse using glue and grout. We will teach you how to build the birdhouse, how to find broken china, how to add broken china pieces to your birdhouse and how to give your broken china birdhouse a good finish so it will last for many years.
When building a broken china birdhouse you will need certain materials but they are very affordable. You’ll need some china you don’t mind breaking or tiles you purchased, pine wood to build the birdhouse and a few other supplies, that we list below.
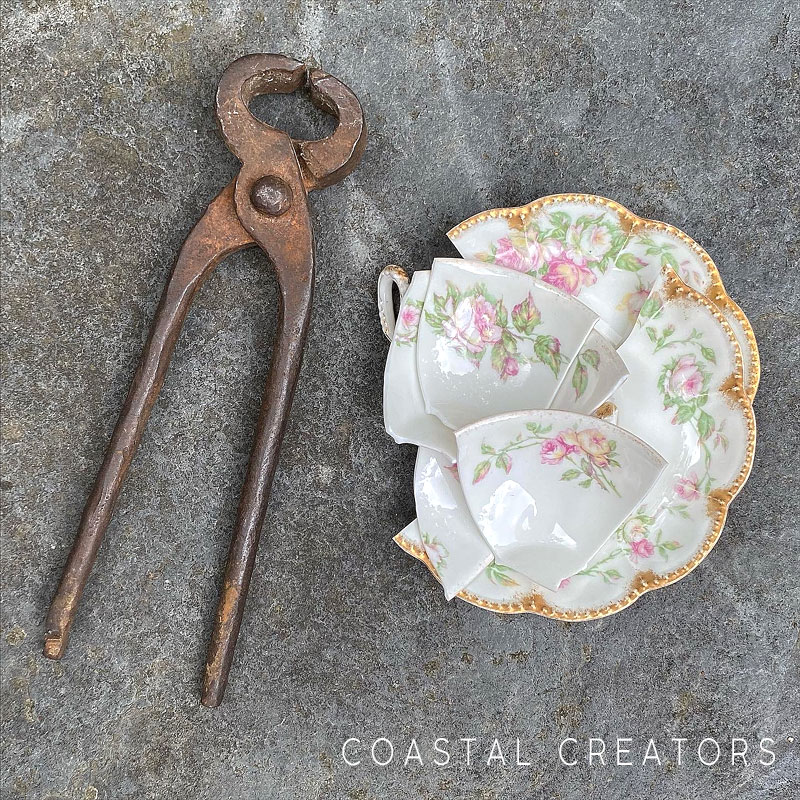
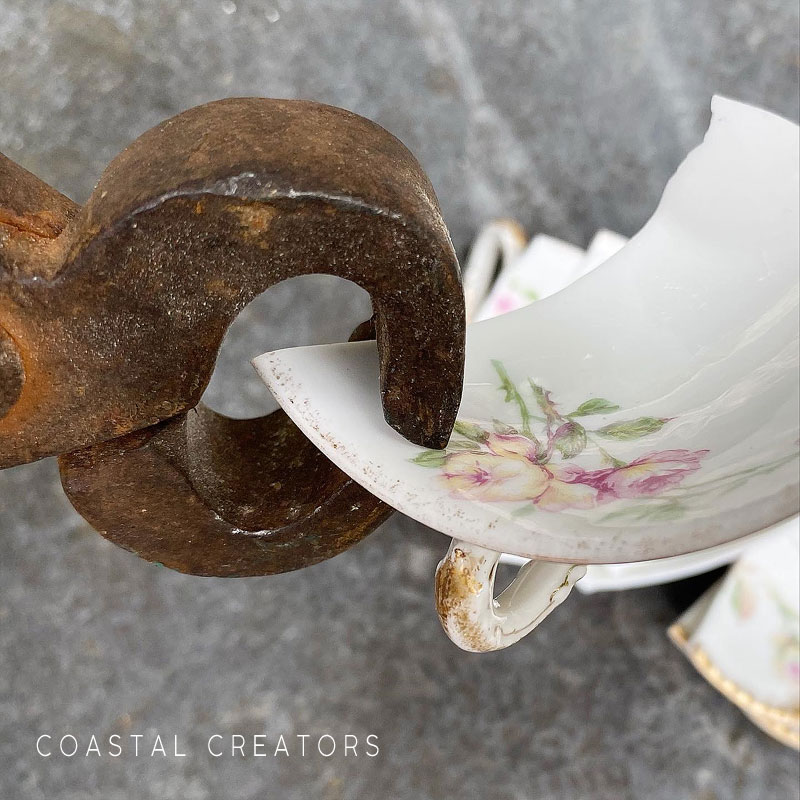
One day, I bumped into my hutch and broke this beautiful tea cup and saucer. It literally came flying out at me and crashed onto the floor. All was not lost because I decided to turn it into the lovely birdhouse I am going to show you how to build and decorate.
Where to Get Broken China
If you own a piece of china that has chips on it and you are willing to part with it, you can use it for your broken china birdhouse. If you don’t have any broken china, you will easily find a chipped tea cup or china saucer or maybe a tea cup that is missing it’s saucer at your local Goodwill store or Thrift shop. If it is summertime, stop by some yard sales and see what pieces of china you can find.
Online you can also visit local “free cycle” or “buy it nothing” groups to see who is giving away china that you could use for your broken china birdhouse project. Check Facebook Marketplace and Craigslist under the free section. Someone is always giving away china they don’t want or use anymore that would be perfect for this project.
Using Other Embellishments
You can also embellish your birdhouse with other elements such as stained glass, jewelry beads, pieces of decorative stone, Tesserae tiles, ceramic tiles, or even pieces of metal. This is the kind of project that allows you to be creative.
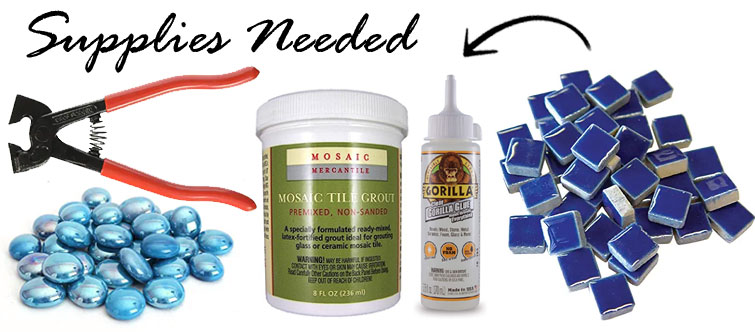
Supplies Needed
- 1/2″ plywood
- 1″ x 6′ pine board
- 2″ square piece of fiberglass screen
- 1 1/4″ brad / finishing nails
- Saw to cut the wood (we used a compound miter saw)
- Sand paper or random orbit hand sander
- Drill
- Tile Cutter
- Pointed Tweezers
- China you can break or purchased tiles
- Grout Sealer
- work gloves
- Tile Adhesive (We use Mapei Type 1)
- Tile Grout
- Plastic Spatula
- Tile Grout
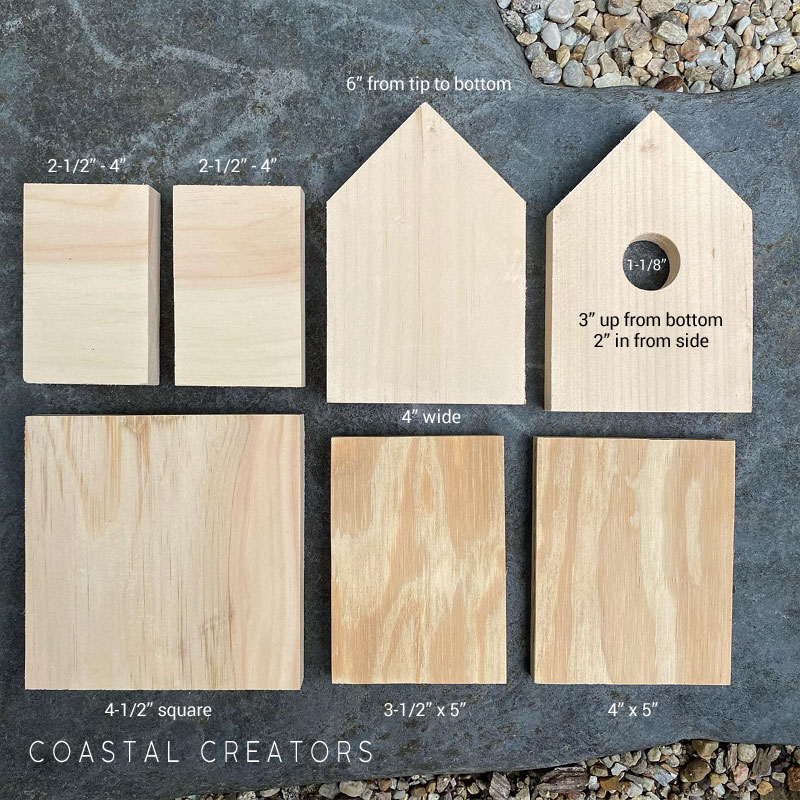
Step-by-Step Birdhouse Instructions
1. Using the 1/2″ plywood, cut one piece to be 3-1/2″ wide by 5″ long.
2. Cut a second piece to be 4″ wide by 5″ long.
3. Using the 1″ x 6″ pine board cut a 4-1/2 ” square to be used as the bottom of the birdhouse.
4. Using the 1″ x 6″ pine board cut the two sides to be 2-1/2″ wide by 4″ long.
5. Using the 1″ x 6″ pine board cut two pieces to be 4″ wide by 6″ long. These are the front and back of the birdhouse.
6. The front and back need to have a peak. Do this by measuring in 2″ from the side of each piece at the top of the 6″ length. Using a 45 degree angle, draw a line from where the angle intersects the 2″ mark to the edge of the board. This should result in the correct length of the peak.
If a 45 degree angle is not available, still mark the top 2″ inches in, basically the middle of the board. Then measure 2″ down from the top of the board and draw a line from side to side. Taking a straight edge, draw a line from the 2″ mark at the middle of the top to the 2″ line on the edge of the board. Do either method for the left and right sides of the board. Cut on the 45 degree lines to form the peak.
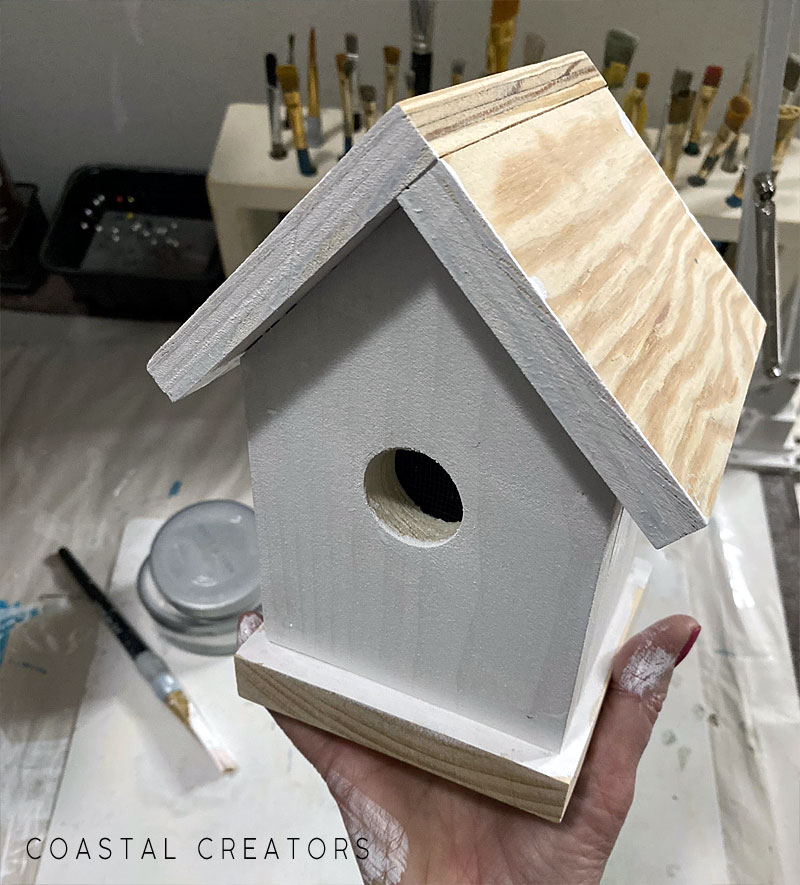
7. Select one of the 4″ x 6″ pieces for the front. Drill a 1-1/8″ diameter hole, 3″ up the bottom and 2″ in from the side.
8. Lightly sand each piece of wood. (Sand paper or random orbit hand sander)
9. Before assembling, attach the fiberglass screen behind the hole, using staples.
10. To assemble the birdhouse, start by nailing the sides to the front and back. The sides go between the front and backs, so once fully assembled the body of the birdhouse will be 4″ x 4″.
11. Next, nail the 3-1/2″ x 5″ roof piece onto the body of the birdhouse at the peak with the 5″ side going across the wide of the birdhouse. The top edge of this roof piece needs to be flush with point of the peak. The sides and bottom of the roof piece should overhang the birdhouse by 1/2″.
12. Nail the 4″ x 5″ roof piece to the other side of the peak. Align this roof piece so one edge overlaps the already attached roof piece. This roof piece should also overlap the birdhouse by 1/2″.
13. Nail the bottom to the birdhouse so that there is approximately 1/4″ of the bottom showing around all sides of the birdhouse.
Now that your birdhouse is built you may want to sand it lightly. I also give my birdhouse a base coat. I use basic white acrylic paint. You could skip this step if you wish.
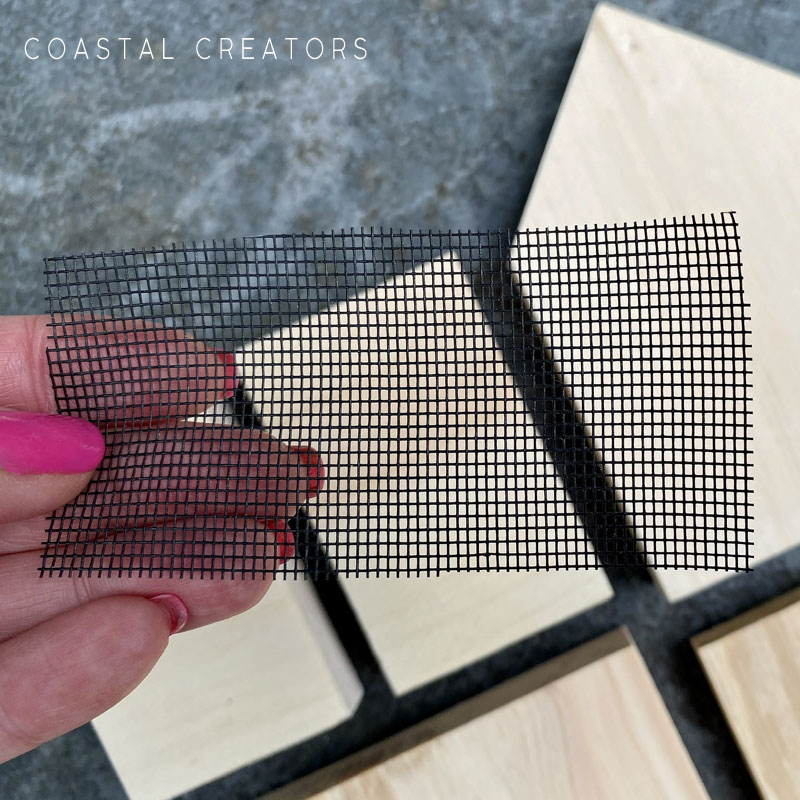
Cover the Opening
We use fiberglass screen to cover the opening in our birdhouse. We are not building a birdhouse that is actually going to be used by birds. Our birdhouse is a decorative art piece that we will display in the garden, to display on a shelf in our home, or even to sell.
If you are using our birdhouse instructions, you will want to add a piece of fiberglass screen behind the hole because you do not want birds to go into the birdhouse and build a nest. There are two reasons for this. Our birdhouse is small, too small for a bird to build a proper nest. Also, the hole is small and most birds will not be able to fit properly. The second reason is, if you want to make this broken china birdhouse as a decorative piece, you want to discourage birds from trying to build a nest inside. The fiberglass screen solves both.
You could use metal screen instead of fiberglass screen if you have it on-hand. We just had some fiberglass screen on hand that was leftover from the screen door project. We replaced the screen in our screen door and we had a small amount leftover. If you can use scraps for projects like these, you can make them super affordable. Fiberglass screen is also easier to work with and staple onto the wood.
Prepare the China Pieces
To prepare the china pieces you will want to break the pieces of china into pieces that are about 1/2″ in size. Each piece of china is going to be a unique shape anyway but generally keeping the pieces around 1/2″ to 3/4″ in size seems to work out the best.
Put gloves on to protect your hands from getting shards of the china in your skin. Grab the nippers and make a clean break on the edge of the china. Continue until the whole piece has been cut and you have a lot of small pieces to work with for your birdhouse design.
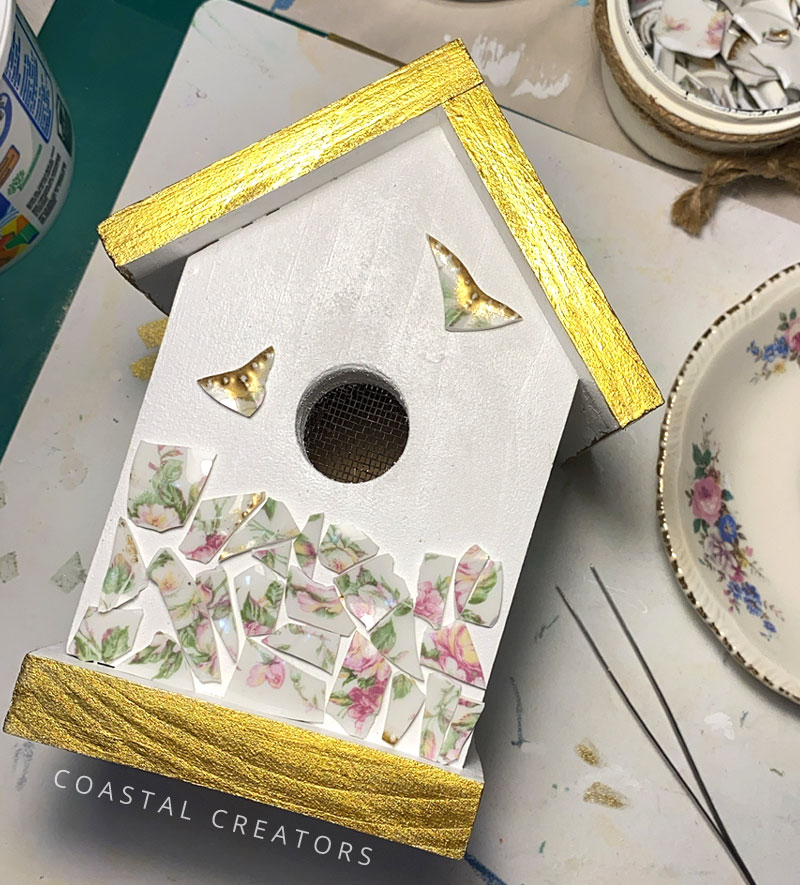
Create Your Design
Lay out the china pieces on the birdhouse before you glue everything down. Once you glue a piece down it will be harder to move things around. This is where the tweezers come in handy. Some china pieces may be small and using tweezers makes it easier to get them positioned just right. You may need to use the Tile Nippers to cut small edges of the tiles to fit them into your design just right.
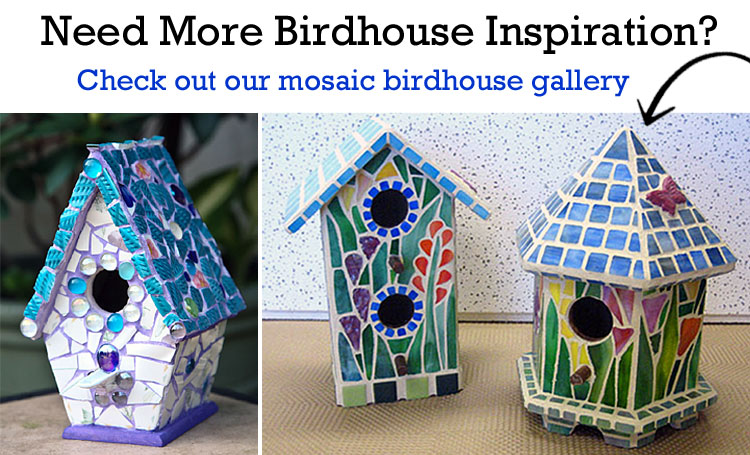
Visit our Birdhouse Design Gallery to get some ideas.
Glue the China Pieces to the Birdhouse
Once you have your design in place, use the tweezers to pick each piece up and put some glue on the wood. Then press your piece firmly in place. If you want to skip this step, you can cover one side of the birdhouse with glue and press the broken china pieces in place, arranging your design as you go.
Let your birdhouse set overnight to make sure the glue is really firm and dry.
Grout the Broken China
Mix your grout with a spatula or plastic spreader. Using the spatula to spread the grout over the surface of your broken china, making sure to get in all of the little grooves. When you are finished with the whole birdhouse, use an old rag and wipe it down to make a level surface.
Let your birdhouse set overnight to make sure the grout is really firm and dry.
Apply a Finish
Your broken china birdhouse is now finished. You may want to add a Grout Sealer that will protect it and also give your birdhouse a more finished look. Grout Sealer is completely clear so it won’t add any color to your beautiful creation.
Sell Broken China Birdhouses
Broken China, Tiled and Hand Painted birdhouses are always in demand. People like pretty things to decorate their home and garden. Pretty things sell! If you are a craft, artist or painter you most likely make your own pretty things but there are millions of people who are not artistic or have no time to create pretty things for their home or garden. These decorative birdhouses could be sold at arts and craft fairs, online at Etsy, or your own website.
Creating these decorative birdhouse is very affordable. You can make one for probably $3 to $5 and sell them upwards of $40 each! All you need to do is invest some of your time. As a hobbiest you could work on them in your spare time. It’s good for the soul too as painting and crafting is very therapeutic! When we craft we don’t think of the cares and woes of our daily lives.
If you don’t mind taking a bit less, you could sell them directly to gift shops in your area at wholesale prices or on consignment. To sell to a local shop you usually cut your price in half so the shop owner can charge double and earn the other half. The advantage of selling to a shop owner is that you deal with one person and not individual people. Sell 40 birdhouses to 1 person or deal with 40 people. One makes you more money but you will have to figure out how to find and sell to 40 people whereas selling to a shop owner takes the pressure off of you having to find those customers.
