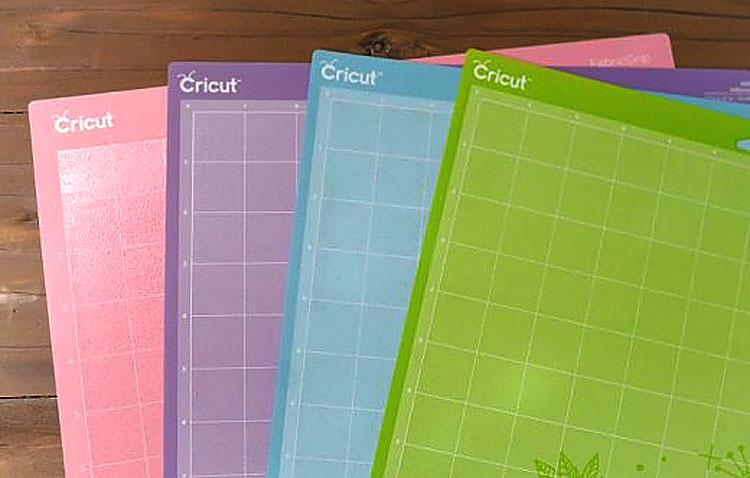
What is the best way to restick your Cricut mat so you can keep using the same one over and over? This method is the easiest way to restick a Cricut mat and it actually works seamlessly. I have never purchased a second Cricut mat because I use this method over and over to restick my Cricut mat.
Note: This method also work for for other cutting machine mats like those used with Silhouette, Sizzix, or Brother ScanNcut cutting machines.

When you use a Cricut or other cutting machine a lot, the mat loses some of it’s stickiness and this makes the paper or vinyl not stick so well. You need a super sticky Cricut mat to ensure your crafting paper or vinyl adheres to the mat and won’t move around when the machine is cutting the design.
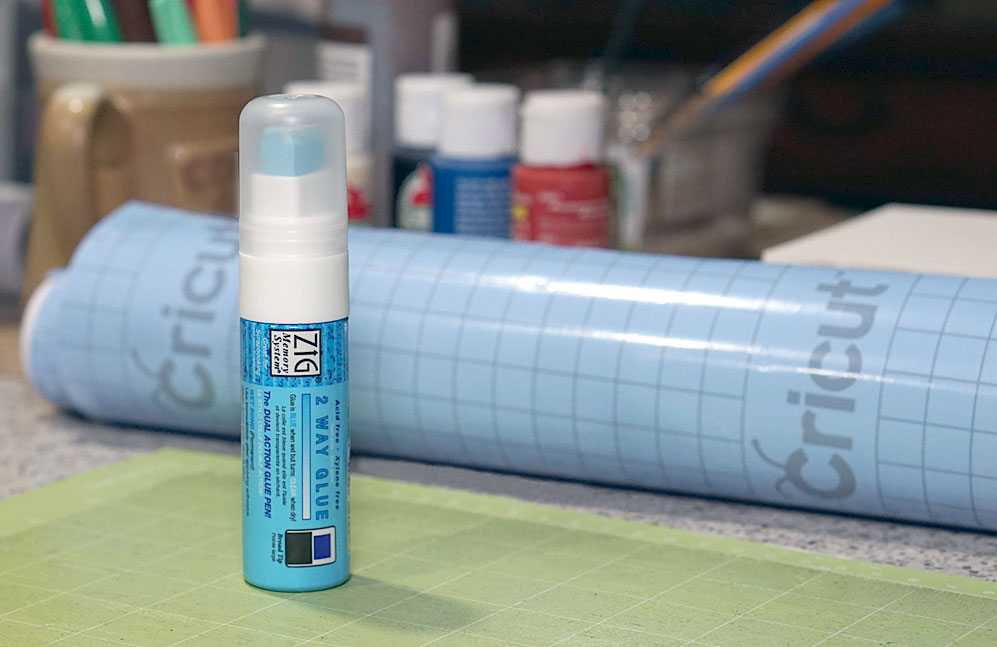
The easiest way to restick a Cricut mat is to use a ZIG Memory glue stick. This is also the fastest method to restick a Cricut mat.
Supplies Need to Restick a Cricut Mat
- ZIG Memory System Two-Way Glue stick (pen)
- Big Head straight pen (or Cricut weeding tool)
- Tweezers with pointed end (or Cricut tweezers)
- GooGone in Spray bottle (optional)
1. Clean the Cricut Mat
The first thing you will want to do is to remove any bits and pieces of leftover project material such as paper and sticker backing from your Cricut board. Also remove any pieces of hair. We used a big head straight pin (big head makes it easier to hold) that has a sharp point to lift up the hair and bits and then a pair of tweezers to remove the bits so no fancy tools are needed, not even the Cricut tools. However, if you own the Cricut weeding tools and tweezers use can use them as well to accomplish this step.

TIP: If your Cricut mat is really dirty or has a lot of bits and pieces stuck to it, you can also use GooGone to remove everything. Spray GooGone on a paper towel and rub it over the Cricut mat, especially on bits and pieces that are really stuck. If your mat is really dirty, you may have to rub GooGone over the mat, really soaking it and then let it sit for awhile.
2. Prime the ZIG Glue Stick
Take the top off of the ZIG Memory System glue stick and press it up and down on a piece of paper, napkin, or paper towel until the blue color is showing at the very end of the tip. What this does is to get the glue started. It takes a few minutes to get it to come out of the glue stick and saturate the tip.
Note: once the glue is dry it will not show up as blue. It will be clear and produce a shiny finish on the mat.
3. Use the ZIG Memory Glue Stick
Rub the glue stick over the cleaned surface of your Cricut mat. Try to make even strokes so you don’t end up with a gloppy mess. We didn’t even tape the edges or use Vaseline as some other method suggested. Vaseline seemed too messy and taping is too much work. It’s super easy to do this and even a beginner will be able to cover the mat with ZIG Memory System glue stick.
4. Dry the Cricut Mat
Wait until the glue dries. It literally took 2 minutes before the glue was completely dried so it’s pretty fast. If you don’t want to wait for the glue to dry, use a hair dryer on a low setting and run it back and forth over the Cricut mat to make the glue dry faster.
You can see the sticky surface on our Cricut mat after using the ZIG Memory System glue stick.
The ZIP Glue stick costs around $5.99 whereas buying a new Cricut mat every time it loses stickiness will cost you much more. Based on the size of the ZIP pen (we bought the large one), you can probably re-stick a Cricut mat over 25 to 30 times. That’s a HUGE savings.


Leave a Reply