Decorate for Halloween on a budget with these Dollar Store Halloween decor ideas. You can get supplies to make all of these Halloween craft decor projects from your local Dollar Store. We love Dollar Tree. They have the best supplies and always the freshest ideas. If you don’t have a Dollar Tree near you, not to worry, you can get most of the items you need to make budget Halloween decorations at many dollar stores.
Get inspired by these creepy, scary and just fun Halloween decoration ideas from popular bloggers around the web. Most of these crafts are quick and easy and can be made in under one hour. You won’t believe how professional your results will be and your friends will think you bought everything from Homegoods.
Halloween Decoration Supplies
You will need to have basic craft supplies on hand to make these Halloween decorations. Here are some we suggest.
- plastic skull
- Halloween-themed ribbon and fabrics
- acrylic paints and paint brushes
- gold and silver metallic paints
- picture frames
- cheesecloth
- balloons
- liquid starch
- plastic crows, bats, bug, spiders
- Mod Podge, twine and raffia
- pumpkin bucket
- glue, scissors and a craft knife
- hot glue gun and glue sticks
- candle holders and vases
Dollar Store Halloween Decor Ideas
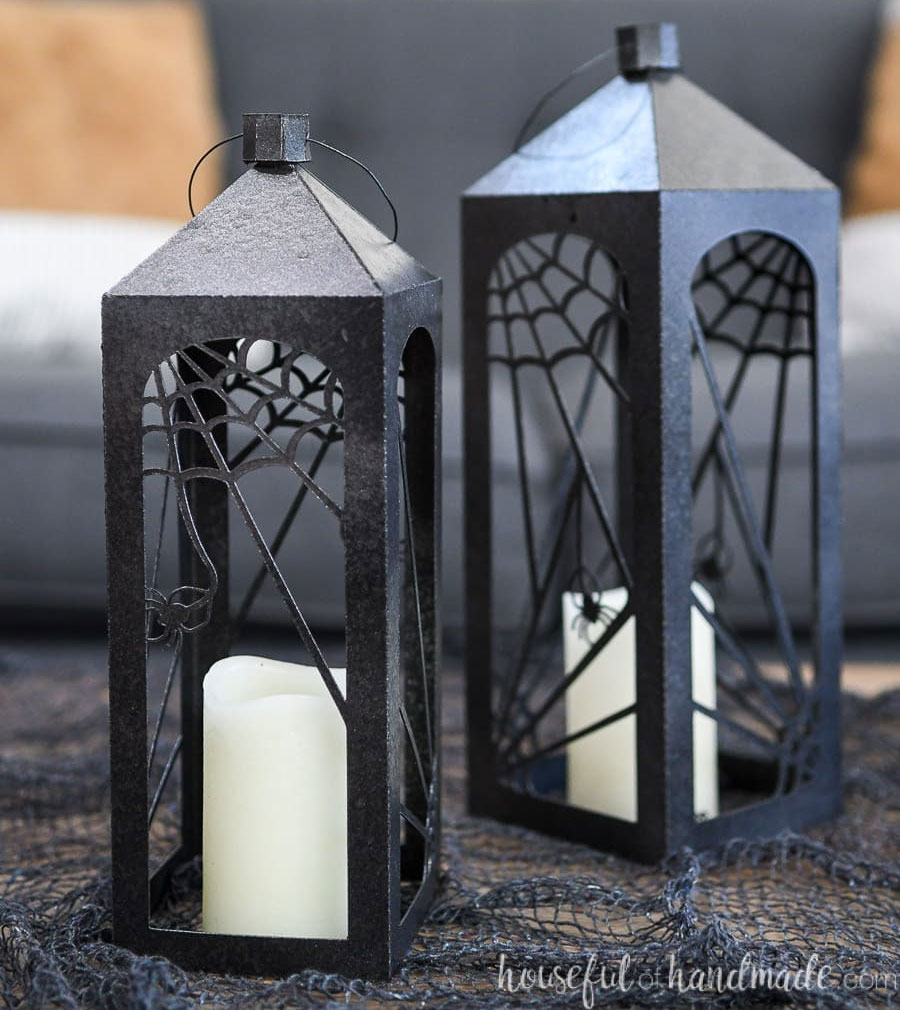
Spiderweb Halloween Paper Lanterns
This Halloween craft requires the use of a Cricut or other paper cutting machine. You can get the flameless candles at most dollar stores. You will also need some black paint. Such a genius idea!
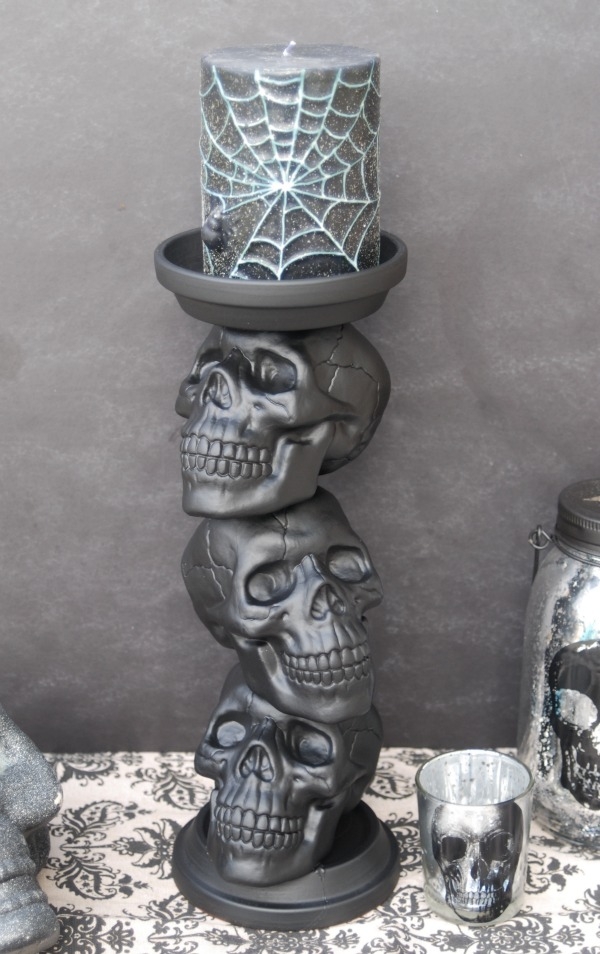
Homegoods Reproduction Skull Candle Holder
You’ll need some plastic skulls, 2 Terra Cotta saucers, black paint and a glue gun to complete this project. In just a few minutes you will have a skull candle holder that your friends will swear you bought at Homegoods.
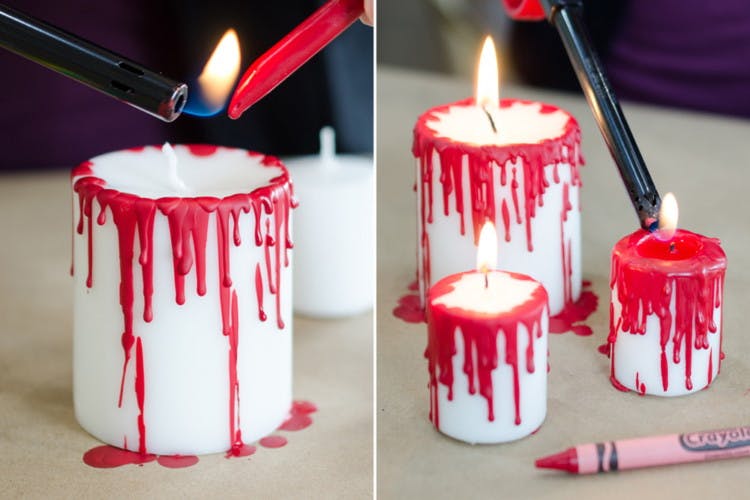
Bleeding Halloween Candles using Crayons
If you don’t have a fancy spiderweb candle to add to your skull candle holder, you can just make a creepy candle by using a plain dollar store candle and a crayon. Melt the crayon over and around the edge of the candle to give it a creepy look. You could use red for blood or black and grey crayons for a dark and sinister look.
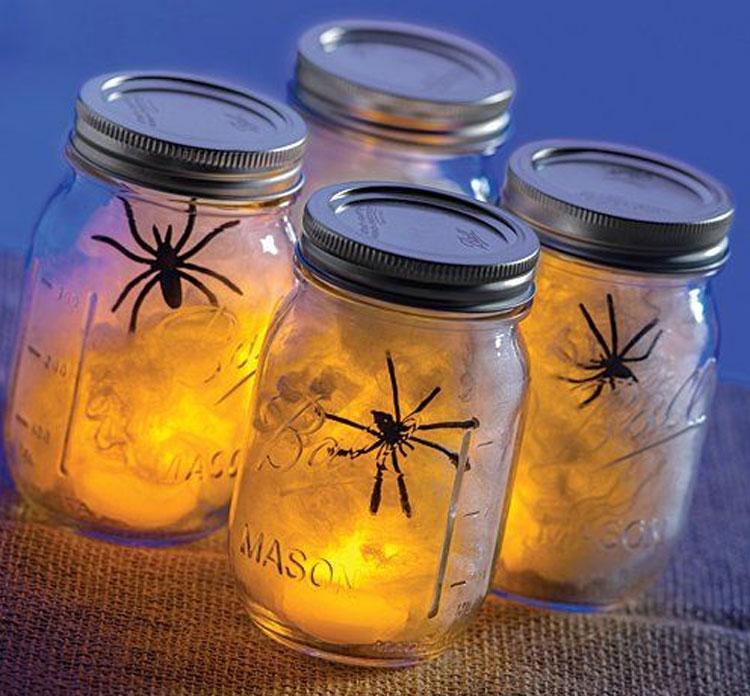
Spooky Spider Web in a Mason Jar
This craft is so easy and quick you will want to get the kids involved. All you need is some cotton, plastic spider, Mason jar, and a battery-operated light. Pull the cotton until it looks like a web, insert the candle in the bottom and place a plastic spider close to the outer edge of the jar and you’re done. As an alternative, you could fill the jar with a little dish soap and plastic eyeballs.
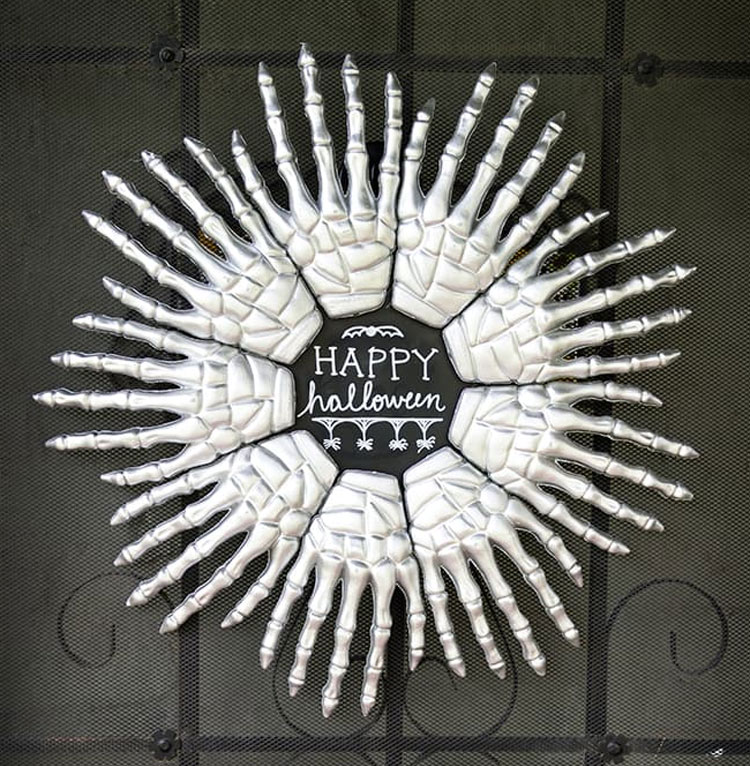
Skeleton Hands Halloween DIY Wreath
To create this skeleton Halloween wreath you will need plastic skeleton hands, silver spray paint and a chalkboard for the center. If you can’t find a chalkboard at your local dollar store you could substitute cardboard and black paper. Draw a design on the black paper. Or peruse the greeting card aisle and you may find a Halloween greeting card that you cloud use as the design.
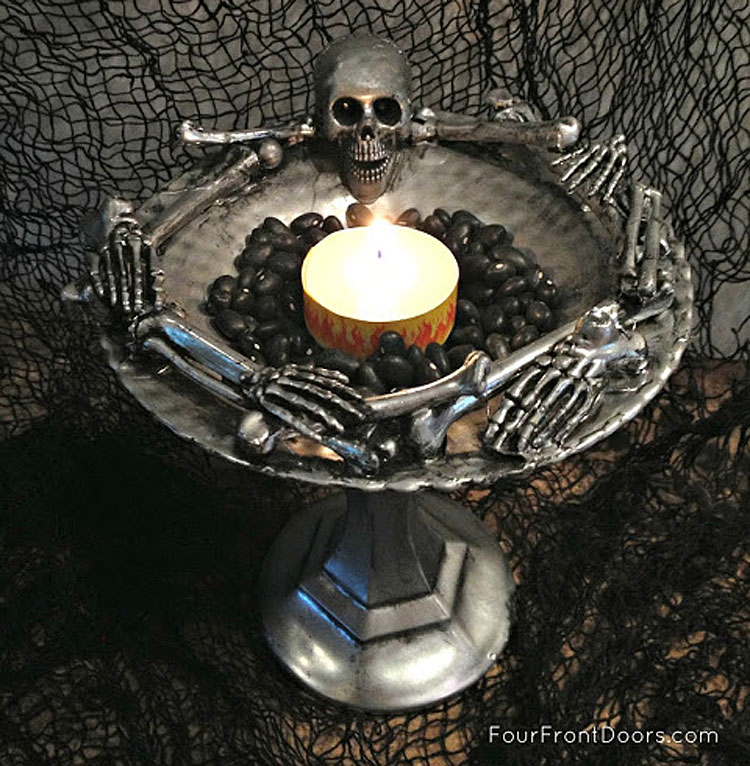
DIY Skeleton Candy Dish
This DIY Skeleton candy dish require a plastic skeleton, black acrylic paint, silver metallic paint, glass dish, and glass candle holder. If your local dollar store doesn’t have a glass dish or glass candle holder you could try your local Goodwill shop to find a used one.
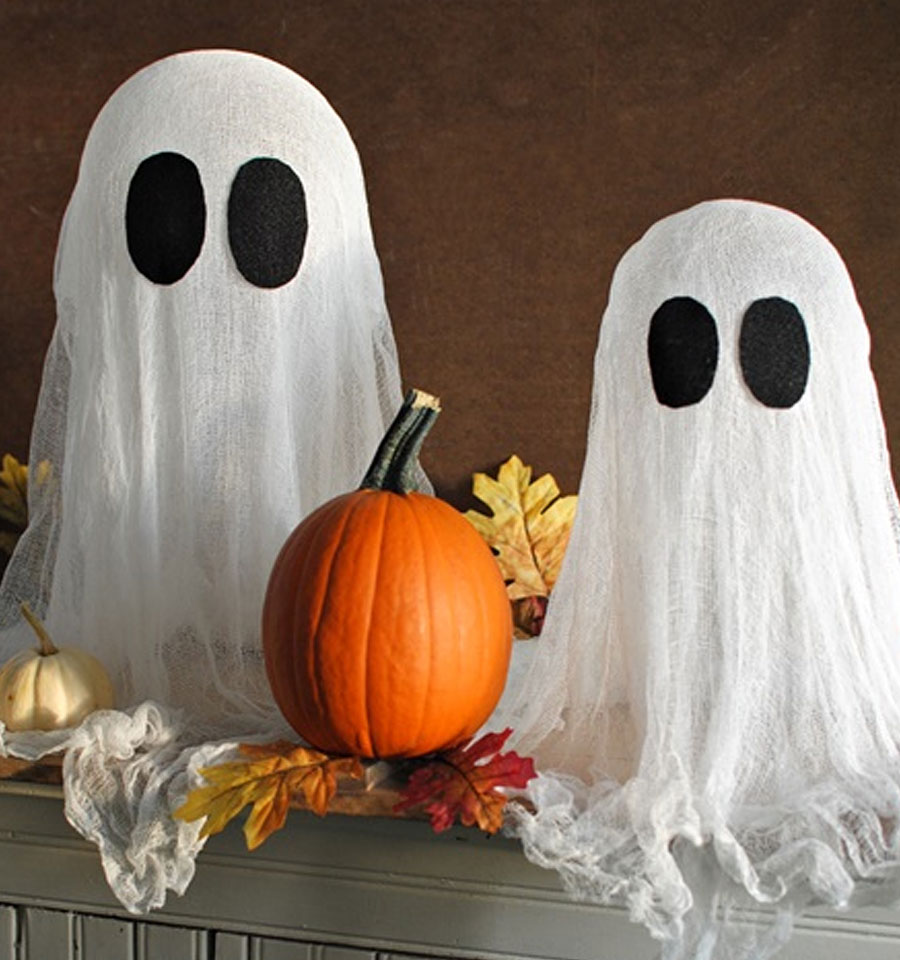
Cheesecloth Halloween Ghosts
These Halloween ghost are easy to make and the kids will want to help. You will need balloons, cheesecloth, liquid starch, black felt, scissors, and a hot glue gun.
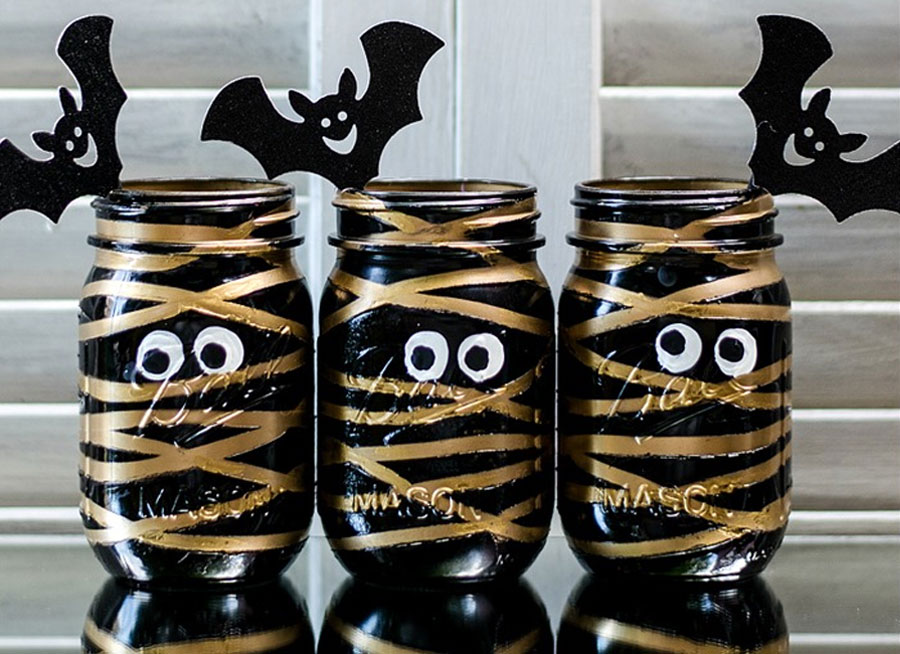
Painted Mummy Mason Jars
These painted mummy Mason jars are a unique decoration for your Halloween decor and they are easy to make. You’ll need Mason jars which you should be able to get at your local dollar store, gold, white, and black paint, rubber bands, and bat cardboard cutouts.
The secret word is scary.
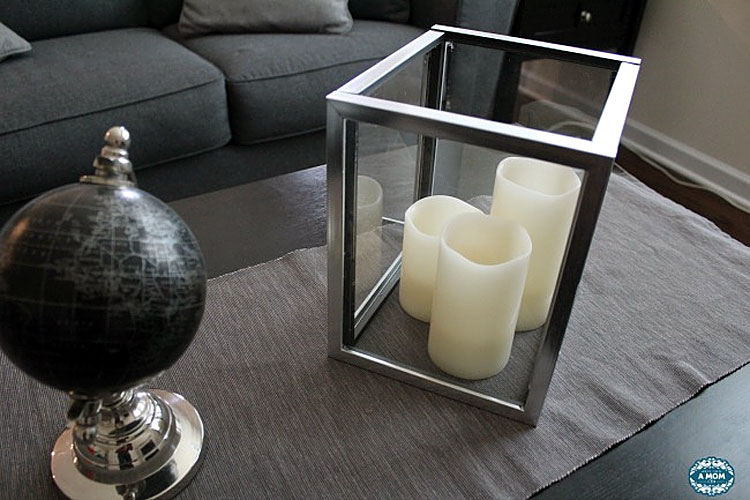
Dollar Store Picture Frame Halloween Lantern
You can make the cheapest of lanterns just using 4 Dollar store picture frames. Remove the backing and glass. Hot glue 4 picture frames together to form a cube. You could leave it at this point and fill it with pumpkins and skulls.
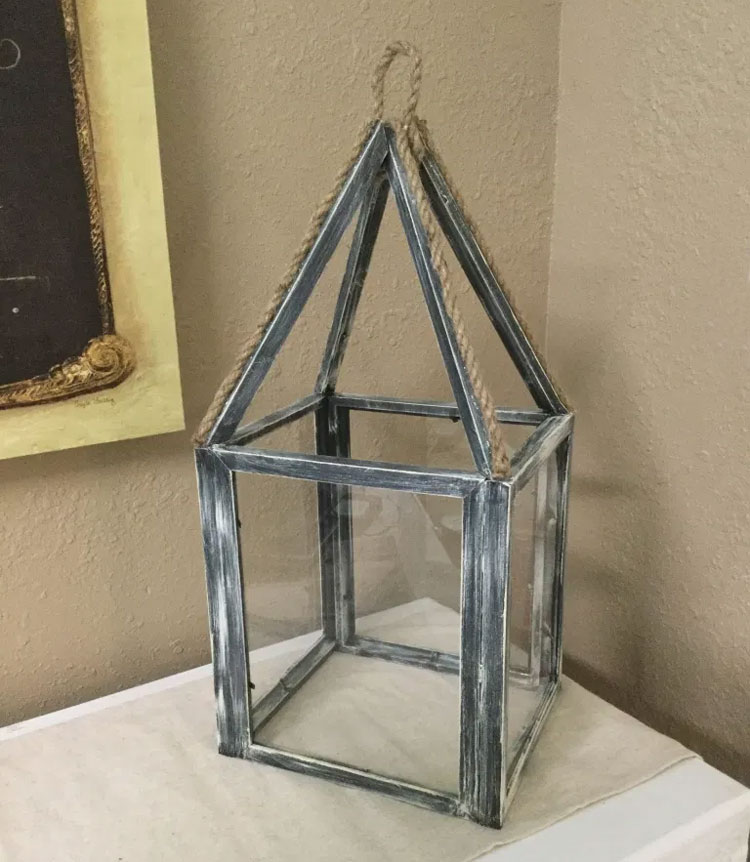
To create a roof for the lantern, take a fifth picture frame apart. You may need to use a saw to create the angled (mitered) corners. Glue the individual pieces together to create the roof of the lantern. Now you have a cheap lantern that looks great for Halloween decorations.
If you want to go even further, take a shower curtain ring or regular curtain ring or even a key ring and put a piece of wire or string around it. Glue the string or push the wire down inside the lantern at the top peak. Use a glue gun to secure it in place. Or, you could use heavy twine or rope to create a handle.
You may want to paint the lantern black and add a bit of silver paint to give it a distressed and aged finish. If you are going to use your lantern for another holiday or to decorate at another time of year, you may want to consider what color would work well for other occasions and be more versatile. A black lantern with a bit of gold or bronze dry-brushed over the black may be more versatile.
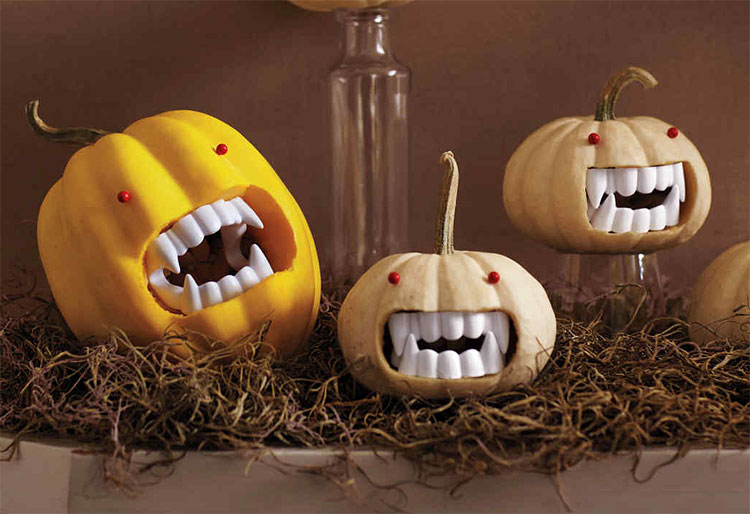
Fanged Vampire Pumpkins
You can use a small real pumpkin or get a small plastic pumpkin from the dollar store for this project. You will need plastic vampire teeth that you can easily find at the dollar store. The eyes are red map tacks but you could use anything that is red – a dot of paint, a piece of red hot candy, a regular straight pin with a red head.
Lay the template on the pumpkin, trace an outline and cut out with a serrated knife or hand saw. Wedge the teeth into the pumpkin.