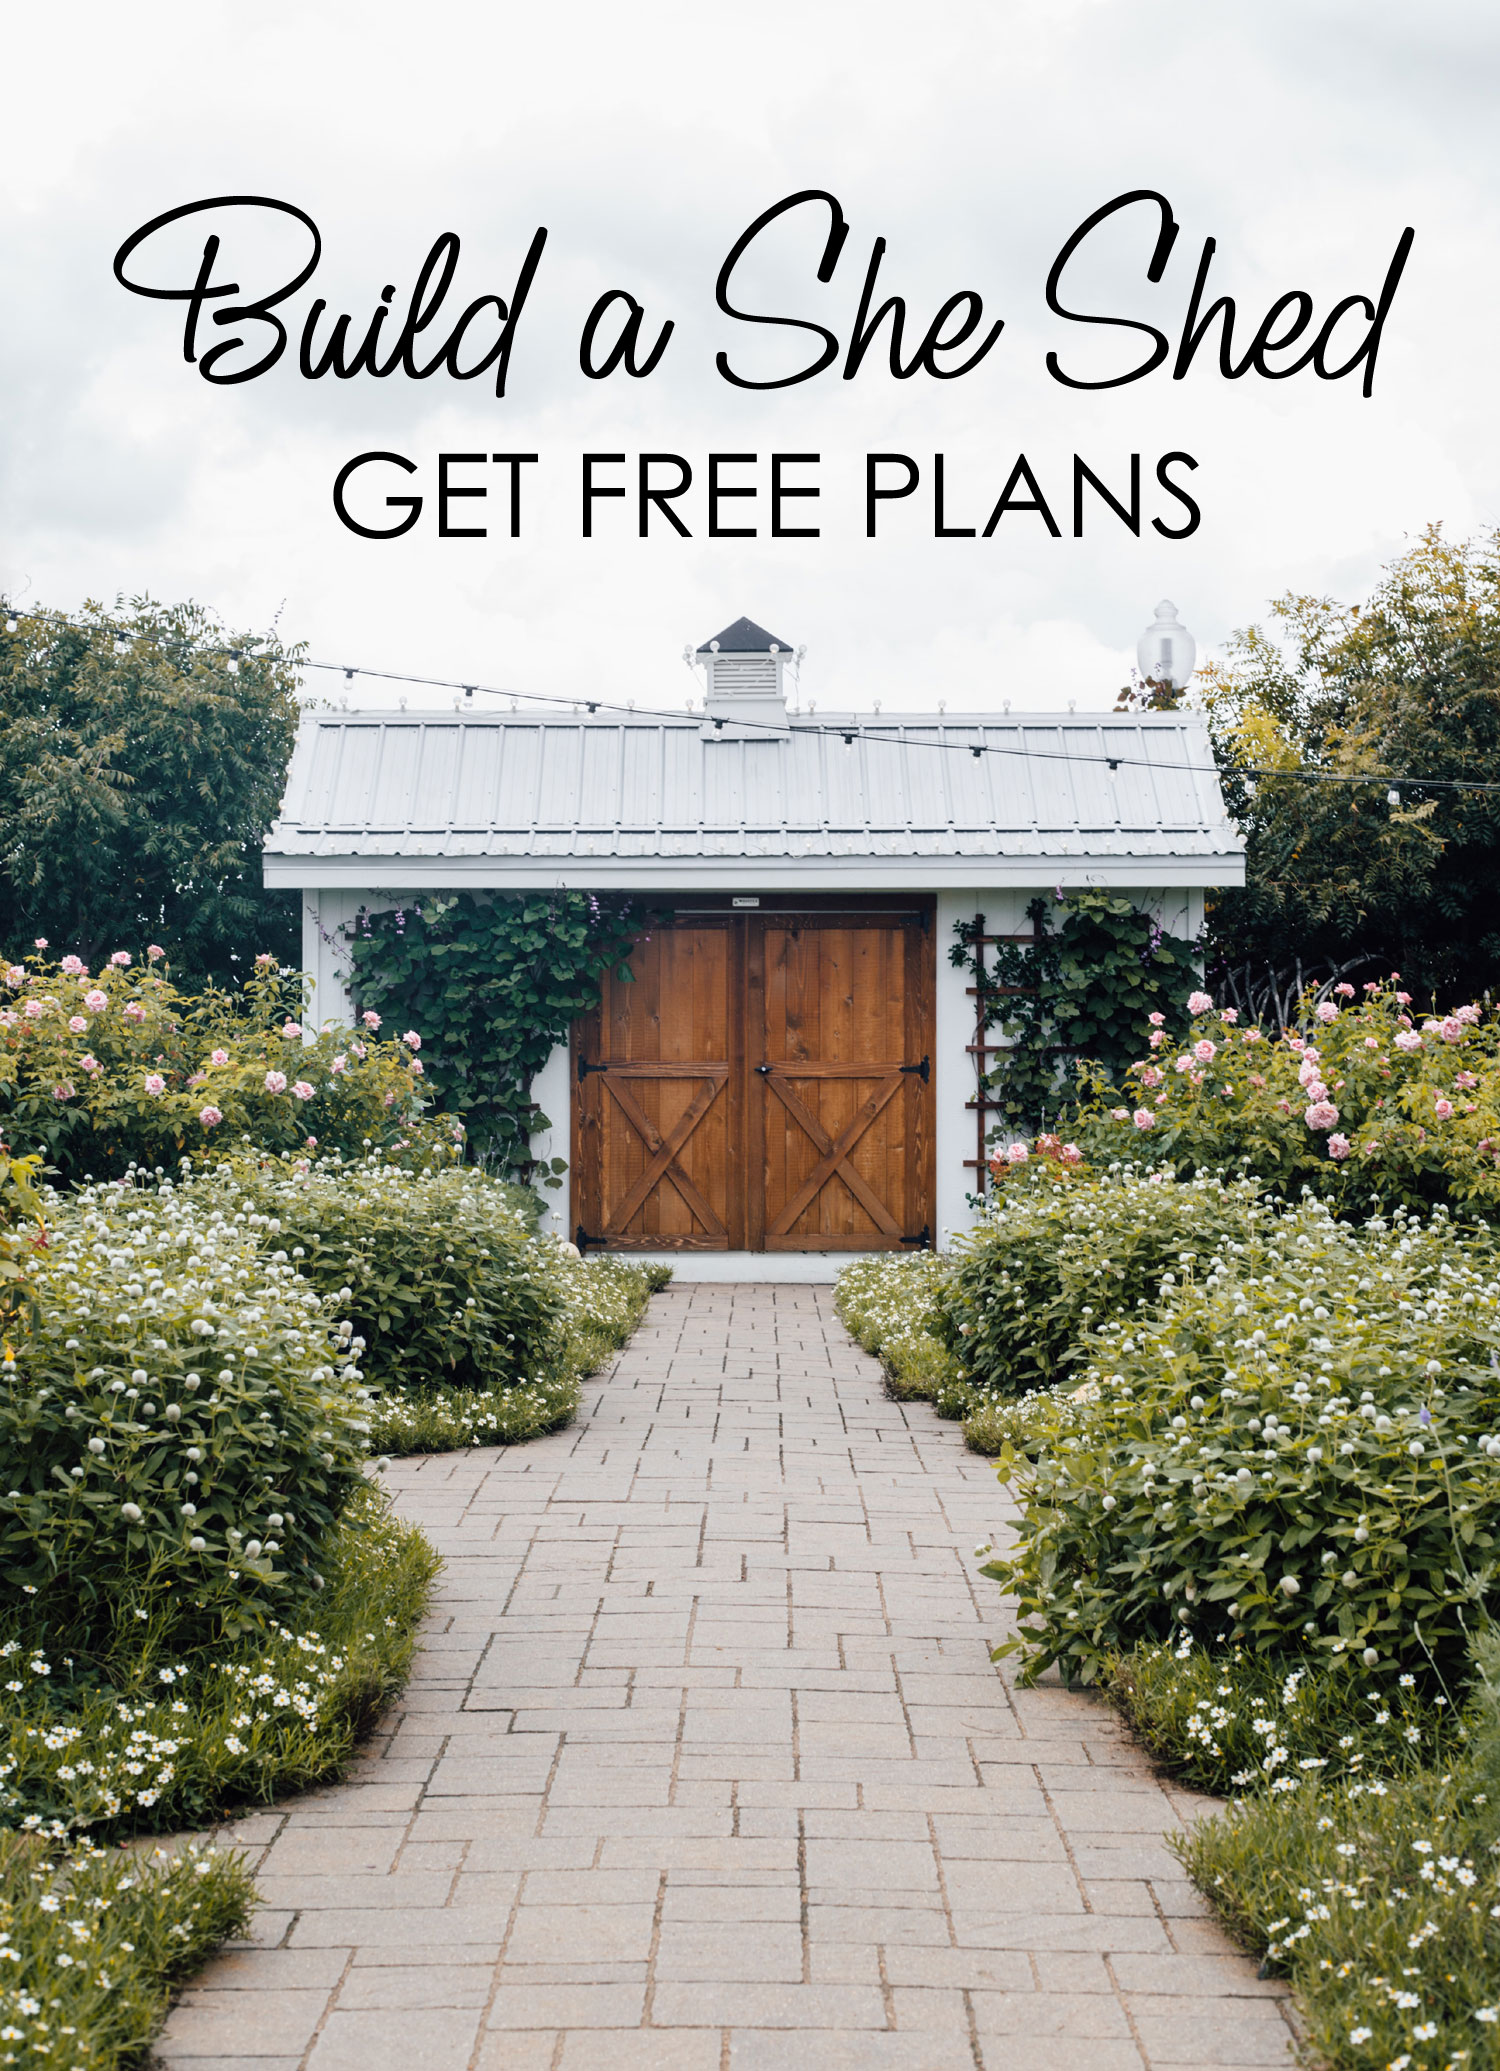
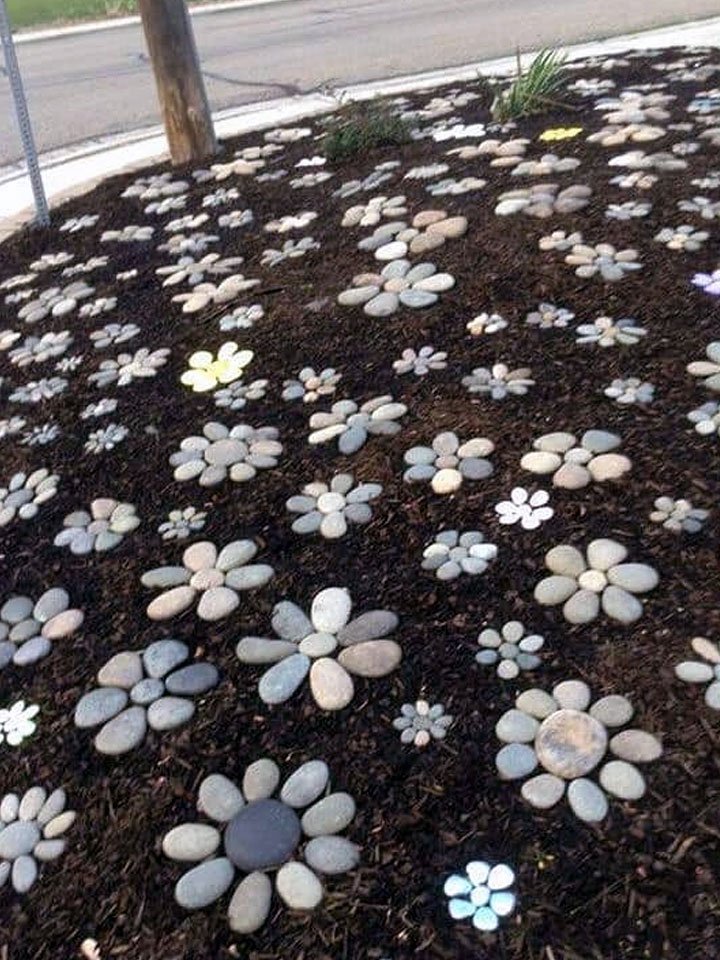
Mosaic Bird Baths are so unique all of your friends and neighbors will be envious and want one of their very own. Add a pedestal to your bird bath as a platform. Using a large terracotta saucer, you can create and design the most beautiful mosaic bird bath that doesn’t cost a lot. Use a large terracotta pot turned upside down to create the pedestal base. You can even tile the base if you want or paint it. Just use your imagination. If you don’t want a pedestal just place your bird bath anywhere you like – on a rock, bench, porch, anywhere. Use shades of blue, turquoise, aqua to give your bird bath a calming feel of the ocean.
Disclaimer: this article contains affiliate links. Please read our affiliate policies.
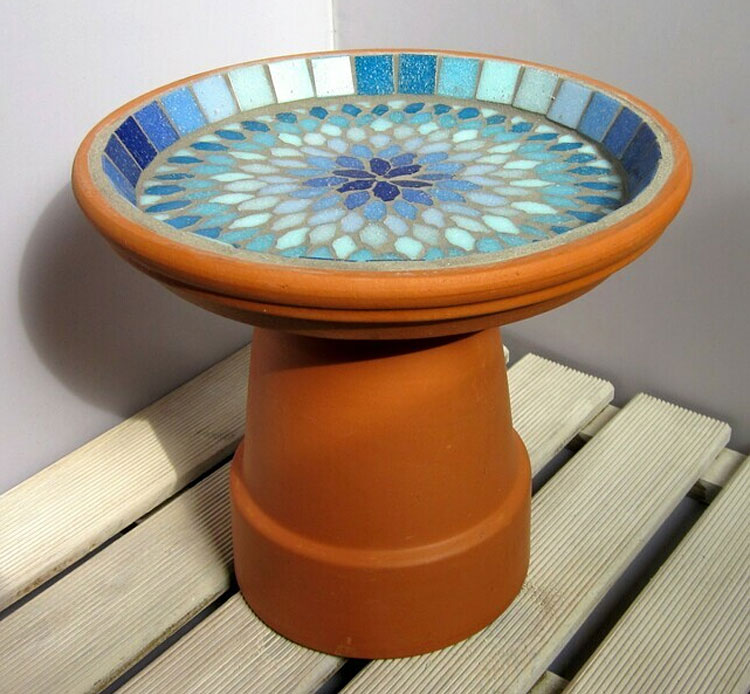
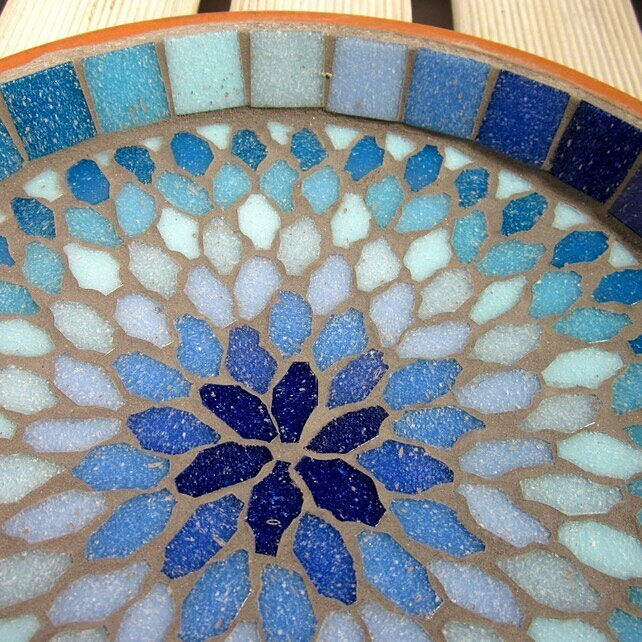
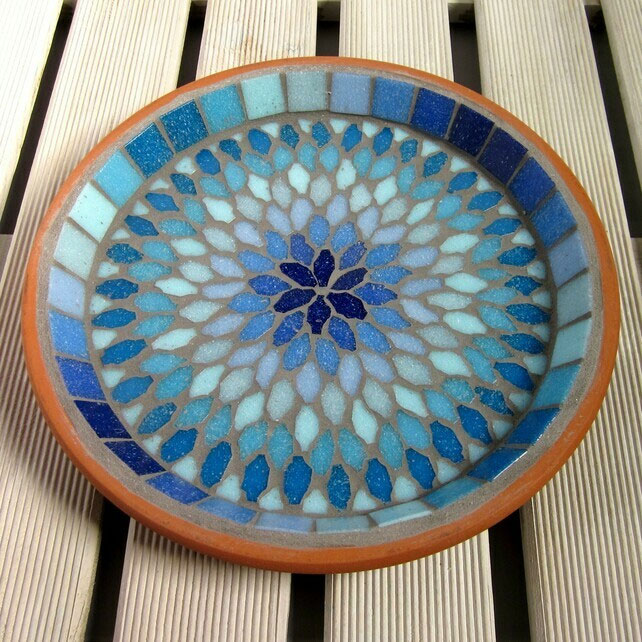
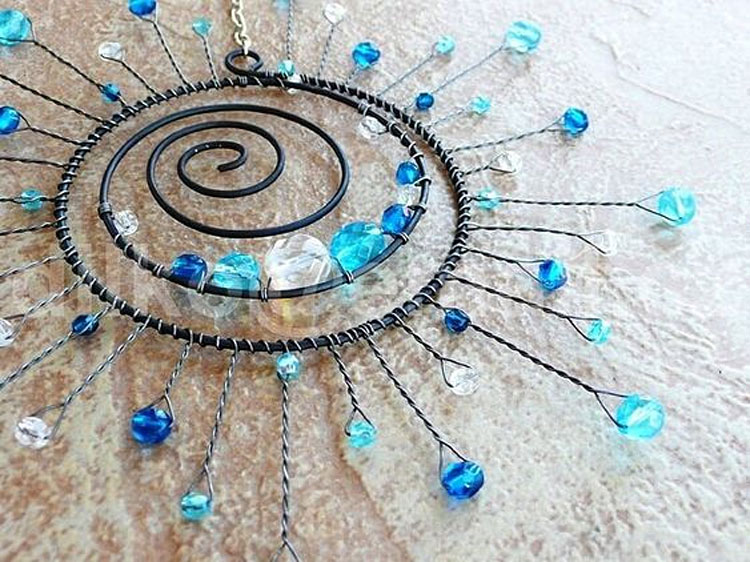
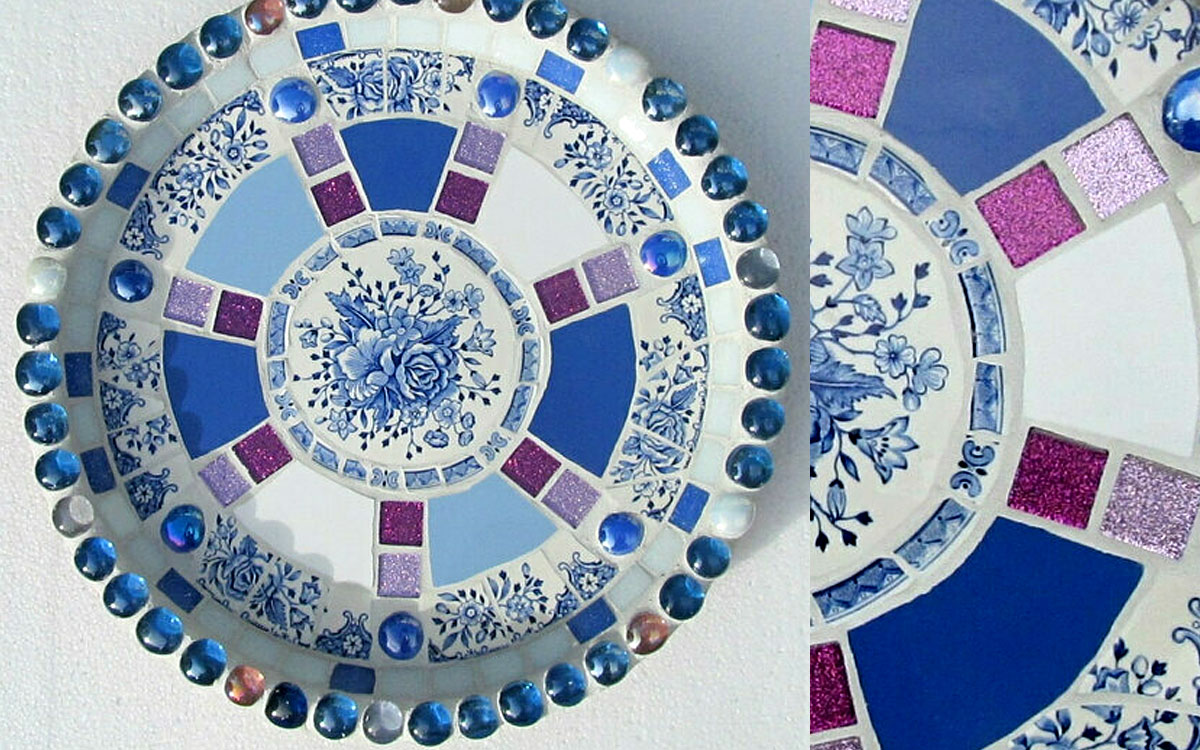
The Gypsy Sky Mosaic Garden Bird Bath has a Bohemian feel it and a design which reminds me a bit of tie die, and a bit of a Mandala. The pattern uses shades blue from turquoise to aqua, and dark sapphire to sky, and then is finished with graduating blues as a border.
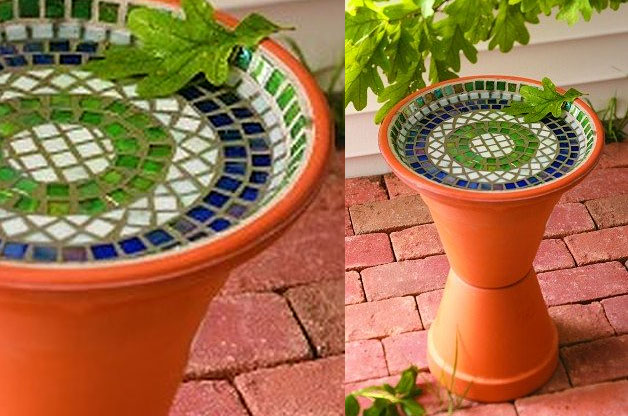
Bright and brilliant mosaic tiles are used to create a gorgeous birdbath that the birds will want to take a splash in. Terracotta flower pots aren’t just for flowers either. Turn a terracotta pot upside down to make the birdbath pedestal.
DIY Mosaic Bird Bath Supplies
If you want to try your hand at making some of these easier mosaic bird baths, here are some of the supplies you will want to keep on hand.
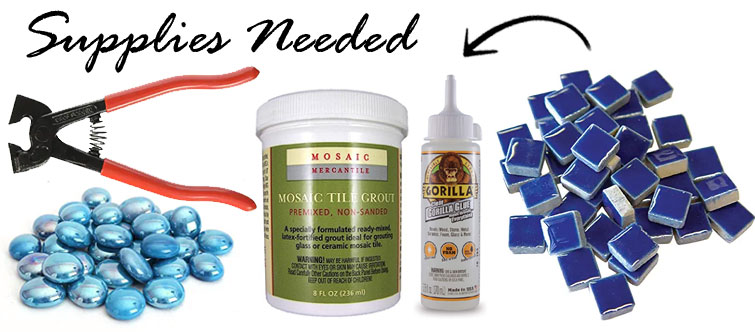
You will need a variety of Tesserae tiles, ceramic tiles, tile cutter (to break plates), tile grout, and some strong Tile Adhesive.
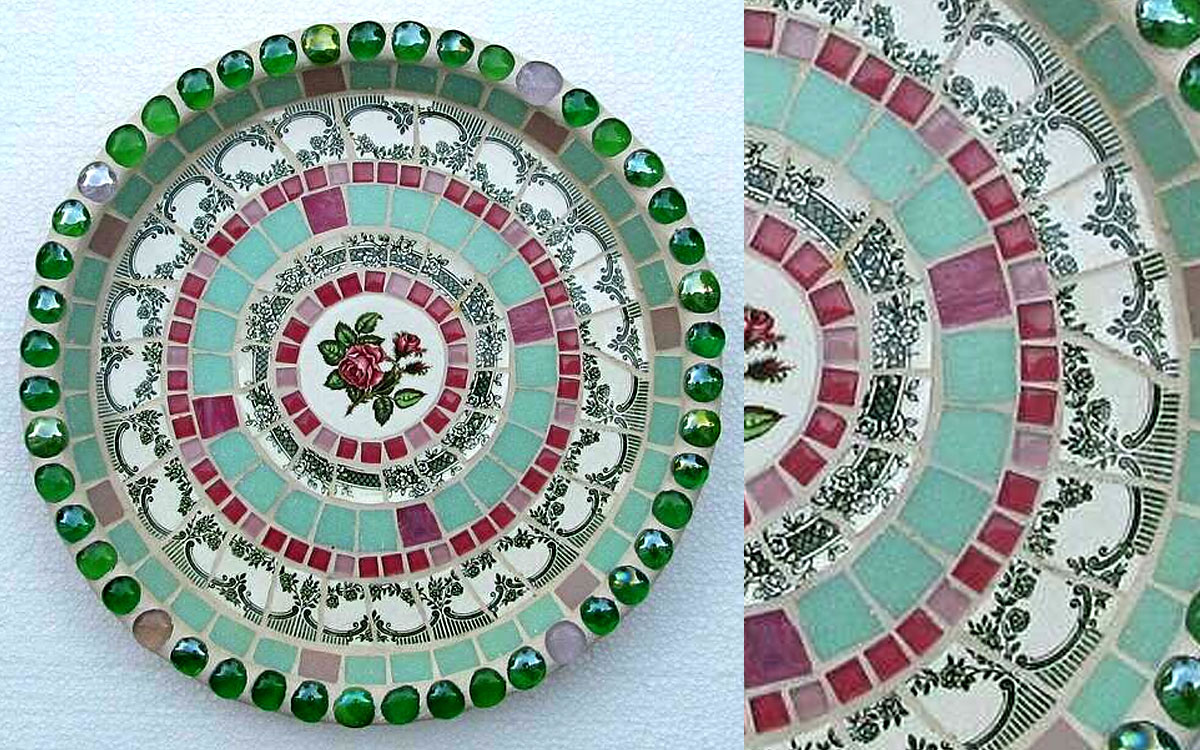
These beautiful mosaic birdbaths are ready for the birds to visit in your garden! These unique designs are made on a terracotta base and includes a range of materials from a broken china to Tesserae tiles and glass pebbles. There are lots of elements which will sparkle through the water in the sunlight.
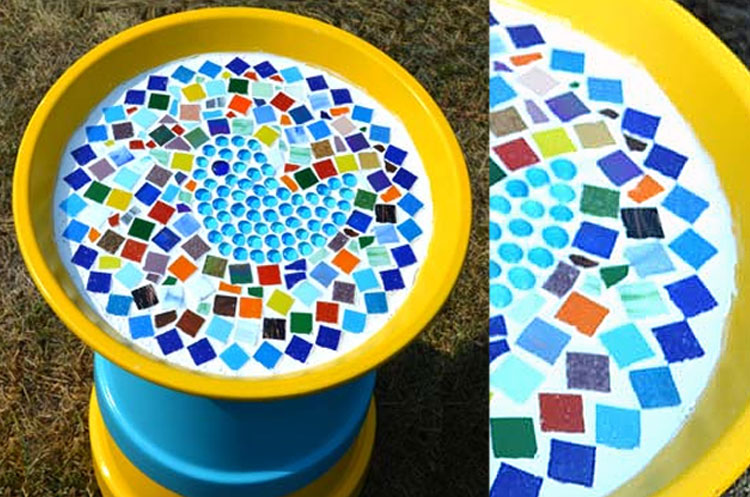
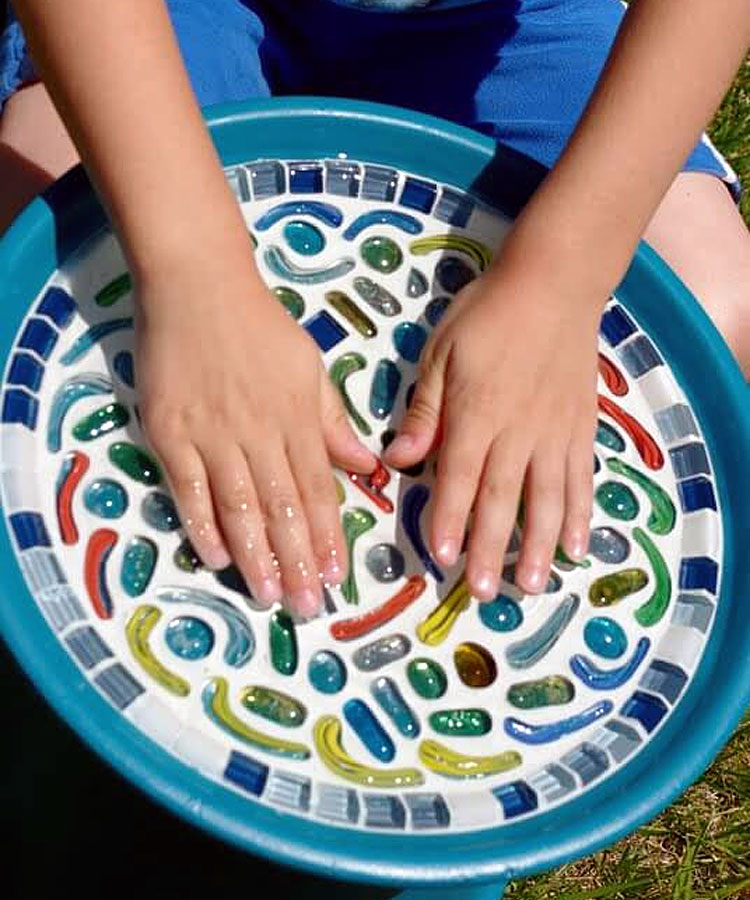
This DIY birdbath project is so simple and inexpensive that even a child can help with it with adult assistance. You will need a terracotta pot and large saucer, spray paint (optional), tiles and glass gems, strong glue such as E-6000 or Gorgilla Glue, white grout and sponges.
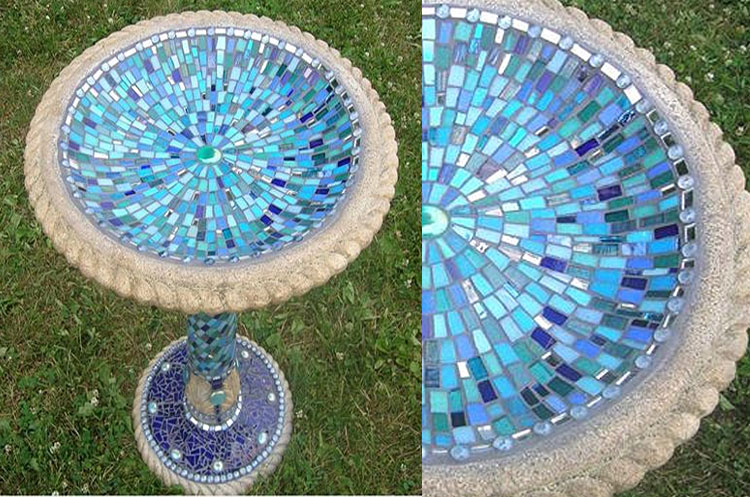
Sparkling mirrors and a burst of blue make a beautiful addition to your Spring Garden with this gorgeous concrete and mosaic birdbath that is made with hundreds of pieces of hand cut silver mirror tile, blue Italian glass tile, glass gems and Italian Millefiori.
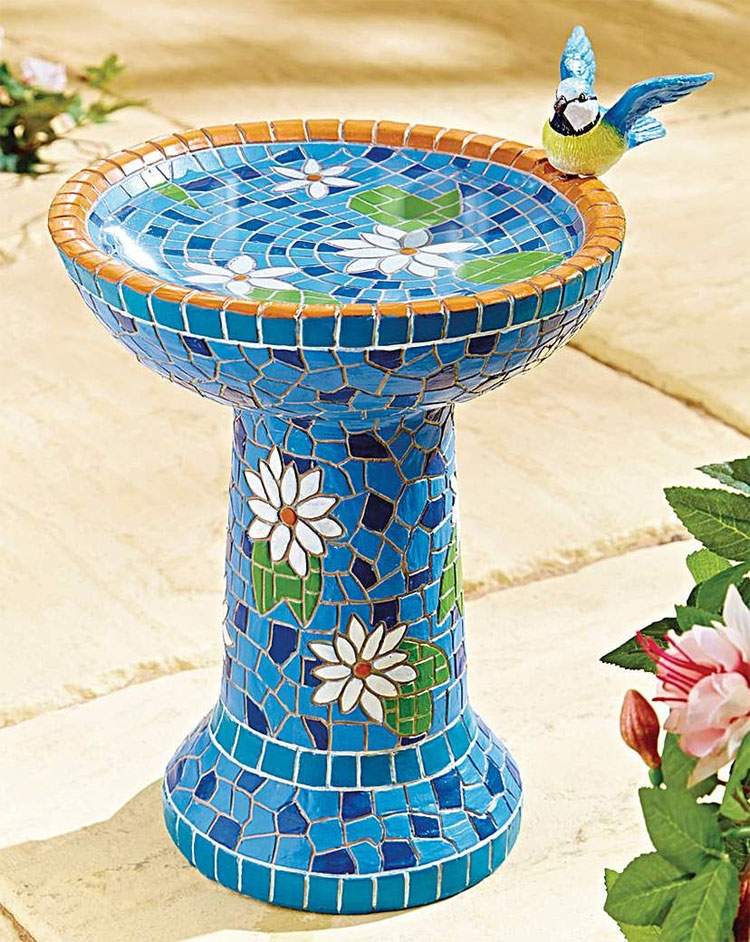
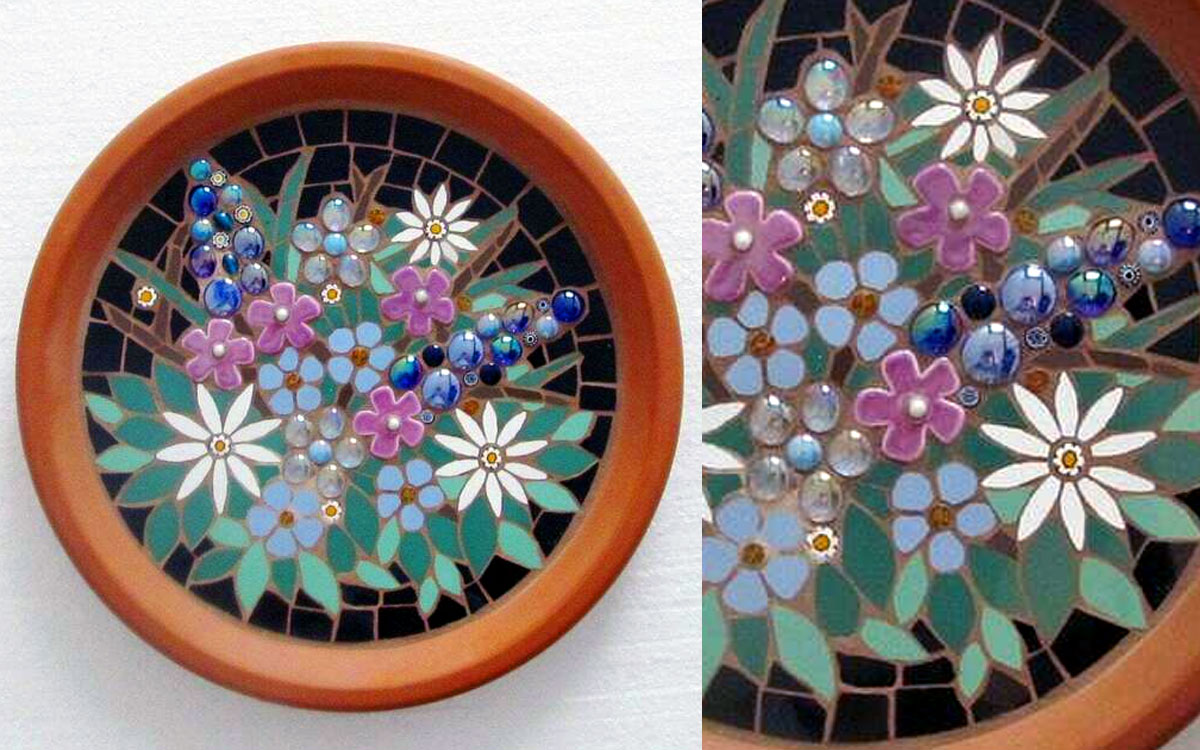
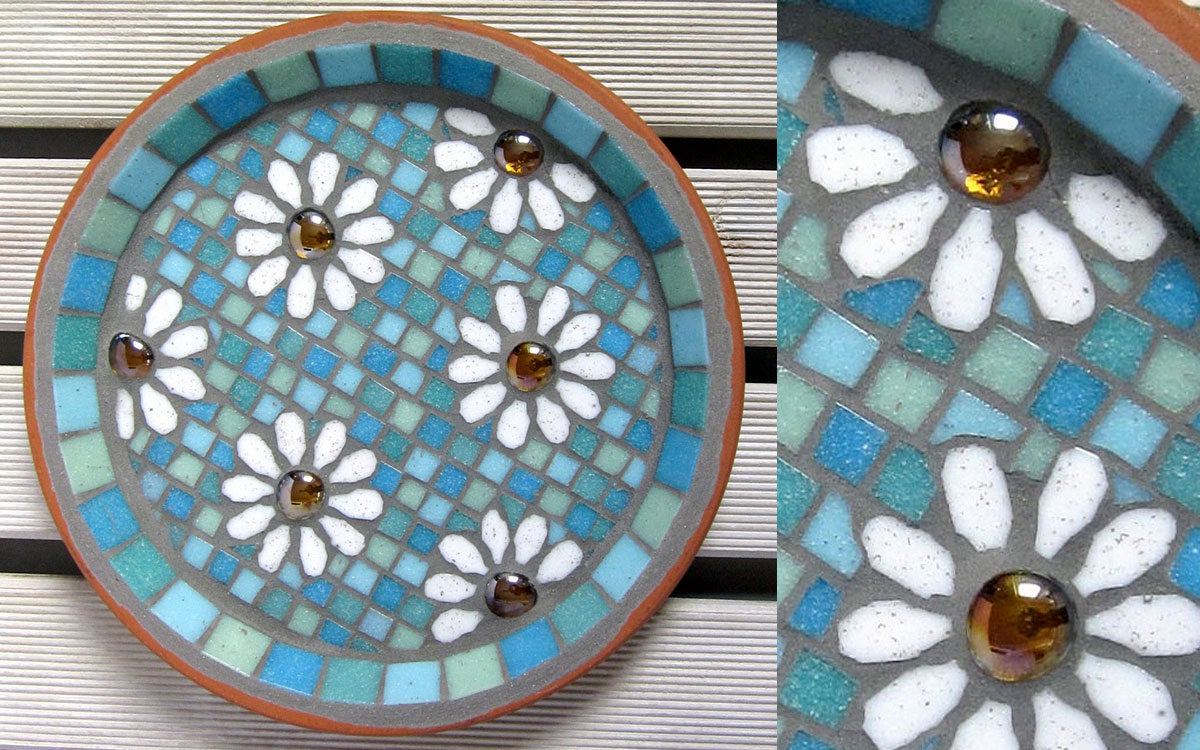
The pastel tile colors in this mosaic birdbath include pale and light aqua blue, mint green, and pale sea green. The center of the daisy flowers are translucent amber glass which give a lovely depth to the design.
This mosaic bird bath might look difficult or expensive, but it is actually easy to make and the supplies are cheap. You’ll be making many of these DIY bird baths in no time for our garden and to giveaway to friends. Put out several of different designs in your yard, or give them as gifts to bird-loving friends!