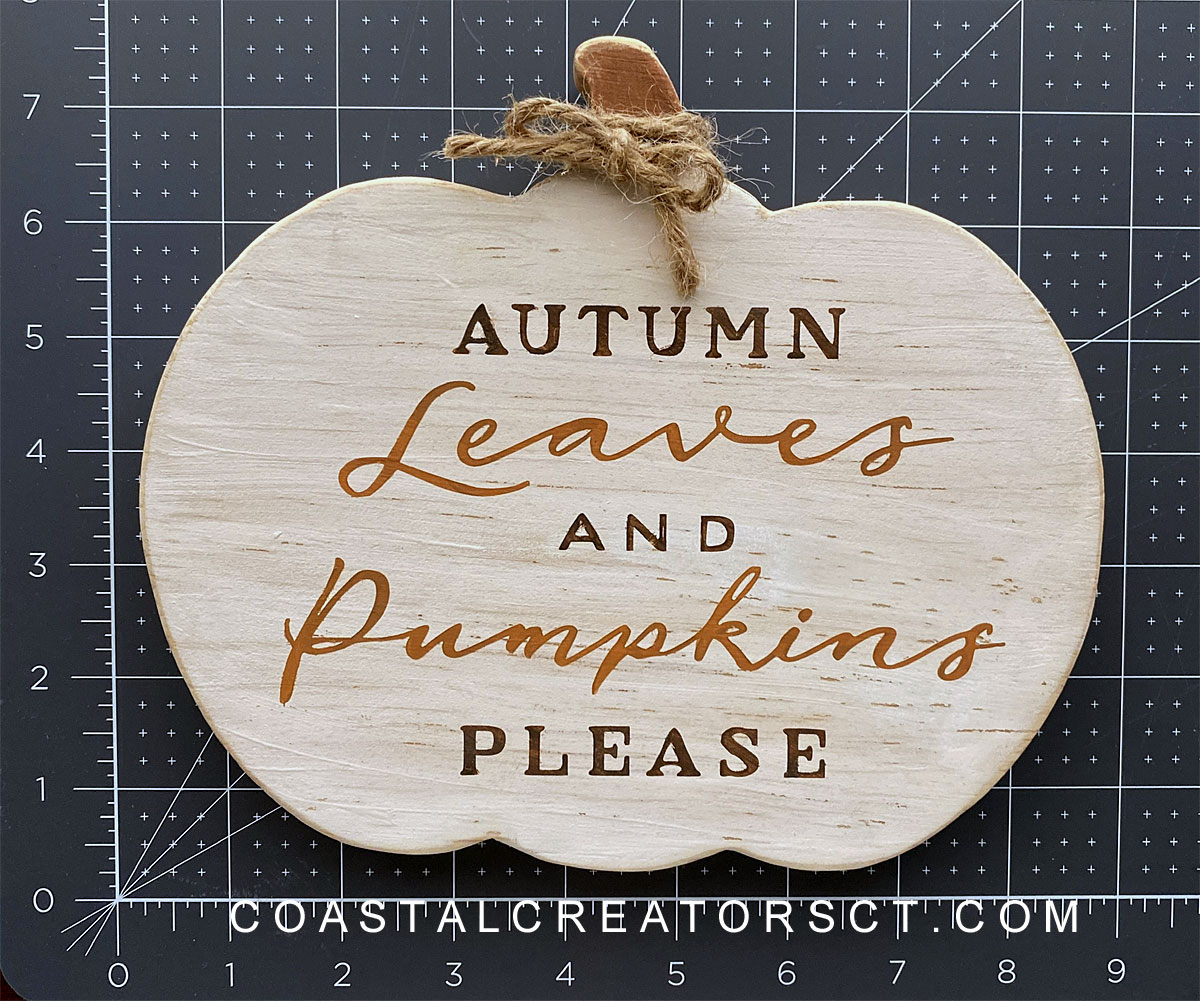
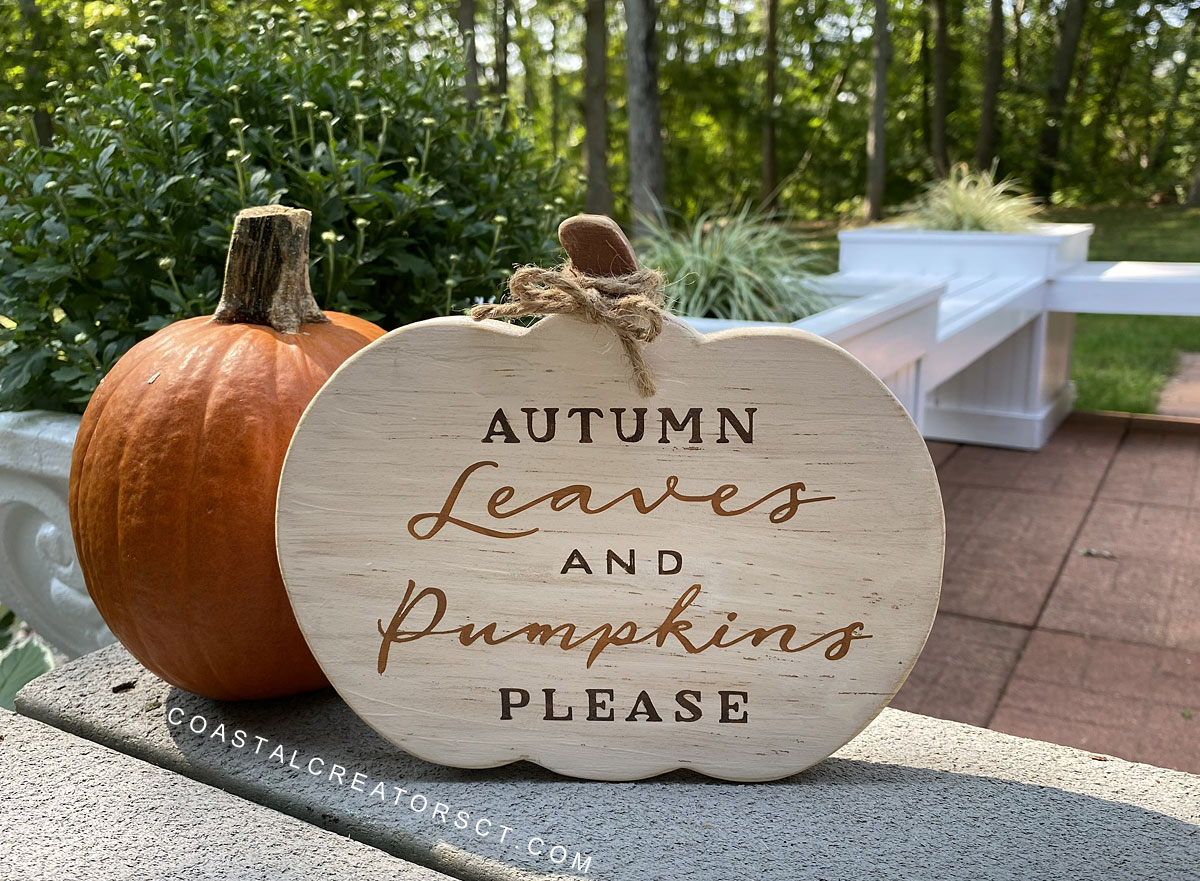
It’s fall and that means pumpkins and leaves, lots of leaves. We like to call it “leaf season” because we have so many trees in our yard. It’s a beautiful time of year in Connecticut. The trees are bursting with color. It’s also time for some Fall crafts. I am going to show you how to create this Fall wood pumpkin shelf sitter that you can keep, sell or gift! Wood crafts to sell are in high demand.
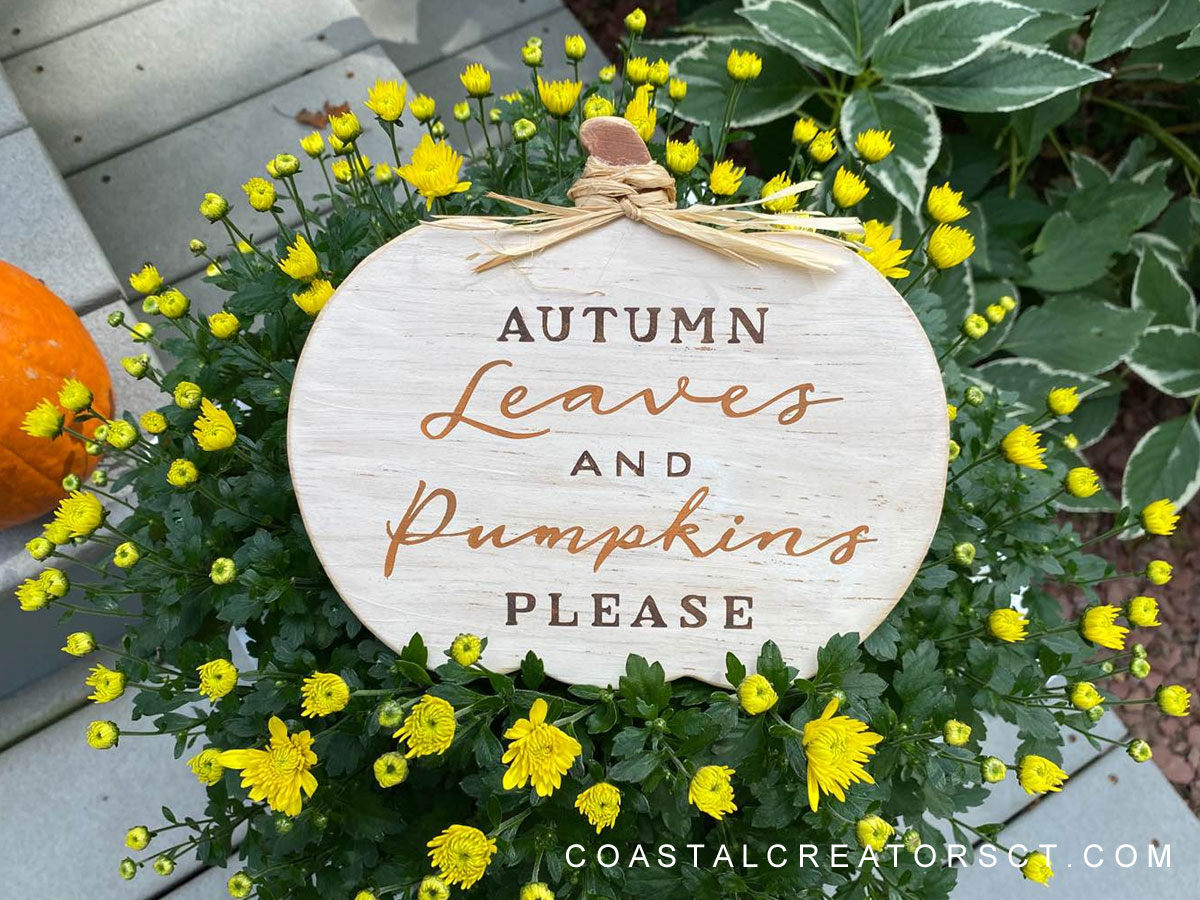
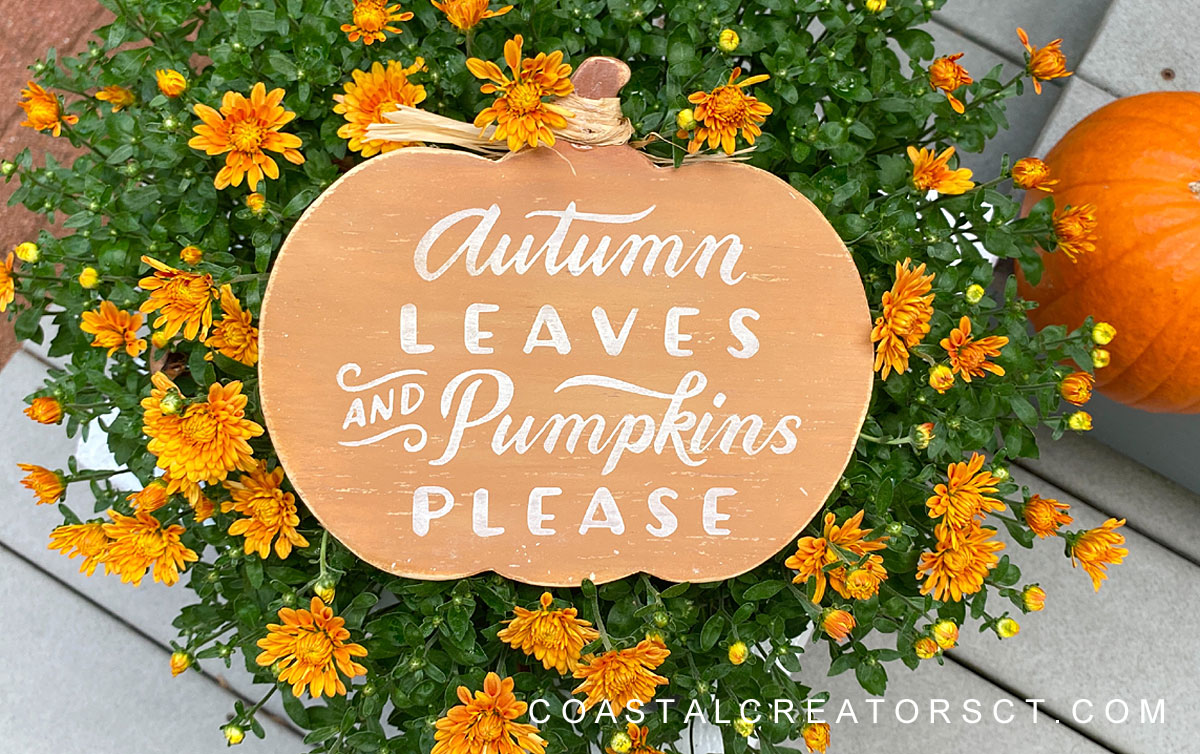
Supplies List
- Pine wood (we used a 1×8)
- Scroll Saw
- Paints (I used Apple Barrel Matte white, Harvest Orange, Nutmeg Brown, and Burnt Umber)
- Paint Brushes
- 80 Grit Sand Paper (or sanding block)
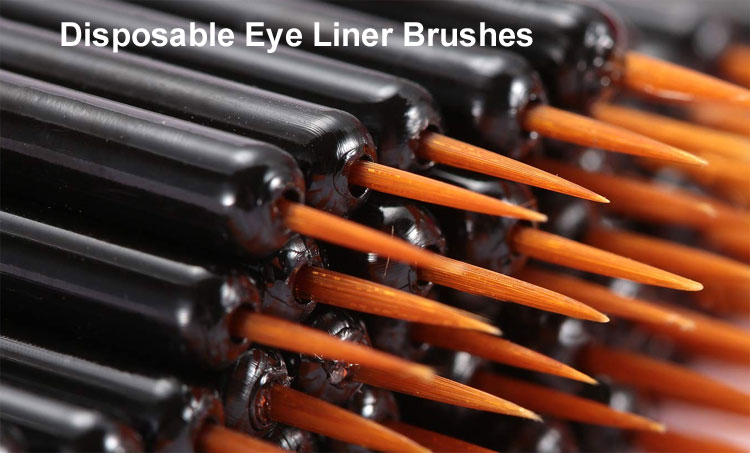
- Disposable eye liner brushes (optional)
- Natural Raffia Ribbon
- Oracal Stencil Vinyl
- Vinyl Transfer Tape
- Cricut Cutting Machine
Other colors that work well to paint these wood pumpkins are Apple Barrel Mossy Green, Antique White, Chestnut, Tuscan Red and Pumpkin Orange. If you don’t have a specific color you can also make your own by combining in colors.
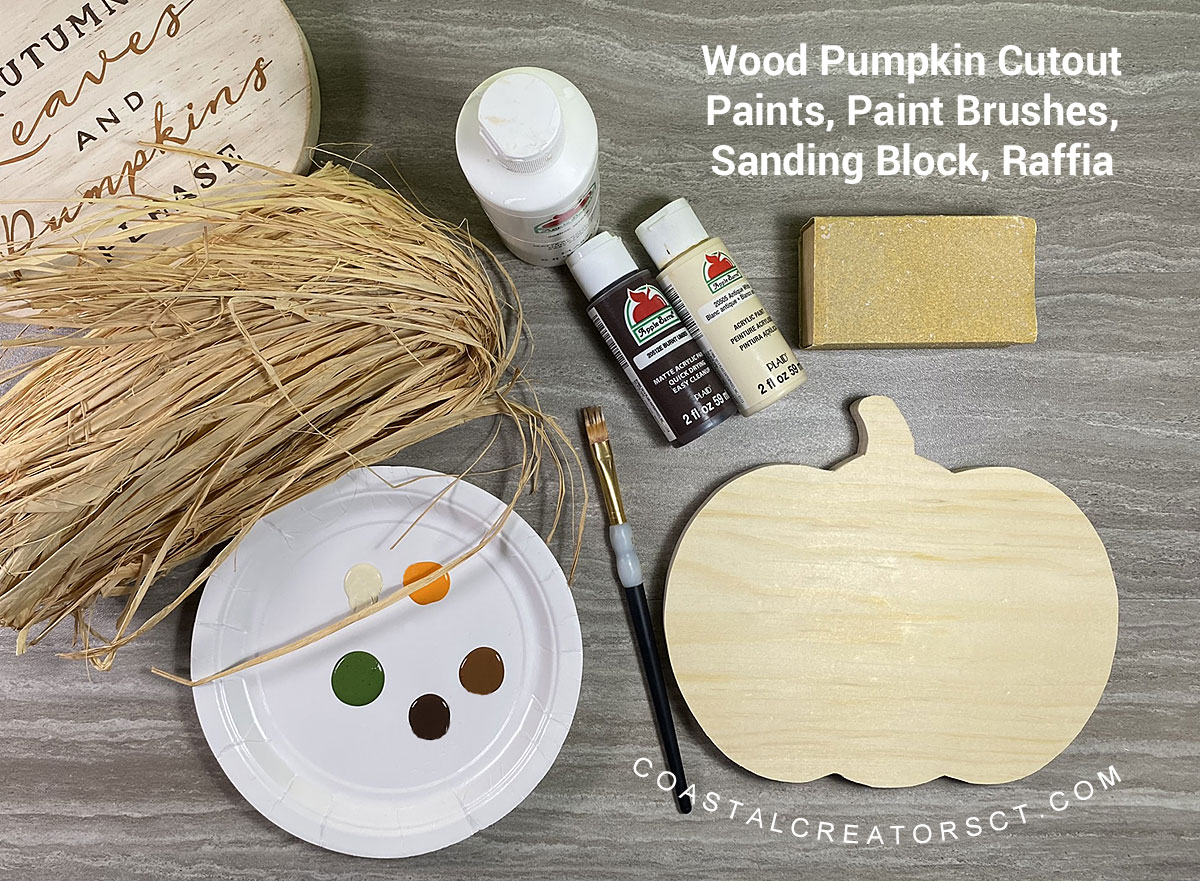
Apple Barrel paints are good quality and they are very affordable. You can get each 2 oz bottle for 50 cent at Walmart. If you can’t find a specific color at Walmart you can also purchase Apple Barrel paints through Plaidonline.com or Amazon.
Tip: If you are selling these pumpkins you may want to purchase the exact color and not make your own. This keeps the colors consistent when you are making a lot of the same item.
Free Template and Stencils
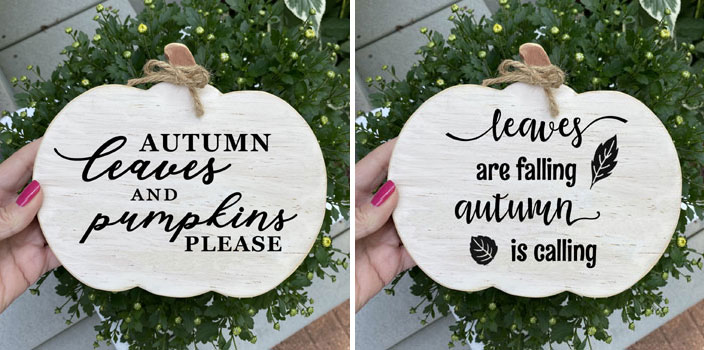
We are offering the pumpkin template and 4 stencils designs for Free to our email subscribers. Full instructions for how to use the stencil designs are also provided in the Template Gallery. Click Here to subscribe or fill out the form below to get access to the Free Template Gallery.
Here are two of the designs you will get plus there are 2 more.
Video Tutorial
Step-by-Step Instructions
Note: These instructions assume you know how to cut out a stencil using a Cricut or Silhouette or other cutting machine. I am only showing you how to make the pumpkin project, not how to use the cutting machine. However, feel free to ask questions in the comments below if you need help cutting the stencil.
1. Cut the pumpkin shape from the 1×8 pine board. The finished size is 8-1/4″ wide x 7-1/4″ high x 3/4″ deep. We cut the pumpkin from the pine board using a scroll saw.
You could always make a larger pumpkin. When you go to print out the template just enlarge it through the printer.
2. Cut the stencil and add transfer tape on top.
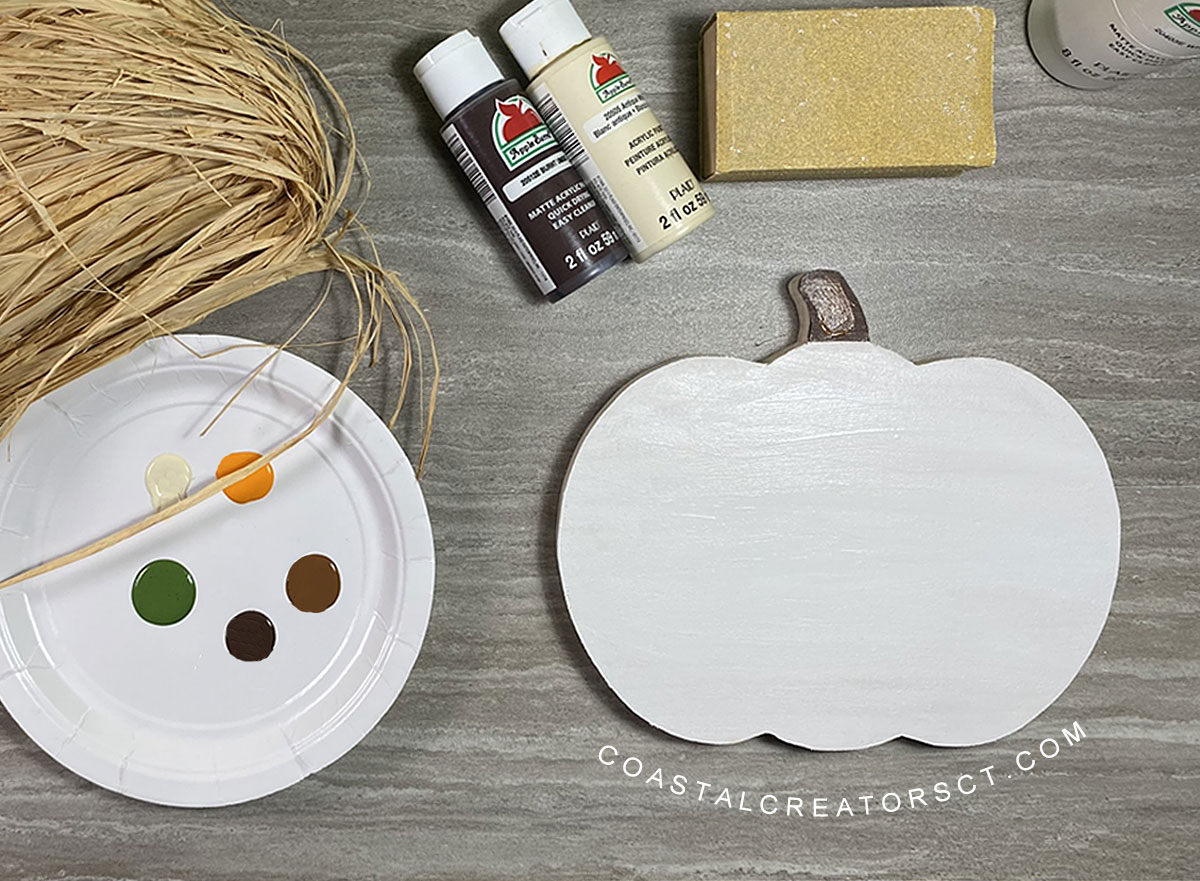
3. Paint the pumpkin white and the stem dark brown.
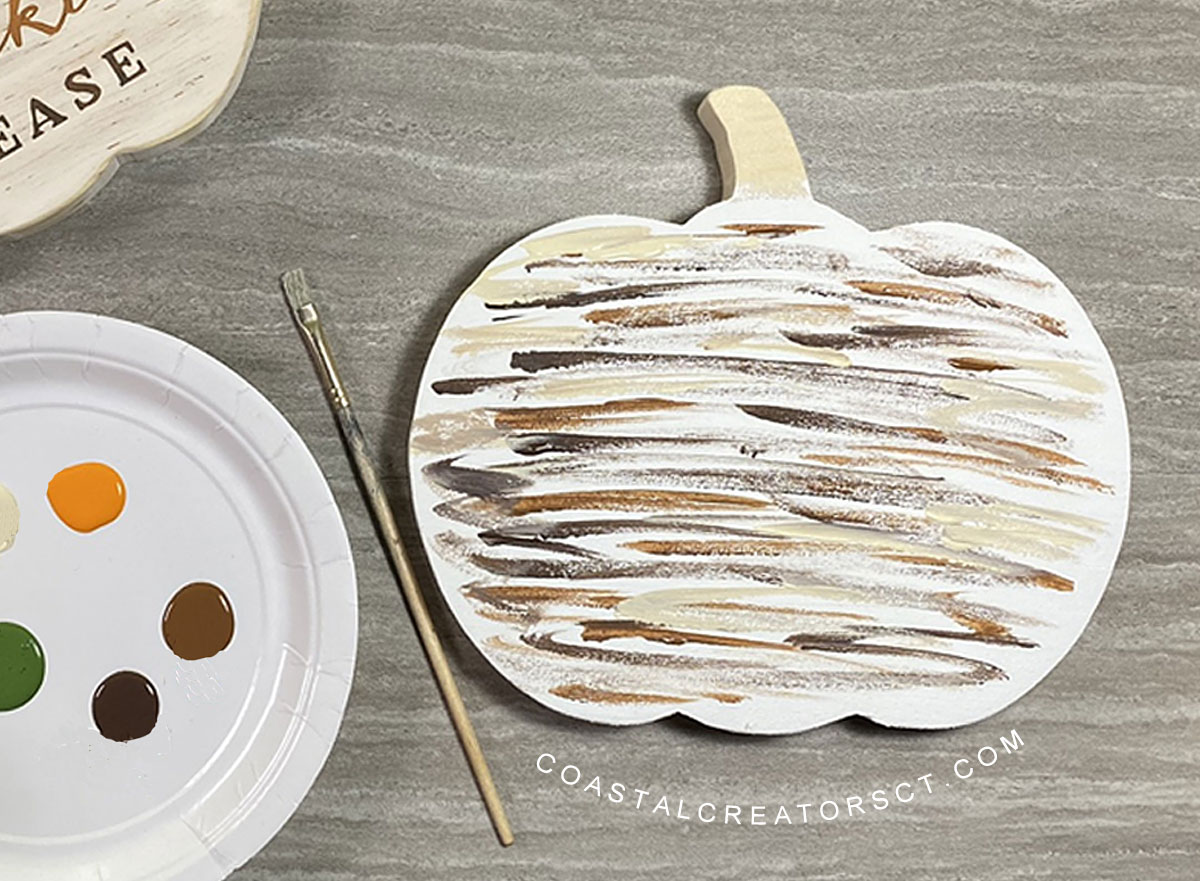
4. Add streaks of brown to the pumpkin. You will have to play around with the amount of color you put on to create the final look you want.
Alternative: you could paint the background color brown, let it dry and then add white paint over-top. When you sand, the brown color will come through.
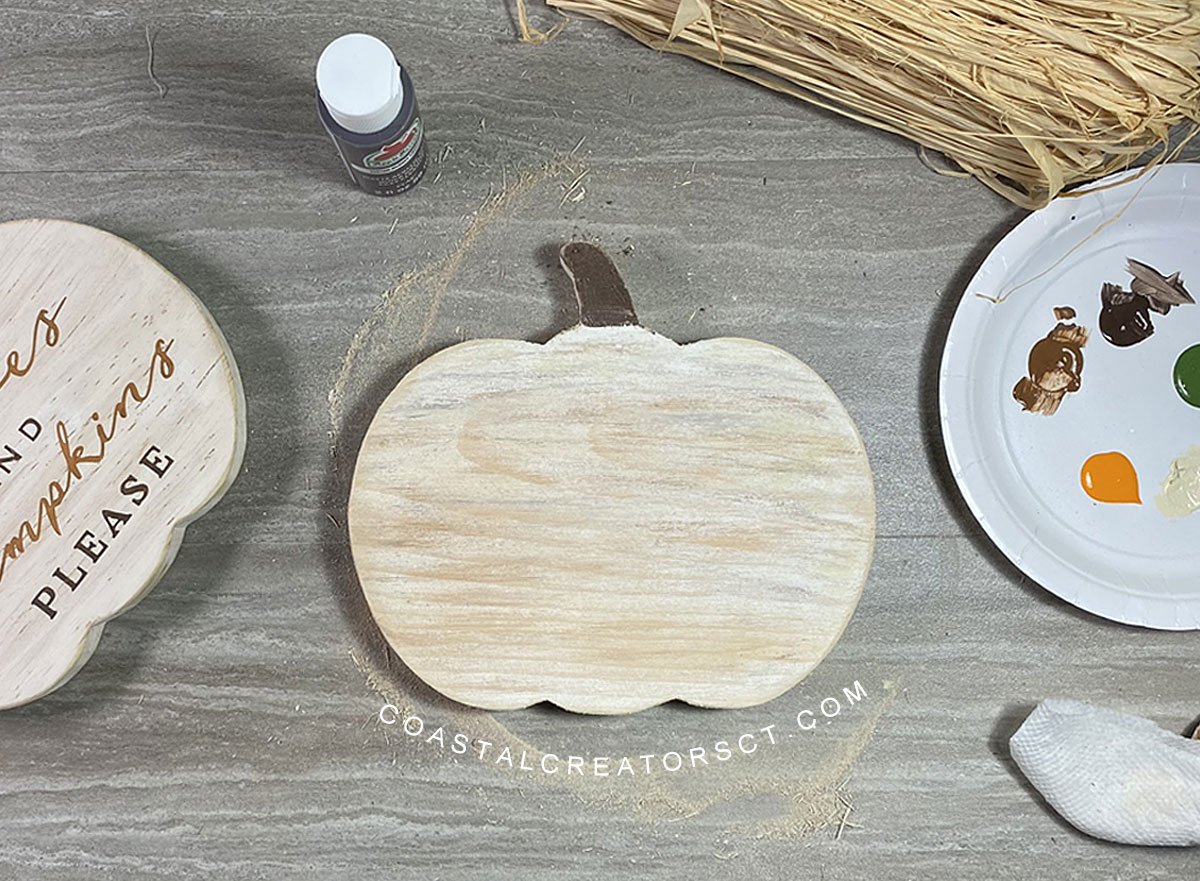
4. Sand the pumpkin with a coarse sand paper. We used 80 grit and made out own sanding block by stapling the sand paper to a piece of scrap wood. Make sure to sand the edges to give the pumpkin a rustic look.
5. Add the stencil and paint. Make sure you really flatten out the stencil so you don’t get a lot of bleeds. You want to use very little paint. You can use any type of brush. Remove the stencil.
Tip: To clean up bleeds, I use disposable eye liner brushes. They are super small and cost around 7 to 10 cent each. They are also great to use if you are teaching a painting class because they are so affordable and the students can take them home.
5. Tie a piece of raffia to the stem. You could also use twine if you prefer that look.
Your pumpkin is finished. Now you can place it on your shelf, give it as a gift or sell it on Etsy, Facebook Marketplace, in Facebook group, and more.
Happy Crafting!
Leave a Reply