Here’s a fun project you can make and sell. I will teach you how to make a face mask storage pouch that you can sell on Etsy, your own website, on Facebook, Instagram and in local shops where you live. With so many people are sewing face masks so why not sew a storage pouch to go with the face masks you make. (See how to make a 3D kids face mask)
You will need a variety of supplies and fabric on hand to make these face mask storage pouches. You don’t need a lot of fabric. You could use coordinating fabric from the face masks you are already making.
Note: this sewing project assumes you know the basics of sewing. I am not teaching how to sew, just how to make this specific project.
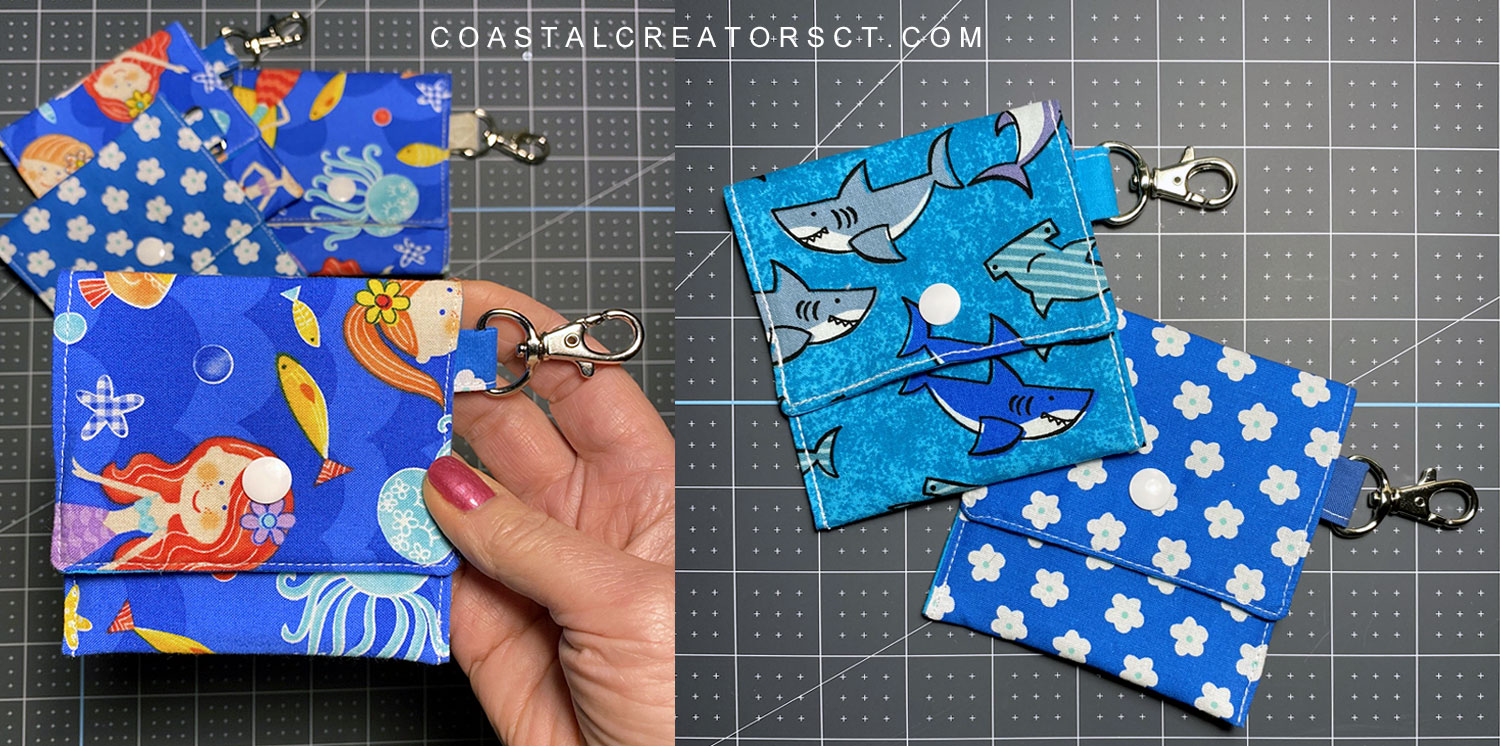
Alternative Uses
These face mask storage pouches can be used for other things as well. We may not be making and selling face masks in the future but you could still make these little pouches and sell them for other uses. Just change the wording on the package and voila, you have a completely new product. A lot of times, the way you market a single product makes all the difference.
Since these pouches have a swivel hook added on one side, they can easily hook on the outside of a backpack or a purse handle. They could be hooked inside of a purse or tote bag as well. Here are some things you could store inside of these pouches besides a face mask.
- Tampon or Feminine care pads
- Hand sanitizer and/or individual wipes
- Coin and bills (lunch money for kids?)
- Gum and mints
You could even add a gift card and give the whole thing as a gift. The recipient gets a cute little pouch to use for various reasons plus a gift card or cash for shopping.
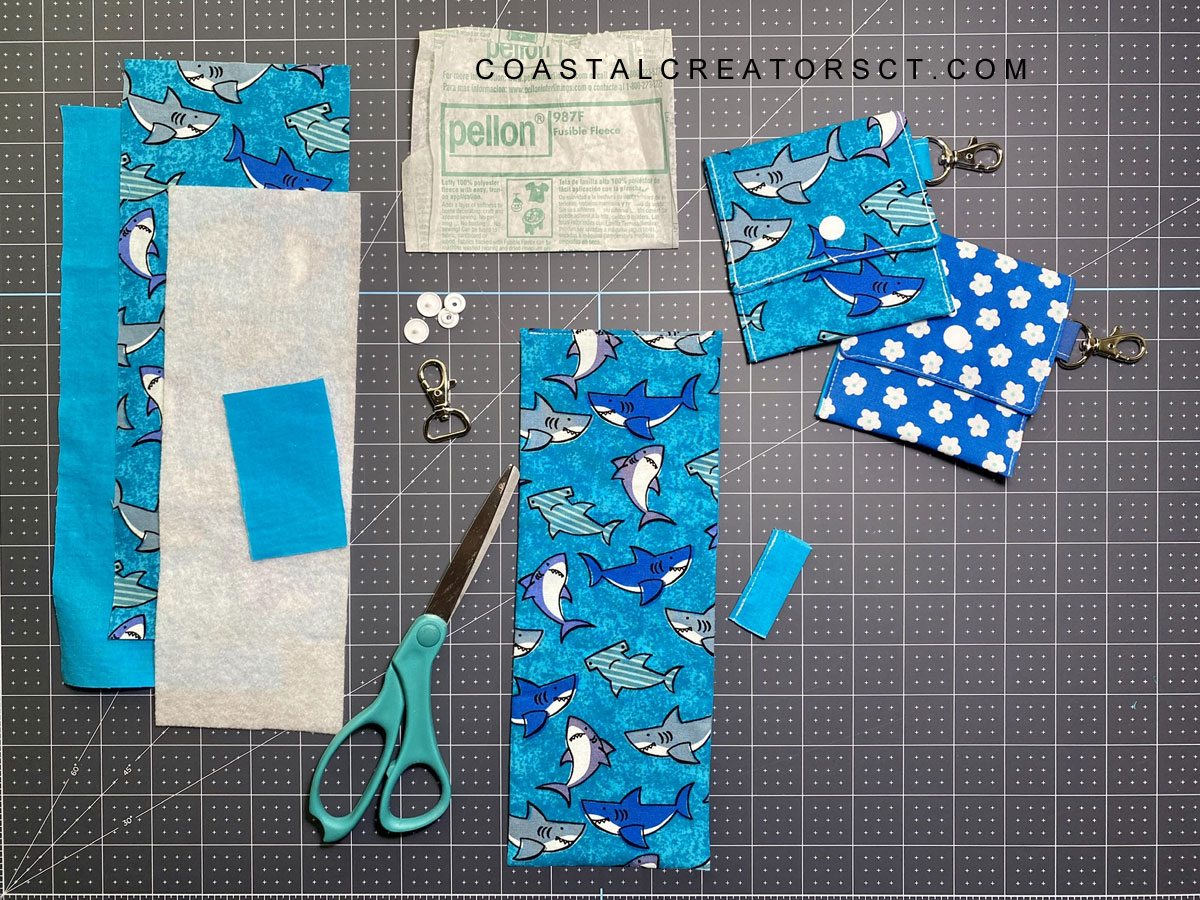
Supplies List
- Cotton fabric
- Thread
- Pellon fusible Fleece 987F (see alternative below)
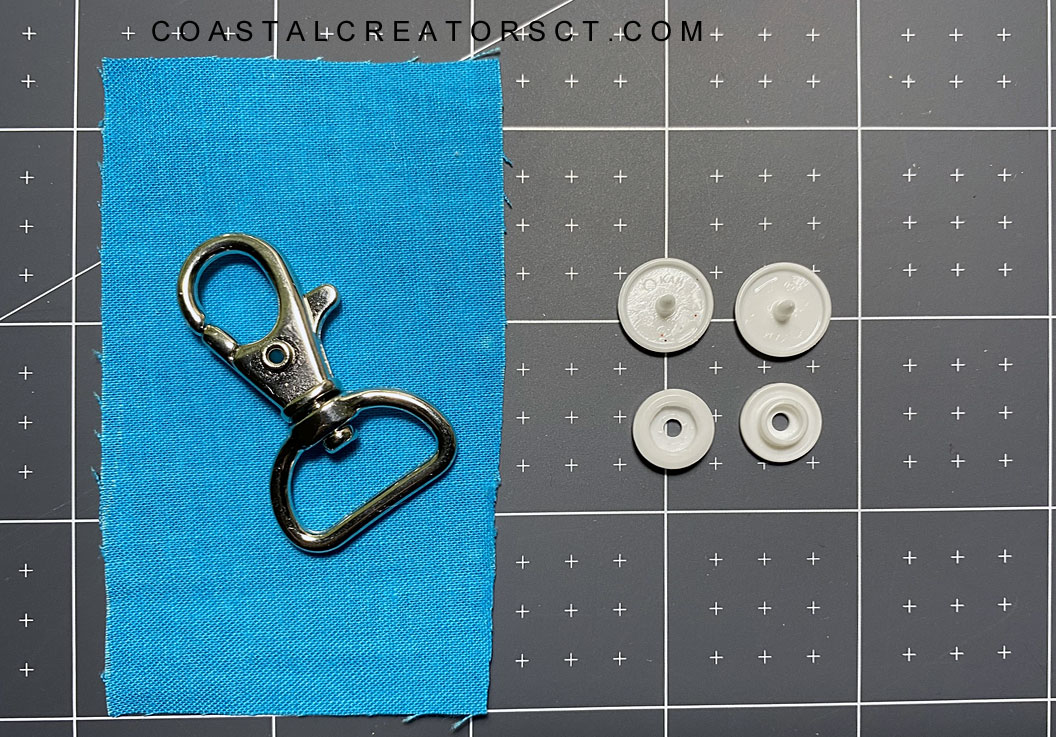
- 3/4″ swivel hook with lobster claw
- Plastic snaps
- KAM Snap Pliers tool
- Awl (comes with KAM Snap Tool)
- 1/4″ presser foot (optional)
- Point Turner (optional)
Instead of the Pellon fusible Fleece you could use a lightweight interfacing. I like the Pellon Fleece because it makes my pouch feel more professional. You definitely need some type of interfacing to give this pouch some body and form. I use fusible because it keeps it in place and makes it much easier to sew.
Sewing Instructions
1. Cut the inside fabric and the outside fabric 4-1/2″ wide x 11-1/2″ long.
2. Cut the Pellon Fusible Fleece 3-3/4″ wide x 10-3/4″ long.
3. Cut the strap fabric piece 2″ wide x 3-1/4″ long.
4. Position the fusible fleece on the wrong side of the inside fabric. Because the fleece (or interfacing) is slightly smaller you will have an approximate 1/4″ space, or should have, all the way around. I do this so it won’t get caught when sewing the seam and when you turn it isn’t too bulky. Iron the fleece in place.
5. Put the two fabric pieces, rights sides together, and sew a 1/4″ seam all around, leaving a 3″ gap for turning. I like to make the gap on one of the long sides and not on the short side. Make sure to back-stitch when you start, finish and also at all 4 corners (before and after each corner).
Tip: Make sure you are careful to sew a straight seam. This makes a difference in how the corners look. The corners need to be perfectly straight so they line up when you fold the piece. You want to make sure the corners do not angle out at all. I use a 1/4″ presser foot that helps me get that perfectly straight sewing line.
6. Trim the corners to get rid of the excess fabric, being careful not to cut too close to the sewing.
7. Turn the piece, poke out the corners with a Point Turner and iron flat. You can even use a chopstick if you have it. Just make sure not to use something with a sharp point to poke out the corners or you could blow them out.
When ironing you will turn under the fabric at the opening. Make sure you iron this as straight as you can. Because, once again you want all sides to match up when you fold the piece to make the pouch.
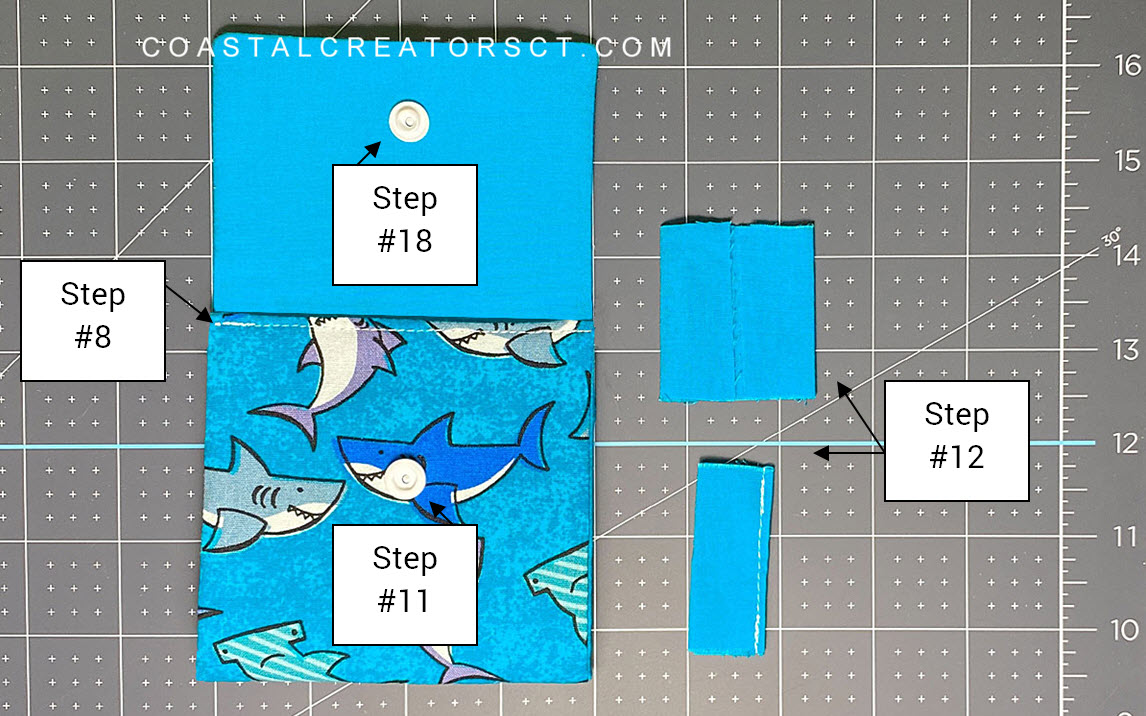
8. Take note of the direction of the design on the fabric. Fold your pouch with inside fabric touching to see what it will look like when it is closed. Top-stitch 1/8″ from the edge on the short side that will be the side you see when you open the pouch.
9. Fold one end up until it measures 4″ and iron. Fold the top flap down and iron. Your pouch should measure 4″ x 4″ if you have it folded correctly.
10. With the pouch still folded, measure the flap to find the center from the sides and then about 1″ up from the edge. Place your hand in between the flap + front layer and the bottom layer so the awl won’t pierce through the back. Using the awl, poke a hold through the top layer and front layer.
11. Using your KAM Snap tool, attach the female part of the plastic snap to front layer only. You will add the male snap component after you finish sewing.
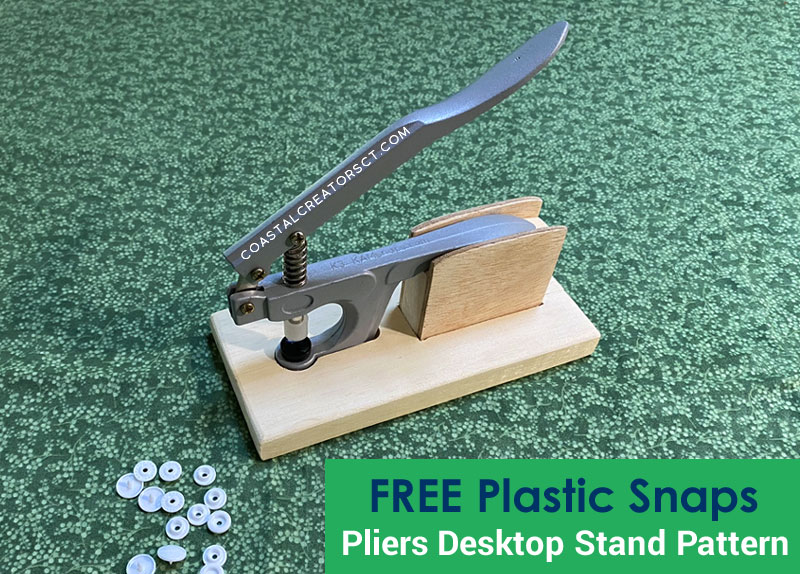
We have a handy KAM Snap tool desktop stand pattern with instructions that you can build using scrap wood.
12. Fold the strap piece in half on the long side. Open it and fold one edge to the center and then the other edge to the center. Then fold over again and sew 1/8″ where the edges meet. You could back-stitch at the beginning and the end but this piece will get sewn inside of the pouch so this is optional.
13. Slide the strap into the swivel hook and make the edges touch together.
14. Place the strap with the swivel hook inside the pouch so only about 1/2″ is sticking out. You will place it about 1/4″ from the top-stitched edge. Pin or hold in place for sewing.
15. Starting about 1/4″ down from the edge, top-stitch 1/8″ from the edge, making sure the strap with swivel hook stays positioned straight. Sew to the bottom corner and back-stitch.
16. Pick up your presser foot and raise the needle, pull the piece out a bit, turn and start working from the other bottom corner. You will be sewing from opposite bottom corner all the way around until you meet up with where you started sewing. Make sure to back-stitch where the top-stitched edge meets on both side.
17. Clip the threads.
18. Now you will attach the male part of the plastic snap to the flap. Fold the flap over and use your awl again to make sure the hole you created in step #10 is still in the correct position. When you push the awl through the hole you should be able to touch the female plastic snap part. If it does not touch, just add another hole until it does. Using your KAM Snap Tool, add the male plastic snap to the flap.
Done! If all goes well you should have a completed face mask storage pouch.
How to Package
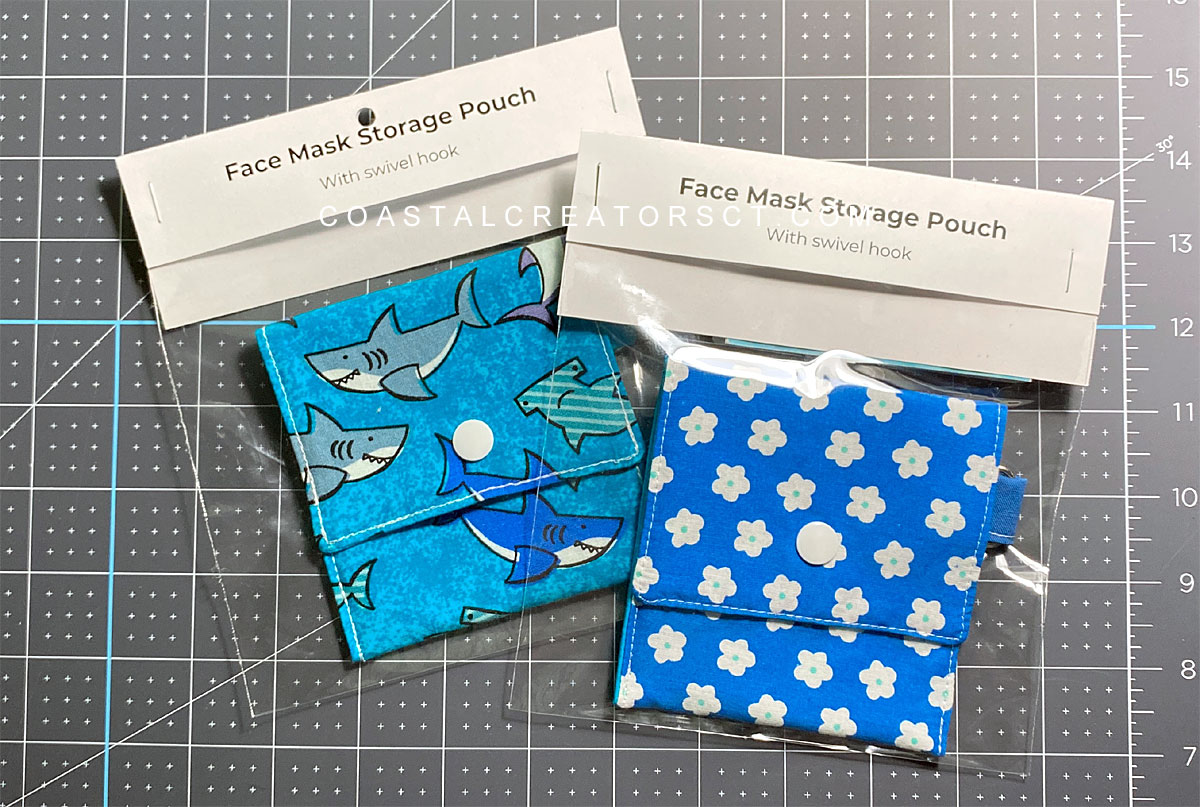
If you are going to sell these face mask storage pouches you will want to package them properly to make them look professional. Packaging can be the reason why one product sells and the same product from another seller does not sell. It’s all in the presentation. If it isn’t appealing people won’t want to buy it. The same goes for photos online. A photo can make or break a product sell.
Of course, packaging works better in person so if you are selling these online you may not want to package them in this manner. However, everything I sell whether it be online or in-person gets packaged the same because ultimately it is all about my business image. I want people to know they received a quality item and packaging is a big part of that.
Since I do not want to pay very much for packaging or buy expensive headers card, I make my own with just cardstock and my HP laser printer. Yes, I could add a graphic or make them glossy or in color but the customer is going to take one look at it and throw the packaging away as soon as they open it. Why spend the money! For this type of product, my simple black and white header card works fine. I have these face mask pouches in a high end gift shop and also in an art studio in my local area and they look perfectly fine with this packaging.
As long as your packaging has the important information on it that’s all you need. Of course, there are a million ways to do something. This is just how I do it. I don’t want to add additional cost to my product because of the packaging.
I tend to sell more wholesale than retail and remember, when selling wholesale what you earn is cut in half because the retailer is getting the other half. That means your packaging needs to be cheap. If you purchase a header card it could cost 50 cent to $1 just for one piece depending on the color and type of cardstock used. The way I make it costs almost nothing for the header card and approximately 11 cent for each bag.
Packaging Supplies
You will need some supplies if you are going to package these face mask storage pouches to sell.
- 6″ x 6″ Crystal Clear Zip Bags, 2 mil
- 110 lb. white cardstock
- Printer
- Stapler
- Paper cutter (or scissors)
- Scoring board (optional)
- hole puncher (optional)
About the Bags: I suggest that you do not use poly bags. They don’t look professional for a product you are trying to sell. Poly bags are fine for a sandwich you add to your child’s lunchbox but not for products. Always use crystal clear “crisp” bags. I buy mine from clearbags.com and they come within a couple of days. They even have a discount for larger quantities. They are VERY reasonably priced. I have been buying bags from them for over 15 years with no problem. They don’t sell all of their sizes on Amazon so you do need to buy from their website.
Free Packaging Template
I design my header cards in a Word program. You are welcome to download, print and use my header card template for free. I am only giving the free header card template to my email subscribers. You will also find a face mask packaging header card in the Template Gallery.
Subscribe below or click here to fill out the form and get access to the file.
My header card is pretty basic and only requires cardstock and a printer to make. You get 3 to one sheet. Once you print out the header card you will need to cut the cards apart. I use a rotary cutter, mat and clear ruler but you can also use a Paper cutter or even scissors. Just make sure you cut inside of the black lines.
I created a scoring line to show you where to fold the header card. You can try to just fold it on that line or use a scoring board. I just recently purchased a scoring board and I don’t know why I waited so long. It really is a time saver and your lines come out much straighter.
To package you will place your face mask storage pouch in the clear bag, press the air out, and zip it shut. Place the header card over top the zipped edge and position it evenly so no edges of the bag are showing. Staple on both sides of the header card. I do not staple in the center because the corners will flap out. If you are selling at an outdoor craft show in the summer, the card stock will definitely flap out from the humidity so staple on each side.
If you are selling these face mask storage pouches in a shop you may want to put a single hole in the center about 1/2″ down from the edge using a hole punch. This way they can be hung on a display unit.

Leave a Reply