Learn how to build your own DIY Rustic Wooden Centerpiece box with our step-by-step instructions. You don’t need a lot of wood and there are minimal supplies required. In no time you will have your own wood centerpiece box. We will also give you some tips for decorating your box to make it a focal point in your home.
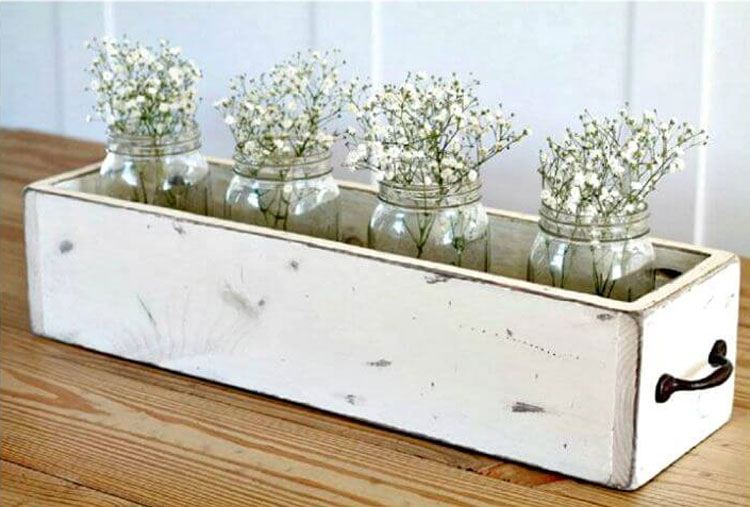
Here is an example of a rustic wood centerpiece box that has been given a whitewashed look.
Disclaimer: this article contains affiliate links. Please read our affiliate policies.
Rustic Wood Centerpiece Box Supplies List
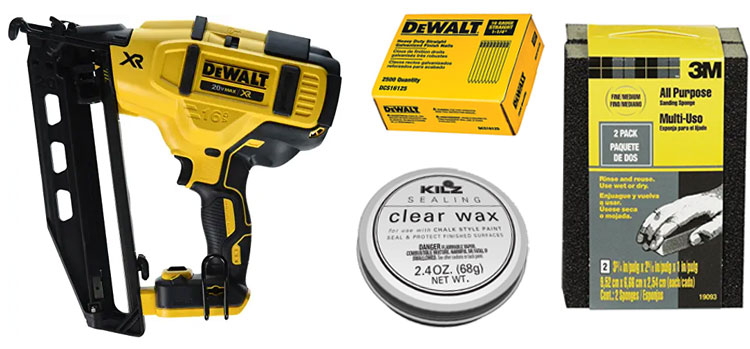
Here are some of the items you will need to complete your project.
- Common Pine boards (yes they even sell that on Amazon if you can’t get out)
- Acrylic Paint or stain
- Paint Brushes
- Hammer and finishing nails
- Sanding sponges or Hand Sander
- Mod Podge (Optional)
- Paint Wax Sealer (Optional)
- Brad Nailer (Optional)
- Quick-Grip Clamps (Optional)
Wood Centerpiece Box Sizes
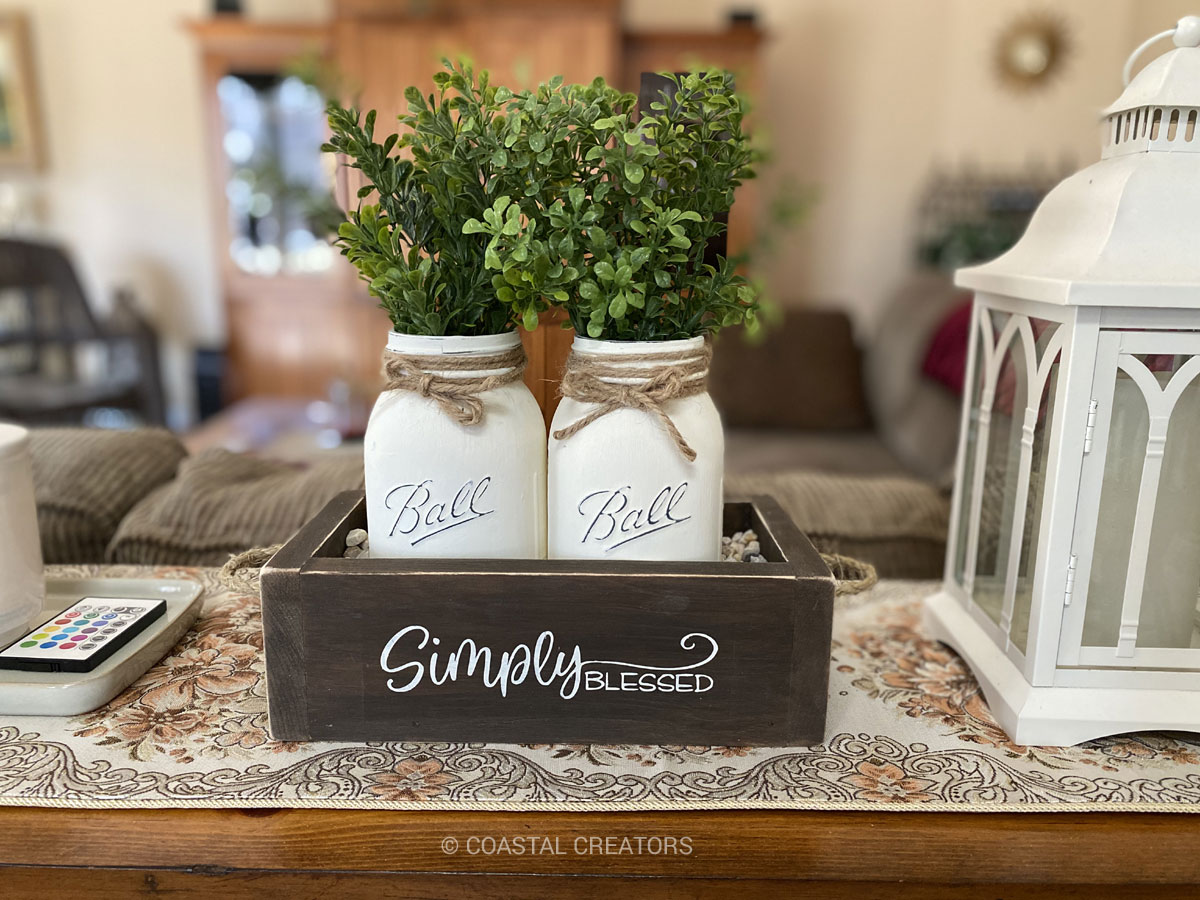
You can make your wood box just about any size you like. If you want to make the one we have in the photo we provided the size for that. It is a smaller wood box than normal because we made it for a class we were teaching.
We used Common pine board with knots but you can use whatever wood you like. We buy 1 x 4 x 3/4″ and 1 x 6 x 3/4″ boards.
Since these are wood centerpieces boxes that are designed for home decor and not an actual planter box, the height is a bit shorter. If we were going to use these to put herbs and other plants in, I would make them taller – so instead of 3-1/2″ tall they would be 5-1/2″ tall.
Small Wood Box Dimensions
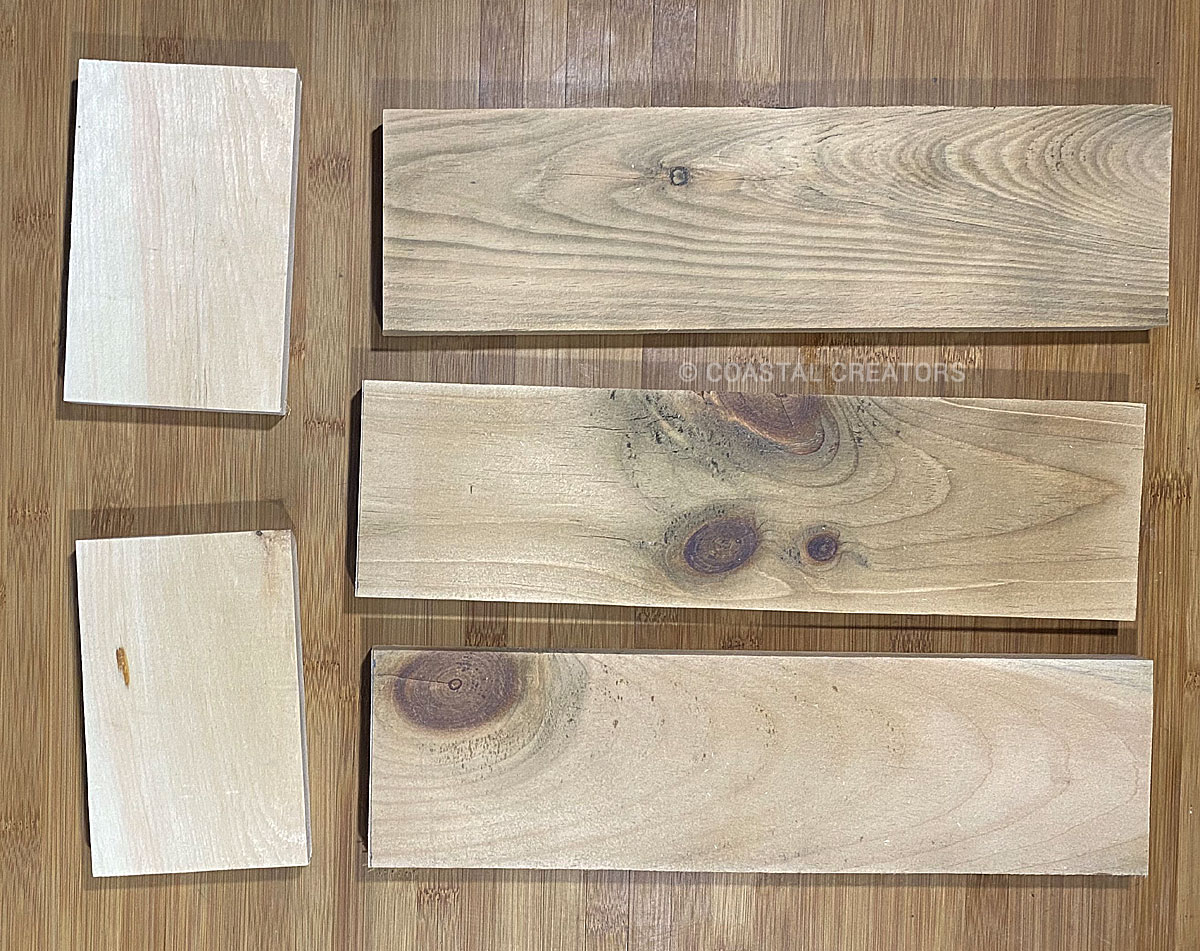
Finished Size: 10-1/2″ l x 5-1/2″ w x 3-1/2″ h
Wood Cut Sizes:
- 2 @ 9″ x 3-1/2″
- 2 @ 5-1/2″ x 3-1/2″
- 1 @ 9″ x 4″
Standard Wood Box Dimensions
Finished Box Size: 14″ l x 5-1/2″ w x 3-1/2″ h
Wood Cut Sizes:
- 2 @ 12-1/2″ x 3-1/2″
- 2 @ 5-1/2″ x 3-1/2″
- 1 @ 12-1/2″ x 4″
Long Table Wood Box Dimensions
Finished Box Size: 25-1/2″ l x 5-1/2″ w x 3-1/2″ h
Wood Cut Sizes:
- 2 @ 24″ x 3-1/2″
- 2 @ 5-1/2″ x 3-1/2″
- 1 @ 24″ x 4″
How to Build a Rustic Wood Centerpiece Box
NOTE: If you don’t want to buy brand new wood, you can use pallet wood too. You can often find free pallets by using the free section on Craigslist and also Facebook Marketplace. That is how we have found ours. You will need a good saw and possibly pliers to take the pallets apart. This tool has helped us a lot
1. Cut your wood. Use the size chart above.
2. Sand your wood. You don’t need to sand it very much. Just lightly to get rid of any rough spots.
3. Build your box. Using a Brad Nailer or hammer and nails, nail one long board to one side of the base. Nail the end pieces to the box next. The last step will be to nail the other side and you have your box made.
TIP: You may want to Quick-Grip Clamps the bottom, front and back boards together first. This helps you line everything up and they stay put while you are nailing them together. Or, put the entire box together, clamp, and then nail.
4. Paint your wood. You can stain your wood or paint it with acrylic paints. I like to put a little bit of acrylic paint in a dish an add a lot of water to it to make it a wash. It looks more like stain when you do this. Or, you can paint it completely with acrylic paint and then sand it later to give it that affect. Staining is also an option.
5. Sand your wood again. This time you are going to sand it a bit rougher to give it that distressed look. I like to really sand the corners and make them round.
6. Drill holes for the handles. At this point you could be done but if you want handles you can drill 2 holes on each end to accommodate either a metal handle or a rope handle.
TIP: Wrap masking tape around the ends to make them go through the holes easier. If you are adding rope as a handle I suggest you put one end in one hole, tie a knot and then get it the size you want it and put the second end in and tie a knot. Our handle required about a 12″ of twine.
7. Protect the wood. You can definitely leave the wood the way it is or you can use a Mod Podge or Paint Wax Sealer to protect it.
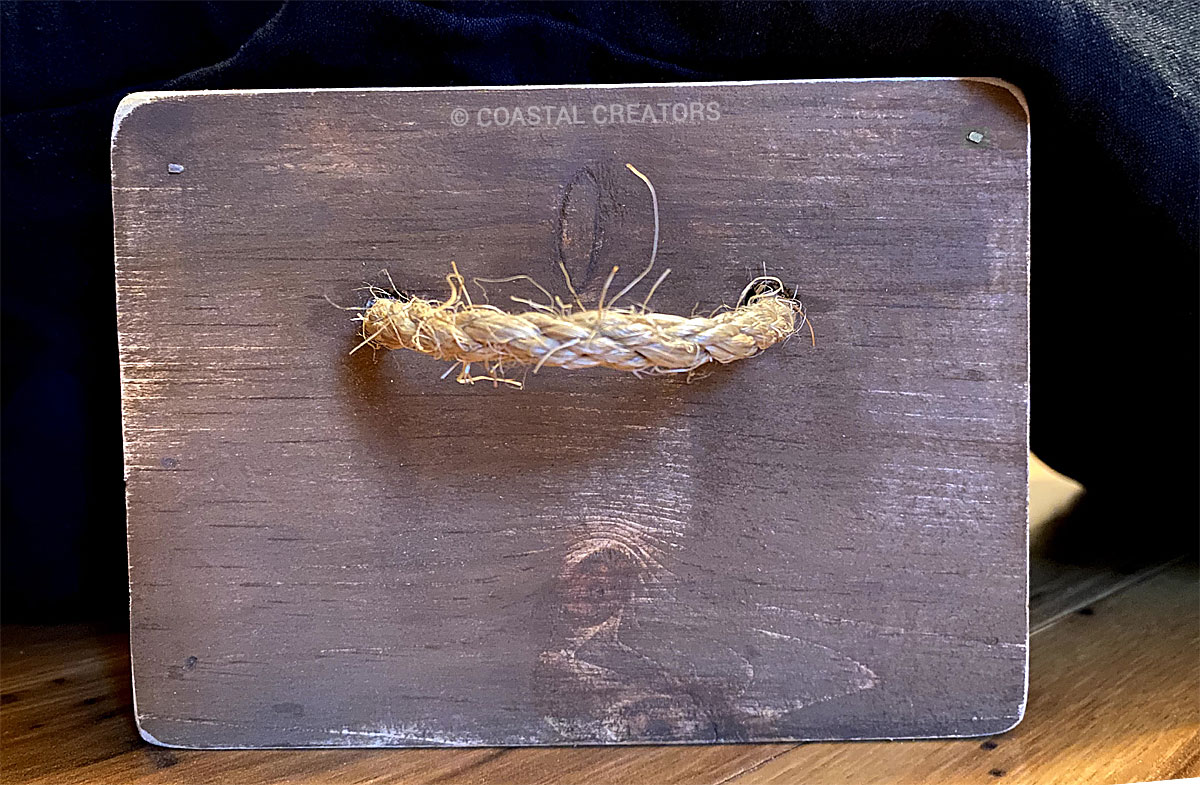
Notice the brad nails in the corners. A Brad Nailer makes this a quick and easy project. You can, however, build a wooden centerpiece box with just a hammer and finishing nails.
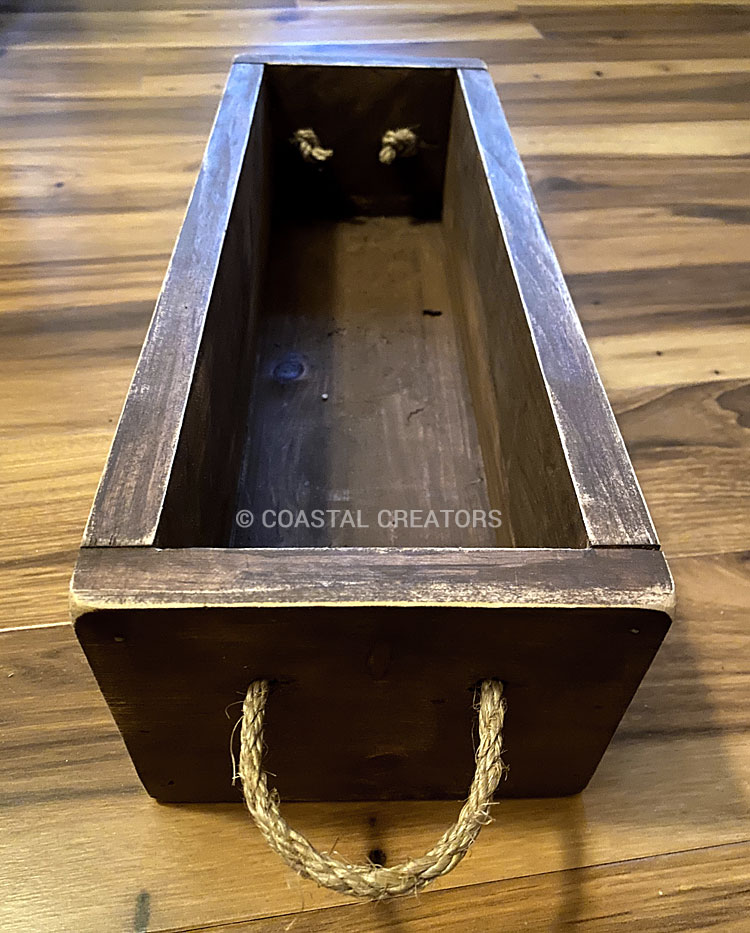
This is what our finished wood centerpiece box looks like when it is painted with brown acrylic paint, sanded and the rope handles attached.
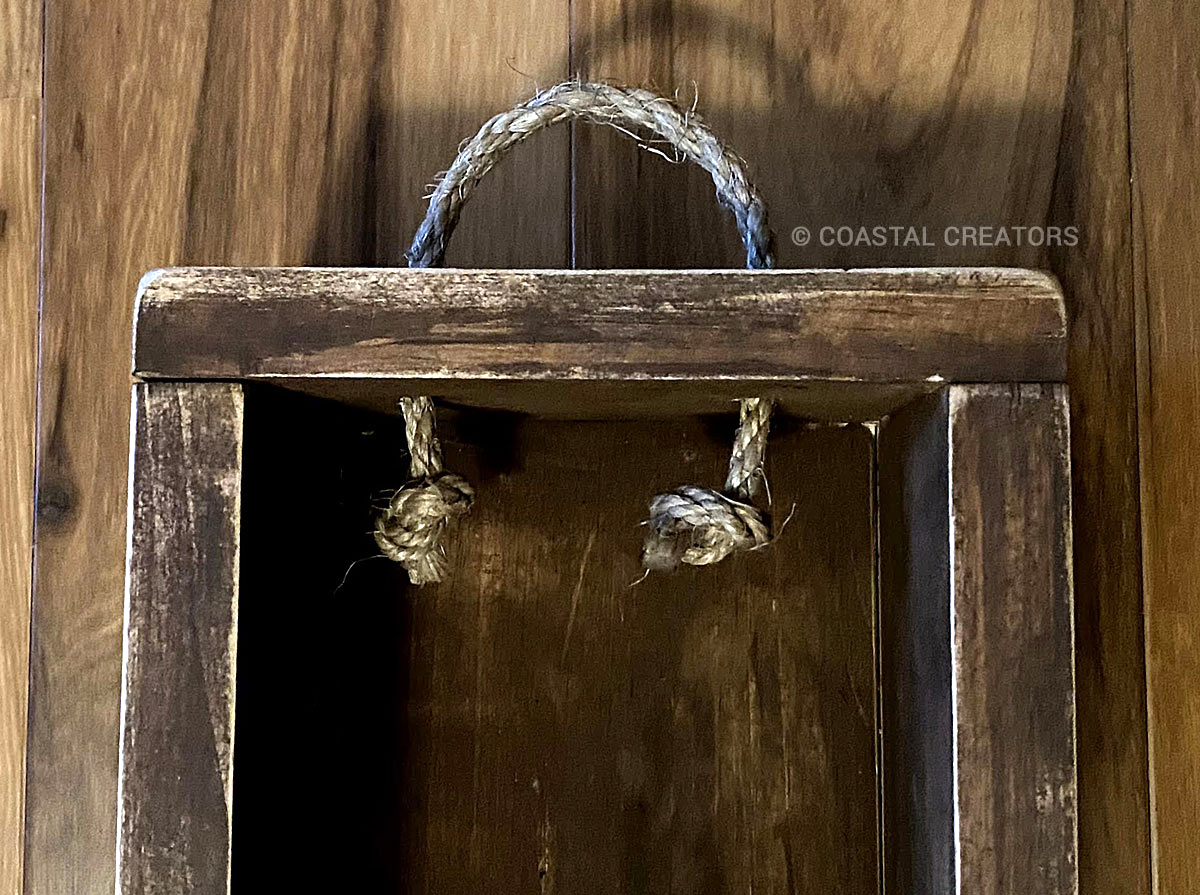
This is what the knots look like inside of the box when you add a twine handle.
The Secret word is candles
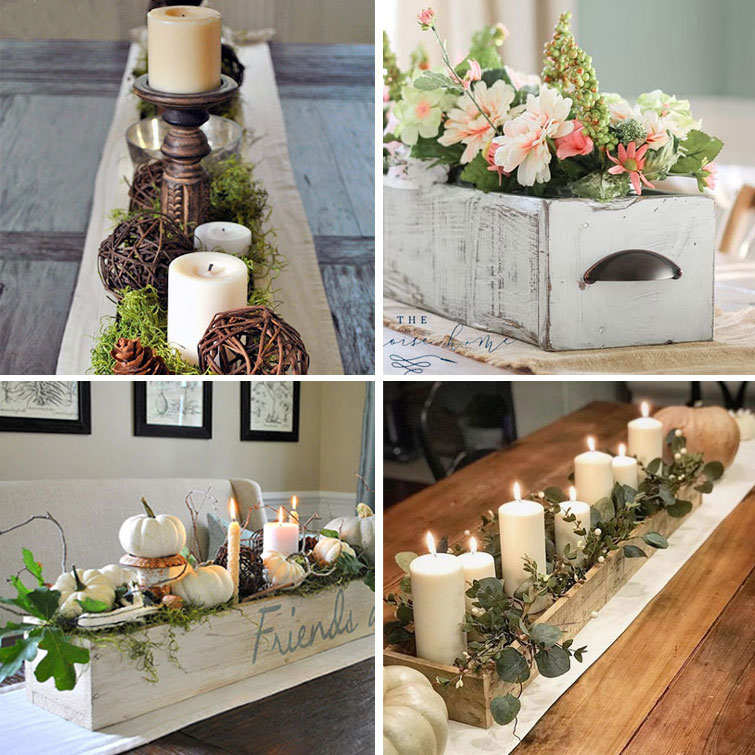
Visit our Wood Centerpiece Box Gallery to get ideas for decorating and filling your box with all kinds of goodies.
Leave a Reply