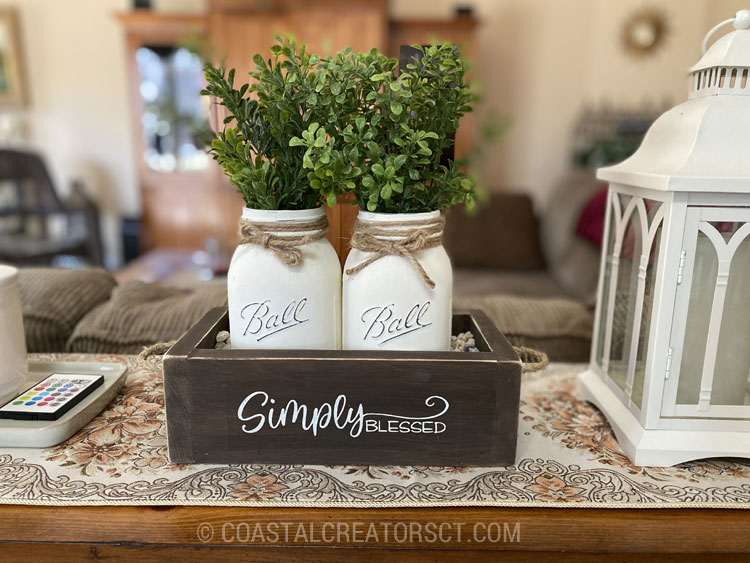
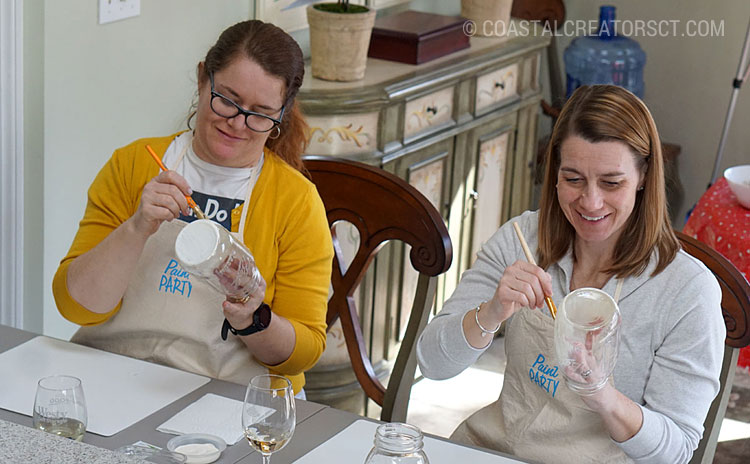
We recently offered a craft class and taught our guests how to chalk paint on Mason Jars. It’s quite simple and the results are stunning. These chalk painted Mason jars are the perfect addition to our Simply Blessed wooden centerpiece box.
Disclaimer: this article contains affiliate links. Please read our affiliate policies.
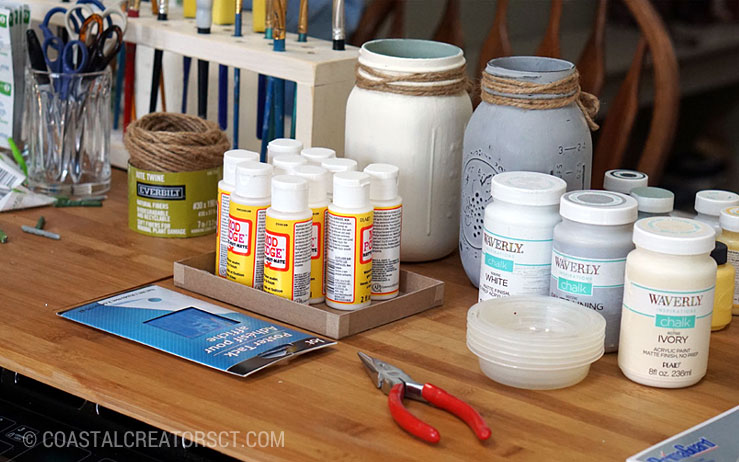
Chalk Paint Mason Jars Supplies List
Here are some of the items you will need to complete your project.
- 32 oz. Mason Jars (quart size is what we used but you can use smaller)
- Alcohol pads (Rubbing Alcohol and paper towels work too)
- Chalk Paint (we like FolkArt Brand)
- Paint Brushes
- Sanding Block
- Twine
- Rubber gloves (Optional)
- Mod Podge (Optional)
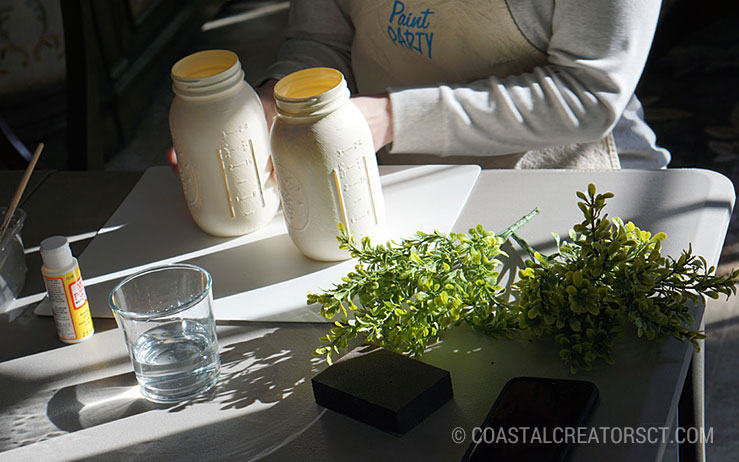
How to Chalk Paint Mason Jars
1. The first thing to do is lay out your supplies and be ready with your chalk paint.
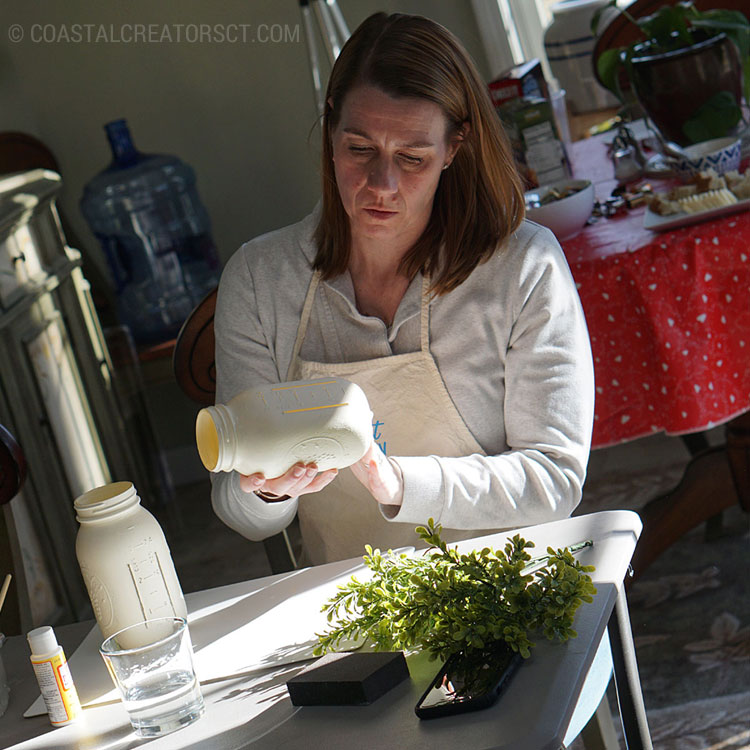
2. Next, you need to clean your Mason jar with the alcohol wipe. Put your hand inside of the jar and wipe all around the outside of the jar up and around the rim. Make sure you do not touch the jar once you have cleaned it. By using the alcohol wipe you are removing any dirt or oil. If you have oil on the jar your paint won’t stick properly.
3. The alcohol should dry almost immediately. Begin painting the jar with even brush strokes. Take a look at how the paint is looking on the jar and if you want the lines to go one way then paint all in the same direction. If you find that your paint does not stick you will have to clean those spots with the alcohol again.
TIP: I like to keep my hand inside of the jar (well not all of the way) and guide the jar down on the mat once I am finished painting, using the paint brush to hold the bottom of the jar so I can remove my hand as I place it on my mat or table to dry.
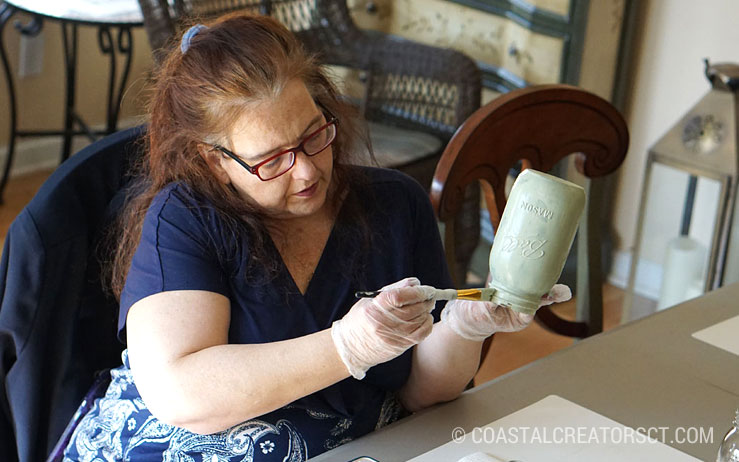
4. If you are painting more jars, continue to the next jar. If you are only painting the one jar, then wait for about 15 minutes before adding a second coat.
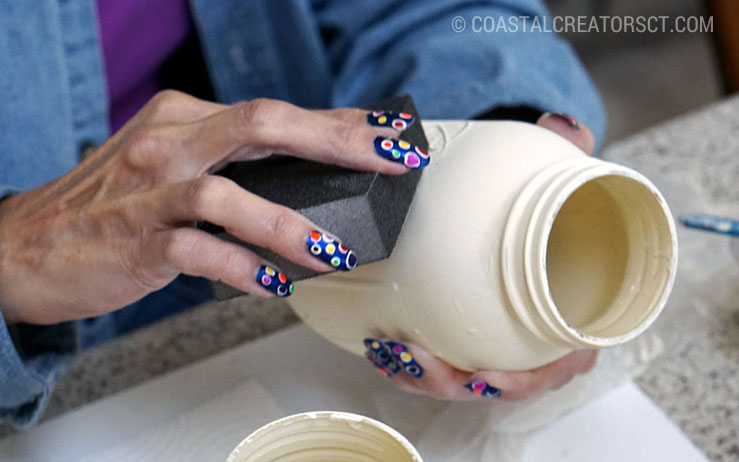
5. Let the second coat dry to the touch. Using your sanding block, distress your jar as much or as little as you like.
OPTIONAL: For added protection to the finish, you can use a coat of Matte Mod Podge once the final coat of paint is dry and you have distressed the jar.
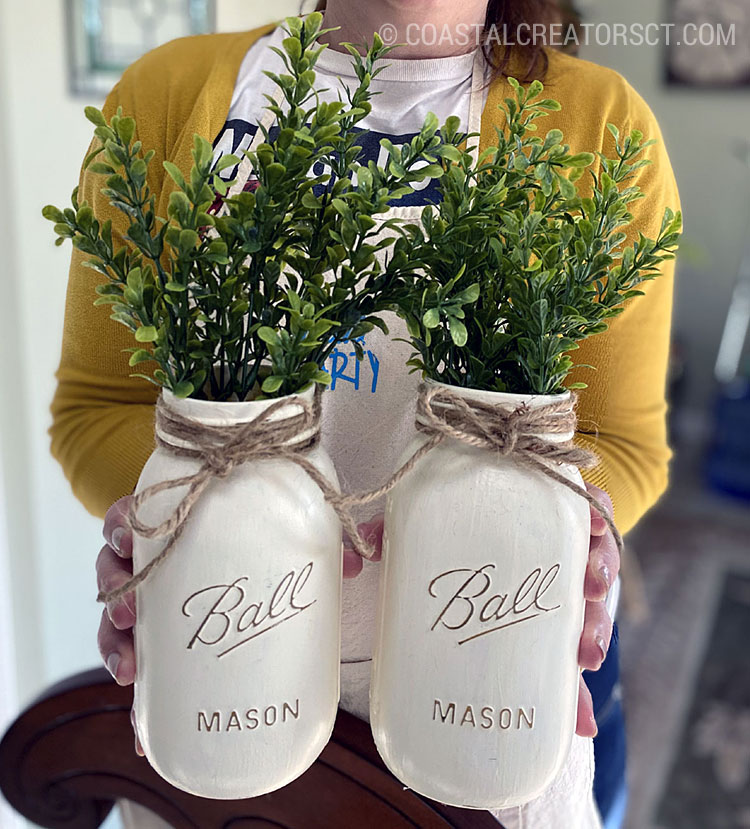
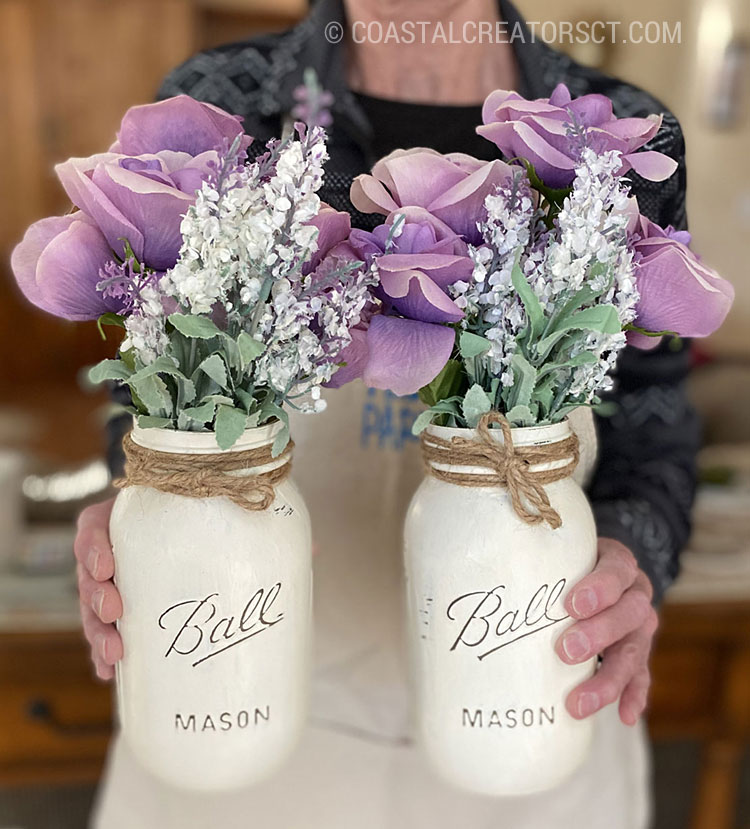
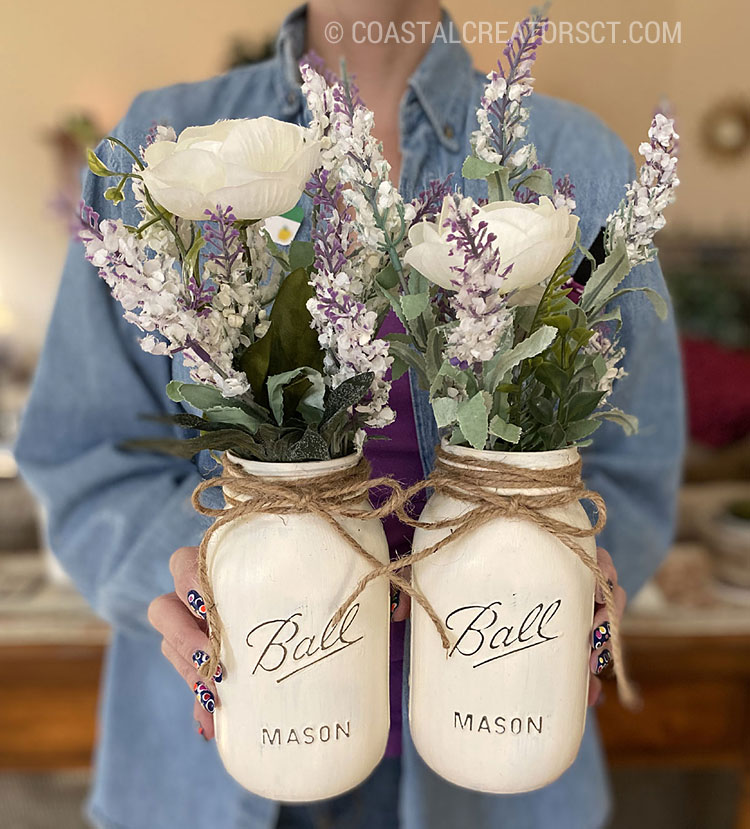
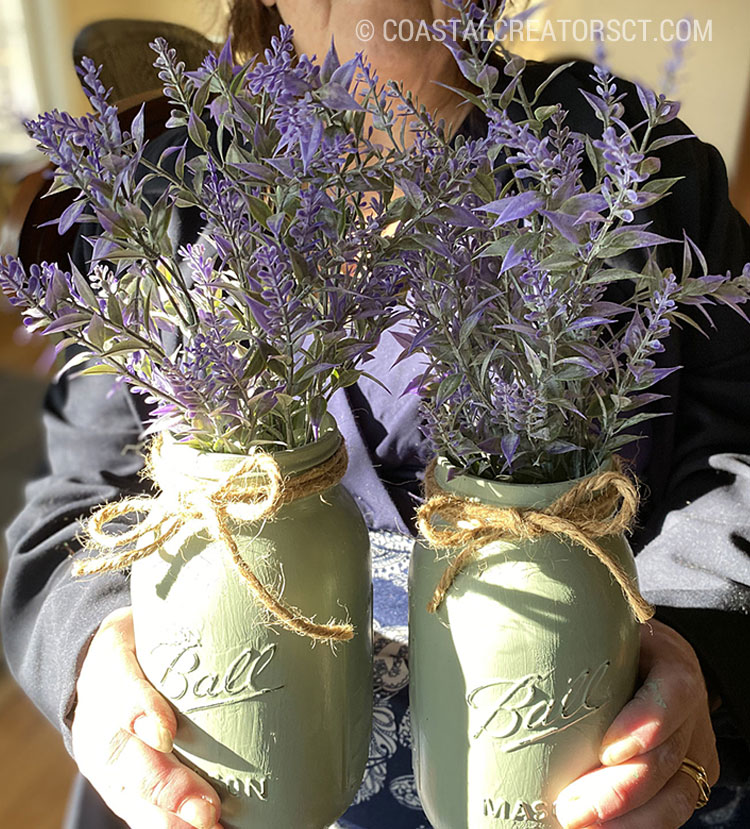
Our Chalk Painted Mason Jar Gallery
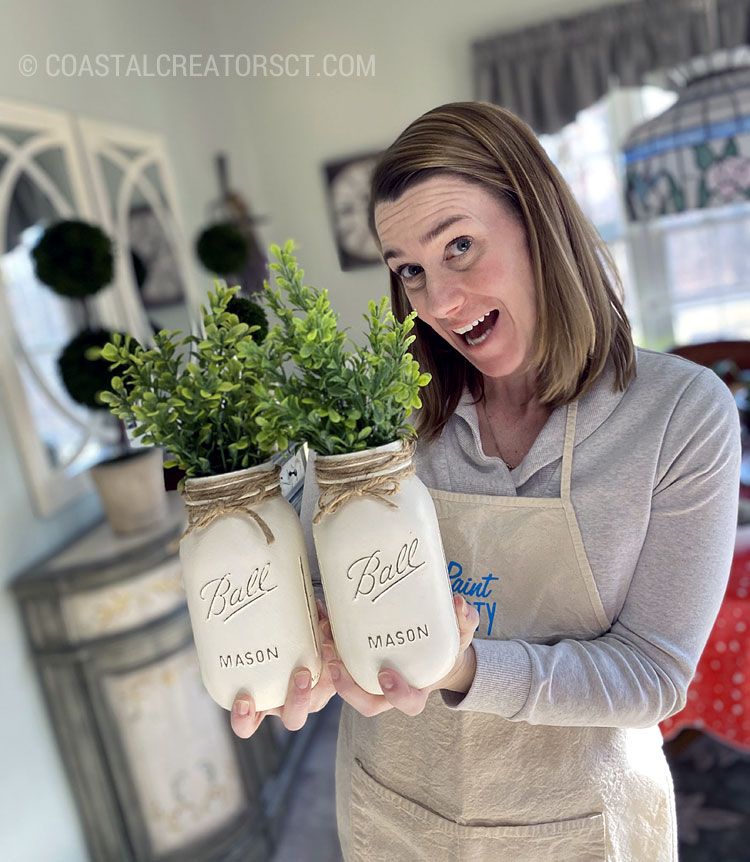
Take a look at the finish Chalk Paint Mason Jar project. Our students did a fantastic job to transform a simple jar into a specialty home decor piece that can be used in so many ways. They look amazing in our wooden centerpiece box too.
Nicole Whiting says
What color white did you use?