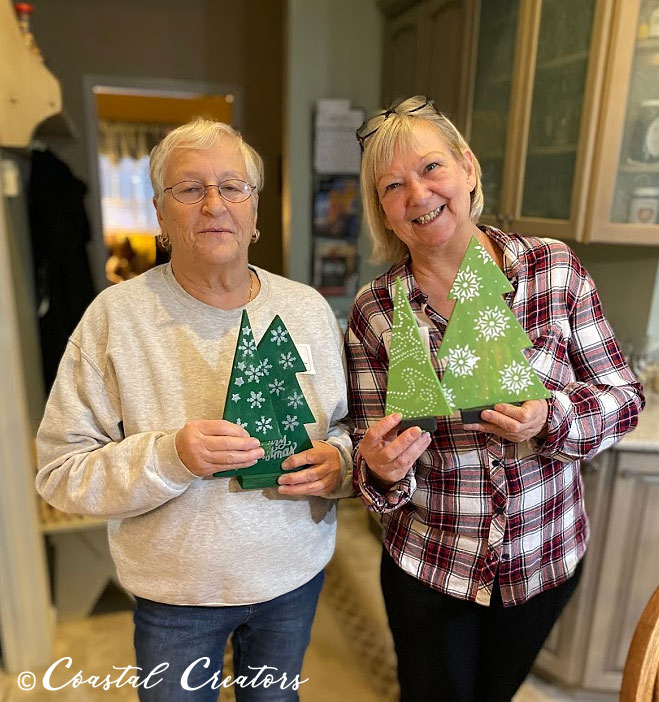
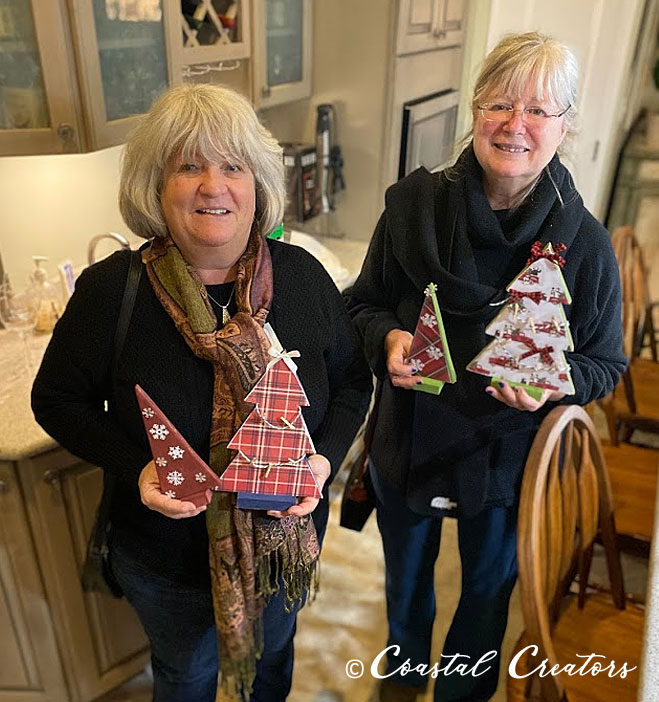
Coastal Creators Crafters group met for our monthly craft class in December and we decorated Rustic Wooden Christmas trees.
Disclaimer: this article contains affiliate links. Please read our affiliate policies.
Each person received two trees – one traditional pine tree and the other more like a birch tree with straight lines. We provided the wooden trees, paint, decorative papers, ribbons, stickers, stencils and embellishments and students brought their creativity to decorate their trees with their own unique flair!
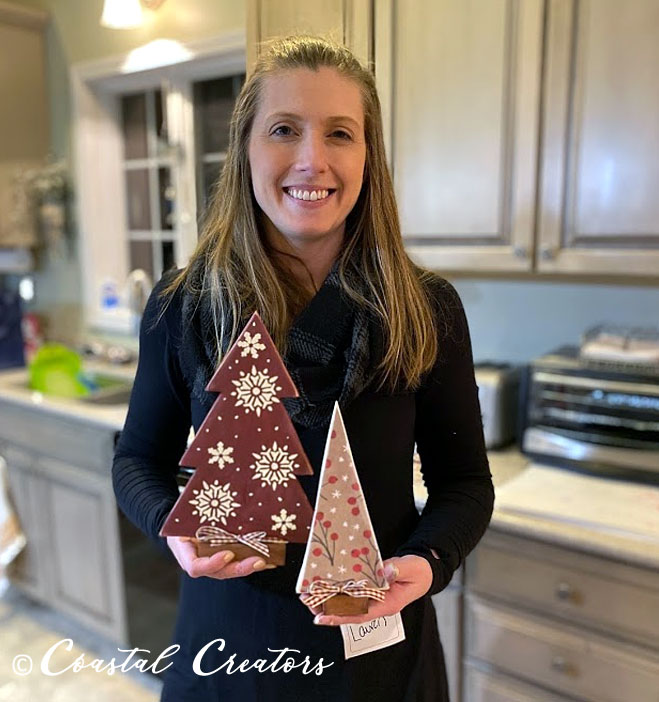
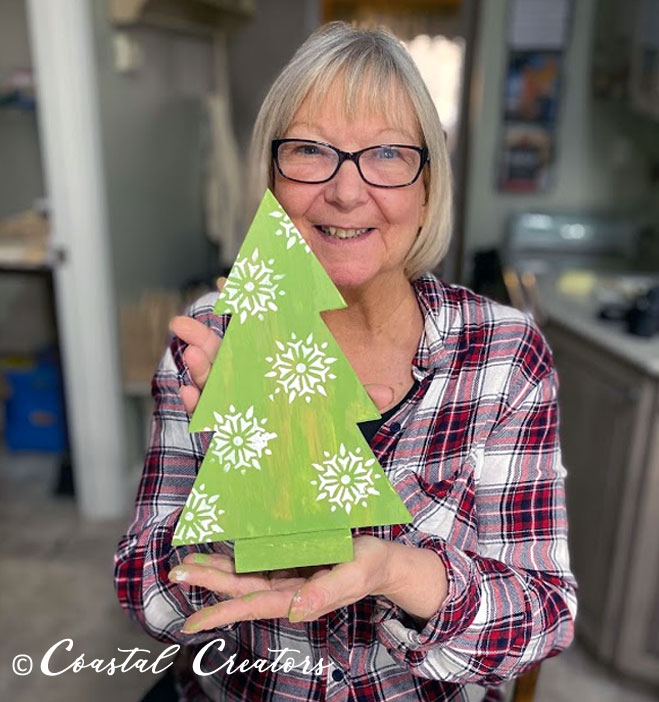
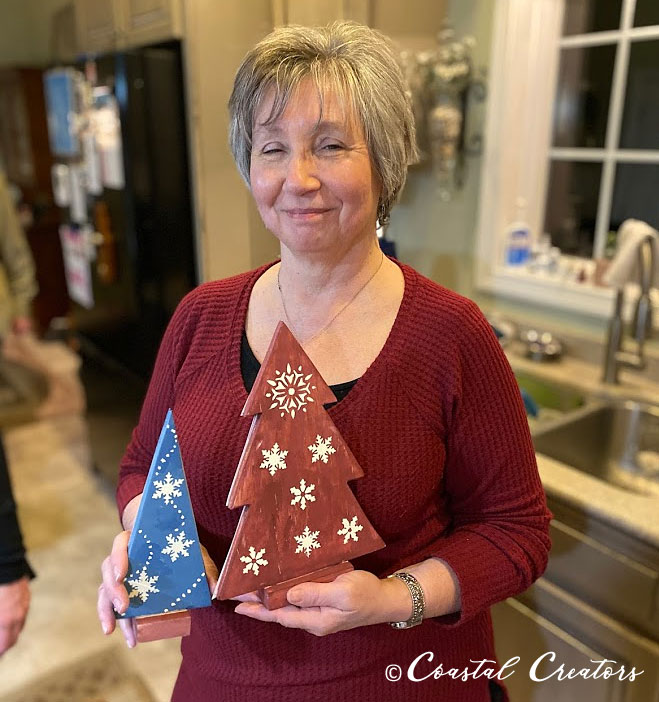
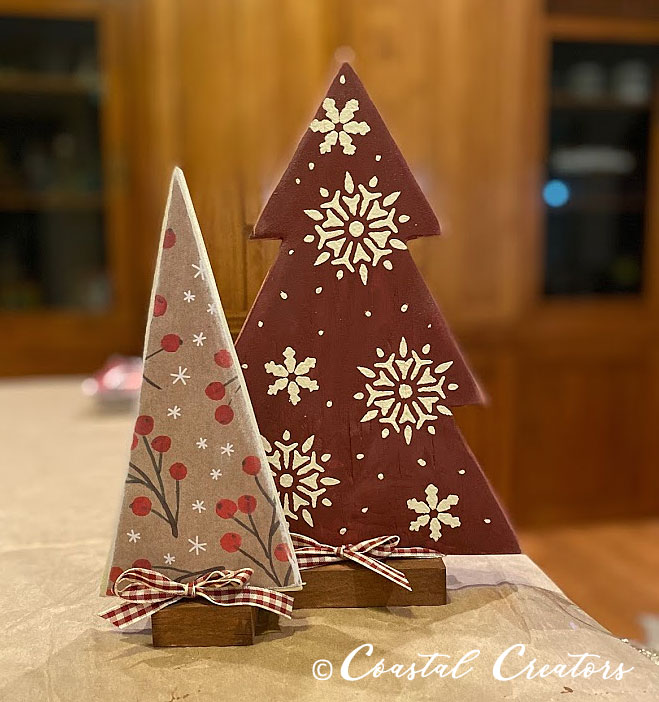
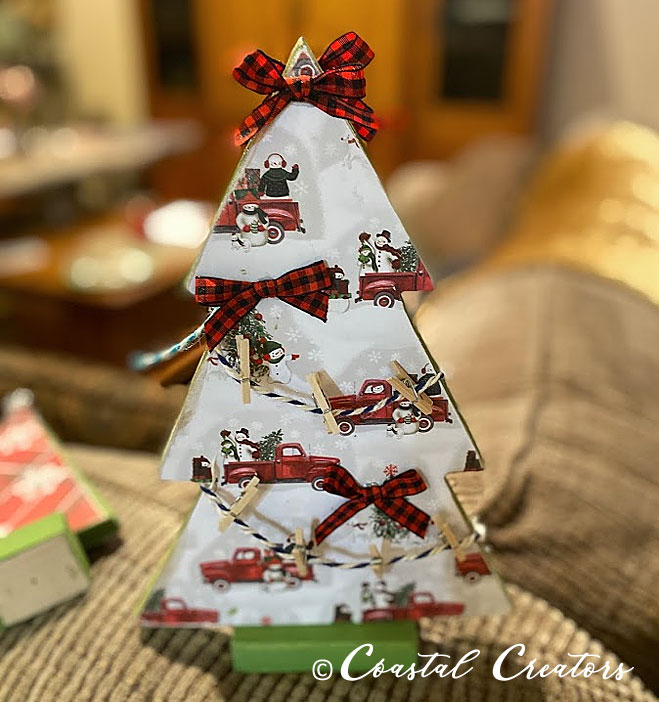
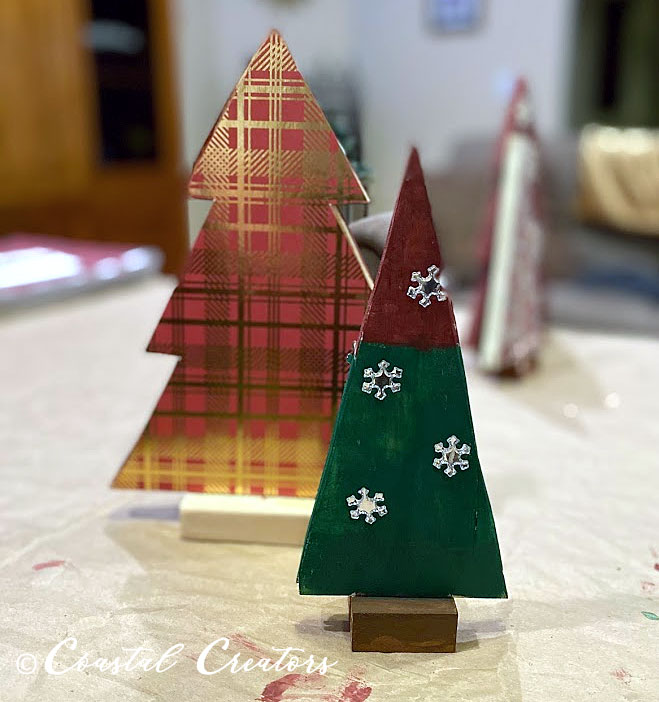
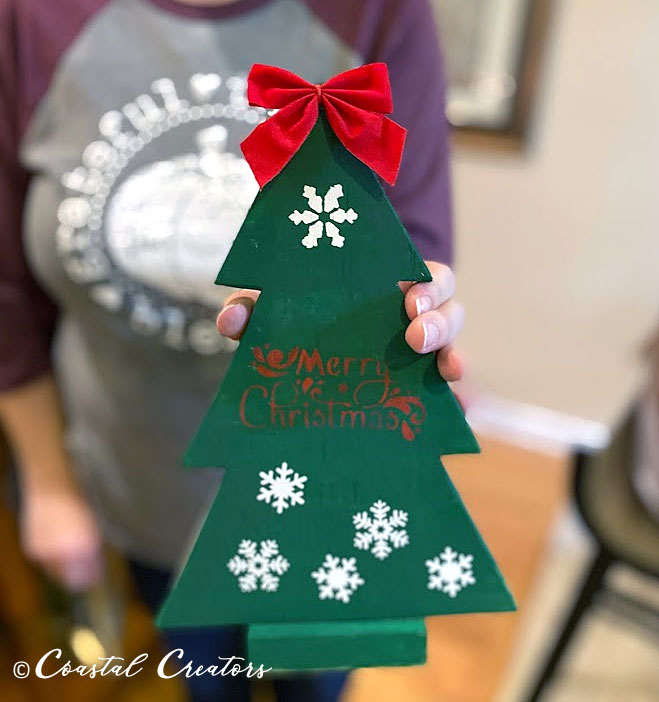
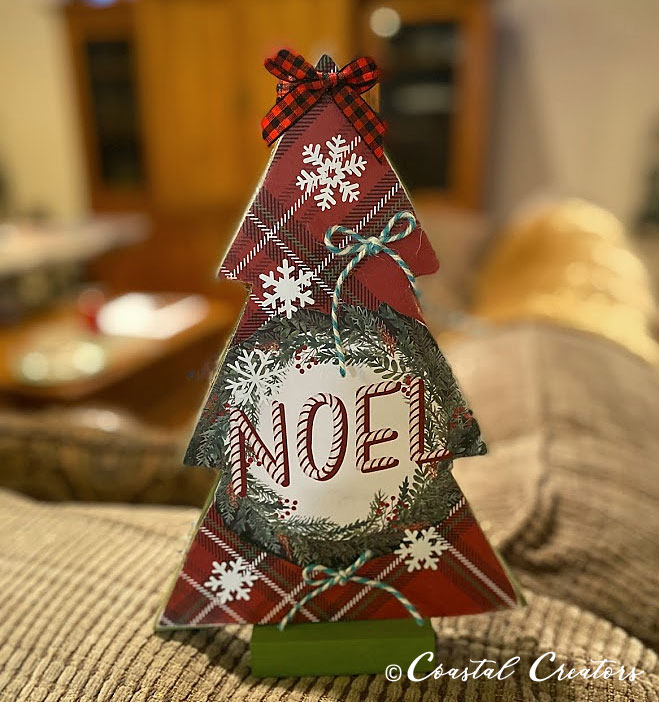
Take a look at some of the Christmas tree designs our students came up with.
Scroll down to find out how to make your very of Wooden Christmas Tree.
Rustic Wooden Christmas Tree Supplies List:
If you are following along at home, you will need the following supplies to make your own set of Wooden Christmas trees. These make great accents to put on the mantel, dresser, foyer, or anywhere you decorate for the holiday season.
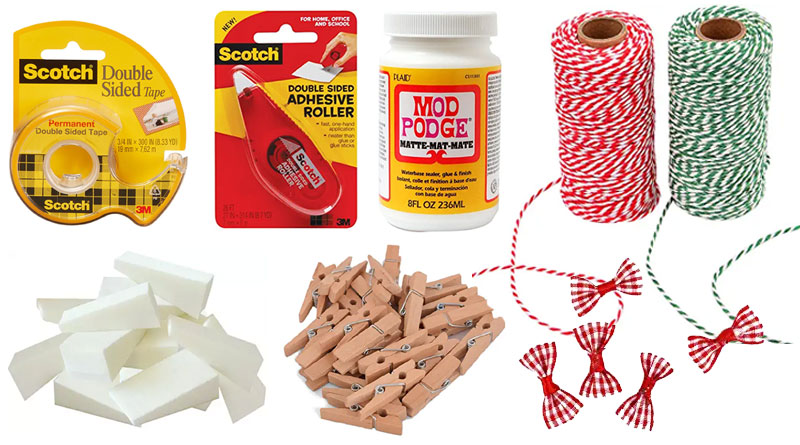
- Pine boards or plywood
- Decorative Scrapbook Papers
- Double-back tape, Modge Podge, Tacky Glue, Glue Runners, or glue sticks
- Acrylic Paint
- Paint Brushes, Makeup sponge applicators for dabbing
- Tiny clothes pins
- Bakers Twine
- Tiny Ribbon Bows
- Sanding blocks
- Stencils (see below)
- 4mil to 6mil Mylar
- Embellishments
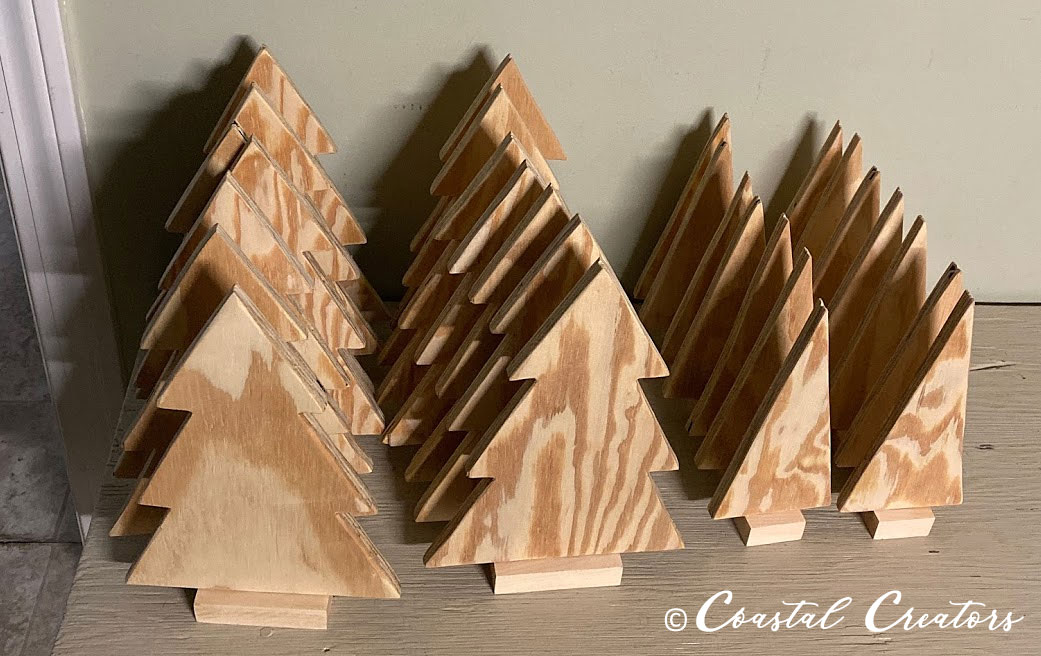
How to Cut a Wooden Christmas Tree
We created our own template to make these trees. You can download the stencil to make your own. Trace the tree onto the wood and then use a jigsaw to cut out the design.
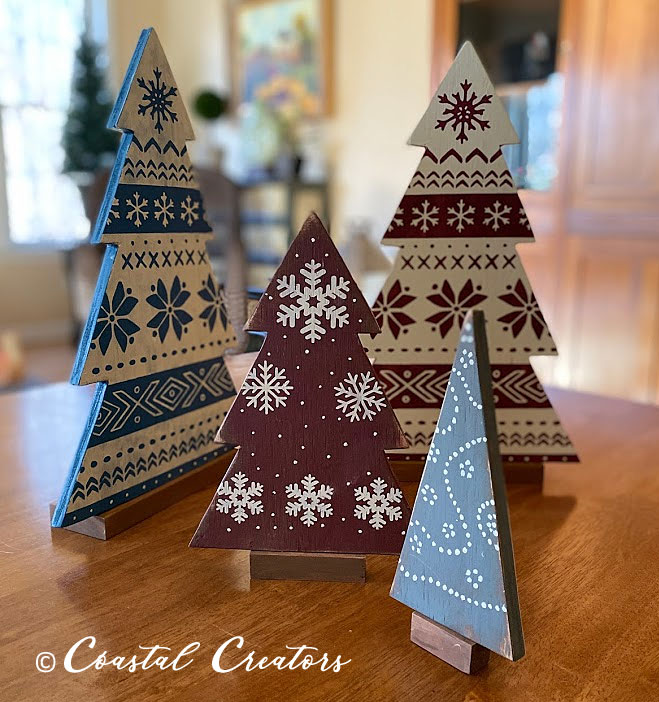
The large tree measures approximately 7″ x 9-3/4″ (10-1/2″ high with base) and the smaller tree measures 3-1/4″ x 7-1/2″ (8-1/4″ high with base). These are just guidelines and you can make them any size you wish. We even made a larger 16″ high trees to make a “Sweater Christmas trees” (see photo above)
Wooden Christmas Tree Base
You may want a base to keep your trees from falling over. We used a 1×2 board to create the bases. Scraps of wood work fine as well. The large tree base measures 3-1/4″ x 1-1/2″ x 3/4″ thick and the small tree base measures 1-1/2″ x 1-1/2″ x 3/4″ thick.
We glued the bases on the bottom of the trees and then used Quick-Grip Clamps to hold them in place. Then we used Cordless Nail Gun to staple the base into place. We let the bases dry overnight.
Use a power sander or sanding block to shape the edges and get rid of any rough edges and bumps on the surface of the wood.
How to Decorate a Wooden Christmas Tree
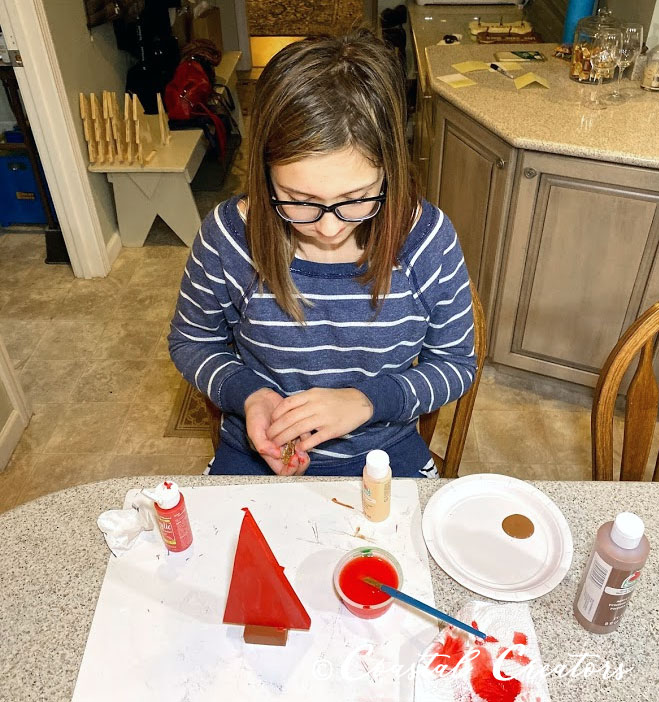
The first thing you will want to do is paint your tree with a base color. Even if you are using decorative papers on your tree you want to make sure the wood is painted because the edges will show and maybe some of the wood around the paper. We also created our own stencils and used 4mil Mylar with our Cricut machine to cut them out. You can also create vinyl stencils.
Free Christmas Stencils
Here are some of the stencils we created for our students that you can download and use for free. You can use these .png files and upload them to your Cricut or other cutting machine and cut out stencils from Mylar, or make vinyl sticker stencils or even vinyl stickers.
- Star border
- Holly leaf border
- Poinsettia
- Large Snowflake
- Merry Christmas – Design #1
- Merry Christmas – Design #2
- Wreath with berries
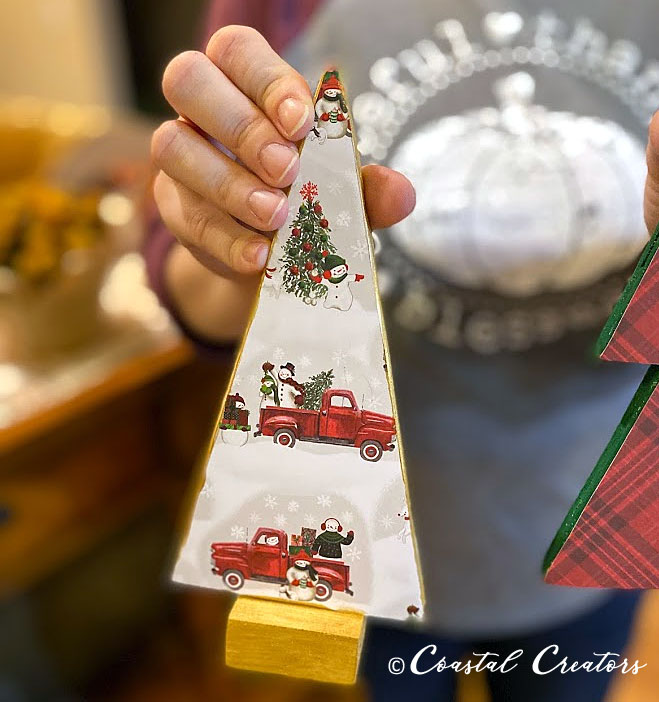
If you want to use decorative papers to decorate your wooden tree, use the original tree stencil to cut out the shape of the tree on the decorative paper. By laying the stencil on the paper you can see what the design will look like once it is glued to the tree.
TIP: Since the tree may be a slightly different shape than the original stencil once you are done cutting it out, you may want to make your decorative paper cutout slightly larger and then trim the edges around the tree.
You can use glue sticks, Double-back tape, Modge Podge, Tacky Glue, Glue Runners, or glue sticks to adhere decorative paper to your trees.
You may want to use Baker’s Twine and tiny clothespin to add to your tree and then you can hang tiny greeting cards or photos from the clothespins.
Paint or decorate both sides of your trees and if you get tired of looking at one side, you can turn them around.
Wooden Christmas Tree Decoration Inspiration
These handmade Wooden Christmas trees make great gifts and so much fun to make if you are hosting a craft class.
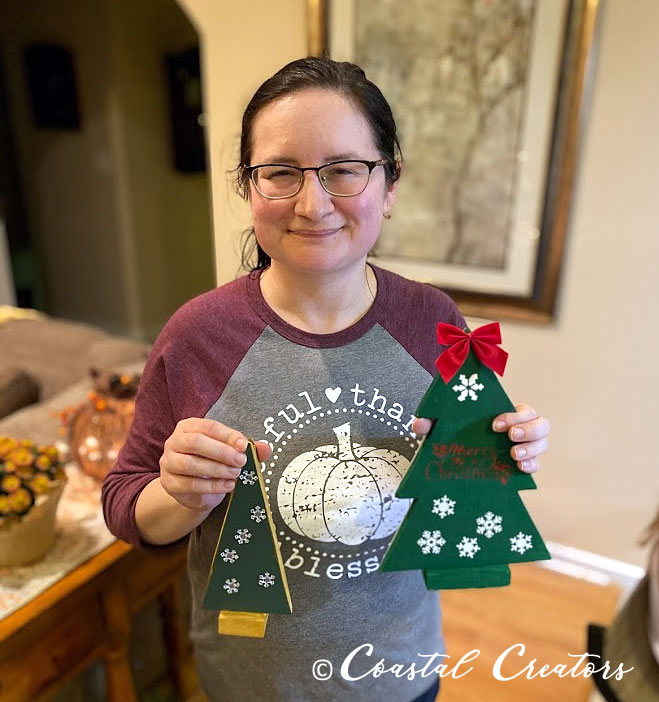
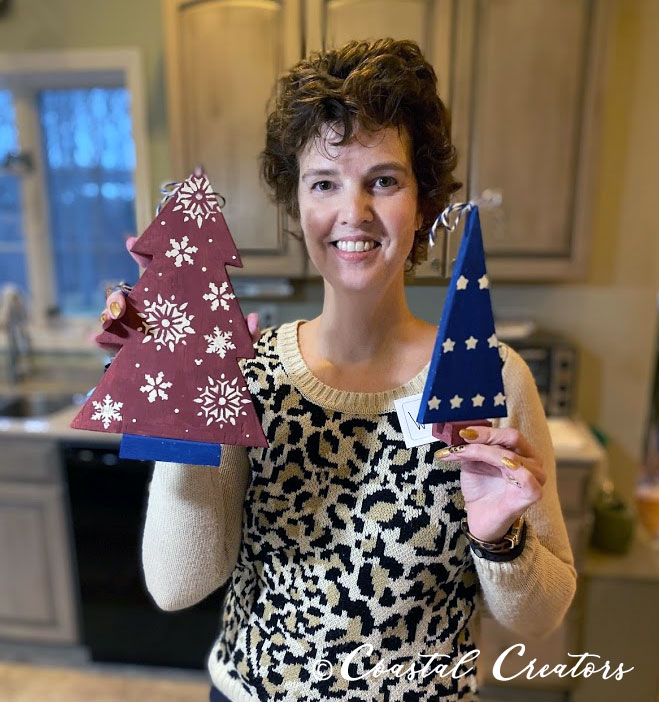
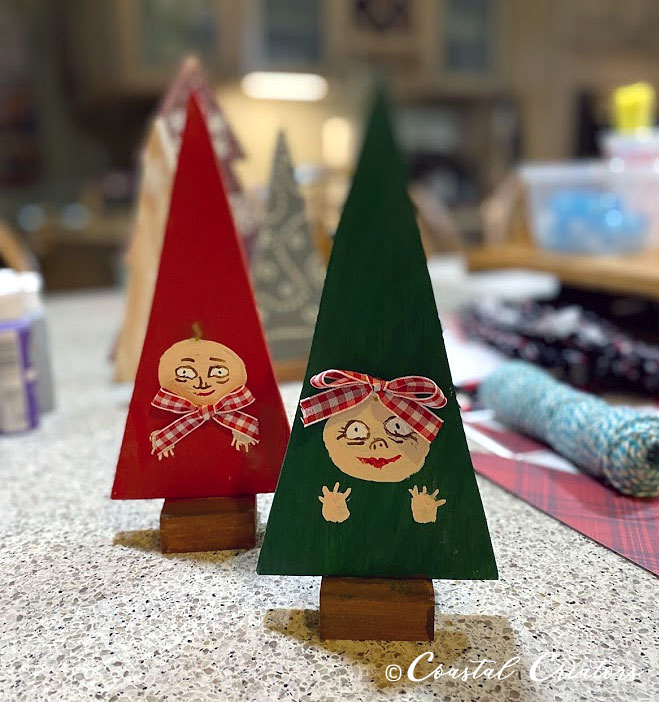
Take a look at how some of our students decorated their wooden Christmas Trees. Hopefully they will inspire you to make your own. Most of the students decorated both sides of each tree.



Leave a Reply