The basic KAM plastic snaps pliers are used for adding plastic snaps to fabric, ribbon, leather and other materials. Plastic snaps are great for making baby clothes, baby bibs, cloth diapers, reusable snack and sandwich bags, tote bags and so many other fun crafts projects.
The basic KAM pliers are super affordable ranging in price from $15 to $19.99. The only drawback to using these pliers and not the more expensive desktop press is that you have to leverage your hand’s strength to grip and squeeze the pliers to attach the plastic snaps to fabric. Overtime, this is a tedious and tiresome task and you aren’t able to get a consistent press each time because your hand is never in the exact same position each time.
Adding the basis KAM plastic snaps pliers to a stand alleviates hand fatigue and allows you to get a consistent press every time. With our Free instructions and pattern, you can make your own plastic snap pliers desktop stand.
What are Plastic Snaps used for?
KAM basic plastic snap pliers are designed for occasional personal use. However, many crafters who sell their wares use these inexpensive pliers because the professional grade pliers and desktop snap press cost a lot more.
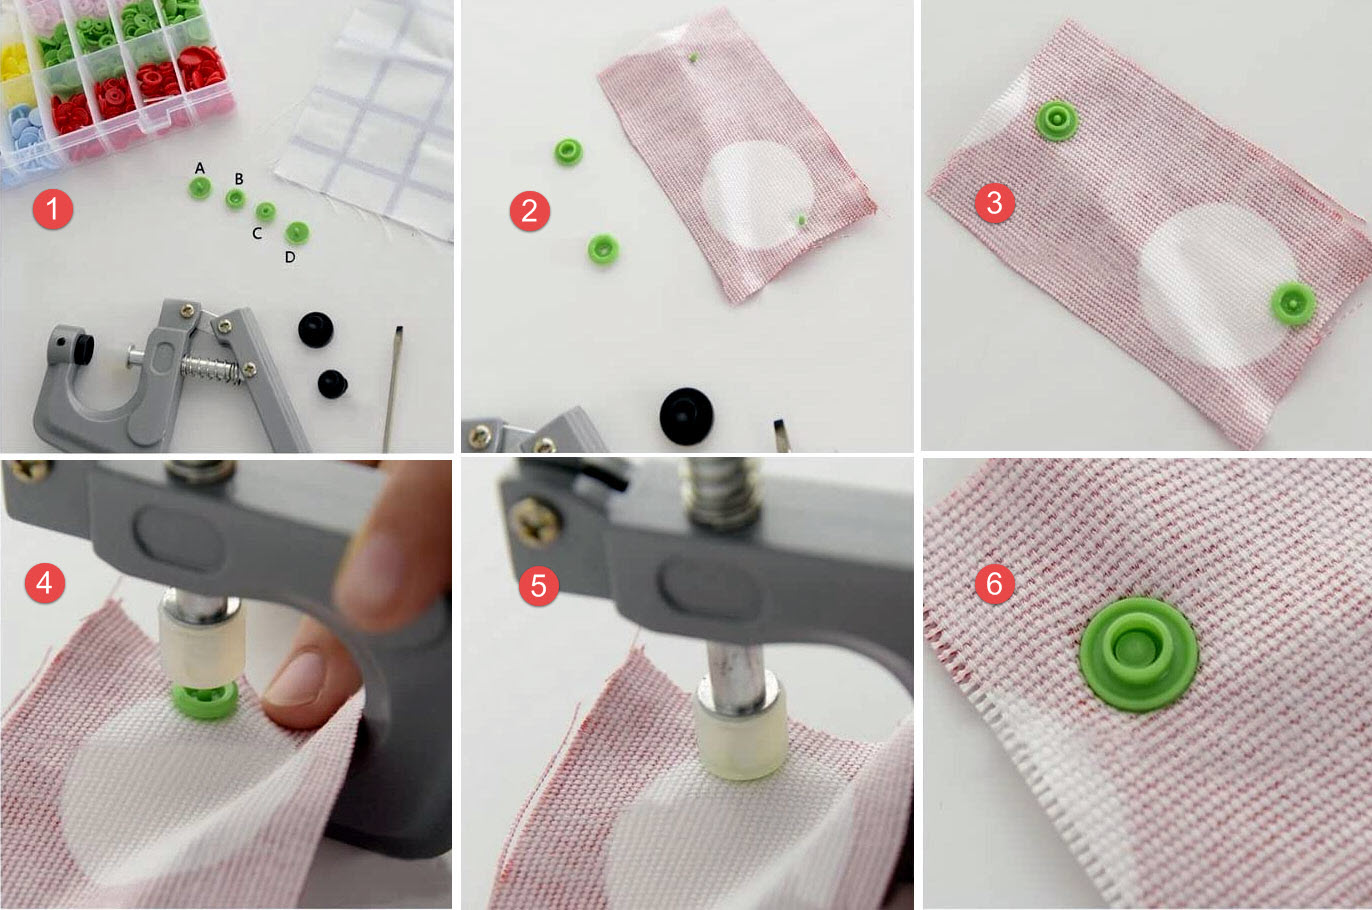
Using plastic snaps for your craft projects is a game-changer. They are super easy to add to most fabrics with just a few steps. You need an “awl” to poke a hole into the fabric, a set of plastic snaps, and snap pliers. Most Plastic Snap kits come with the awl and may include a few different size dies so you can add 20, 22, and 24 size snap fasteners to your projects. Plastic Snaps size 20 are the most common. As the numbers goes up – 22, 24 – the snaps get larger. You can also purchase smaller size snaps – 16, 18.
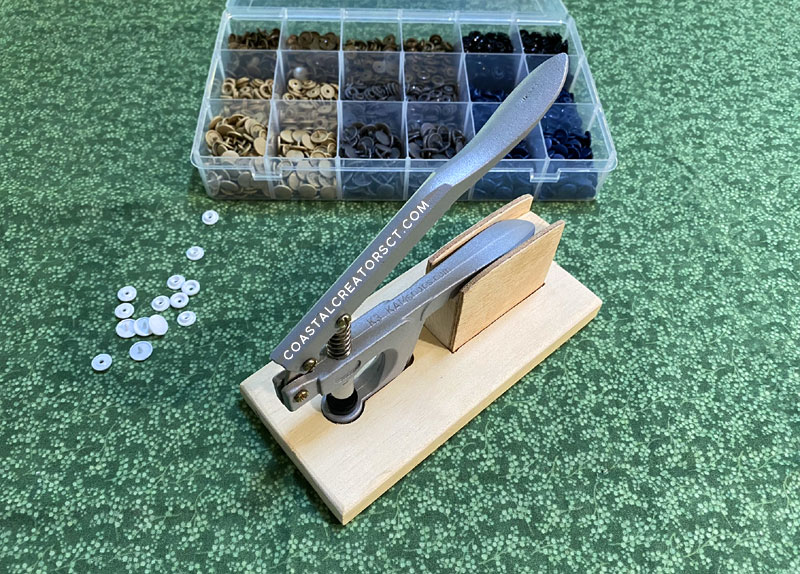
KAM Personal vs. Professional Pliers and Press
There are advantages of buying the professional grade KAM pliers and desktop. The grade of metal, weight, ability to change dies, and more open space in between the die and clamp are some of the reasons. The basic pliers also cannot be used for adding metal snaps to projects. If you are making many products you may want to consider the more professional KAM tools.
We purchased the basic KAM plastic snaps pliers because when we started out we didn’t know about the professional tools. Since then we have learned about all of the different pliers and desktop snap press but we still wanted to use the handheld pliers we purchased so we came up with a stand to put the pliers on and help alleviate hand cramping. The desktop stand also gives you more leverage and even pressure when pressing down. The stand also allows helps you get the plastic snap centered properly for a more professional look. Without a stand you may get some professional-looking results but you won’t be able to get them consistently. We found that without the snap stand we often damaged the snap and had to pry it off and start over. You don’t want this because you are wasting your snaps if they are damaged.
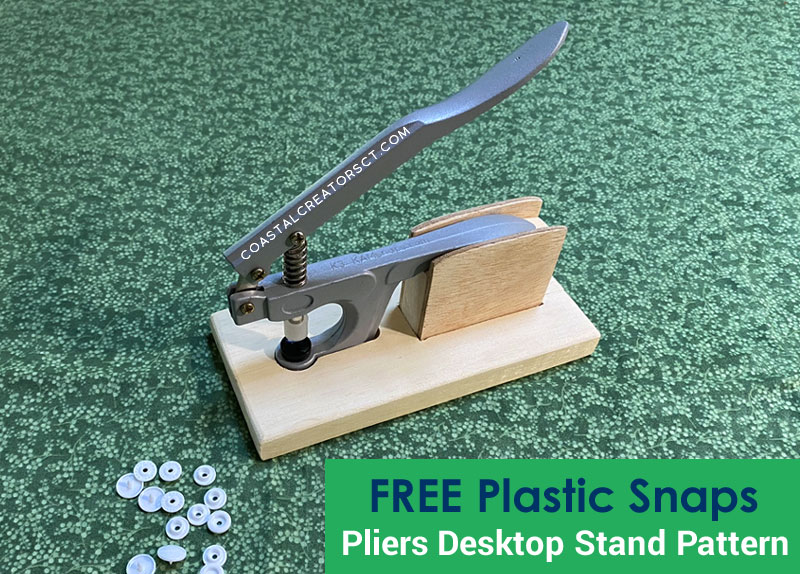
This DIY plastic snap desktop stand is pretty easy to make and you can built using scrap wood. This stand works for the K2 model only. Since each plastic snap tool is slightly different, a different stand needs to be made. If there is enough interest we will provide patterns for other KAM plastic snap handheld pliers tools.
What is the difference in models?
There are other models but we are just talking about the two very basis snap pliers that range in price from $15 to $20 each.
The K1 model is designed for plastic snap sizes 16, 20, and 22 as well as the specialty snaps like hearts, flowers, butterflies, and stars.
The K2 model is designed for plastic snap sizes 20, 22, 24 as well as the specialty snaps like hearts, flowers, butterflies, and stars.
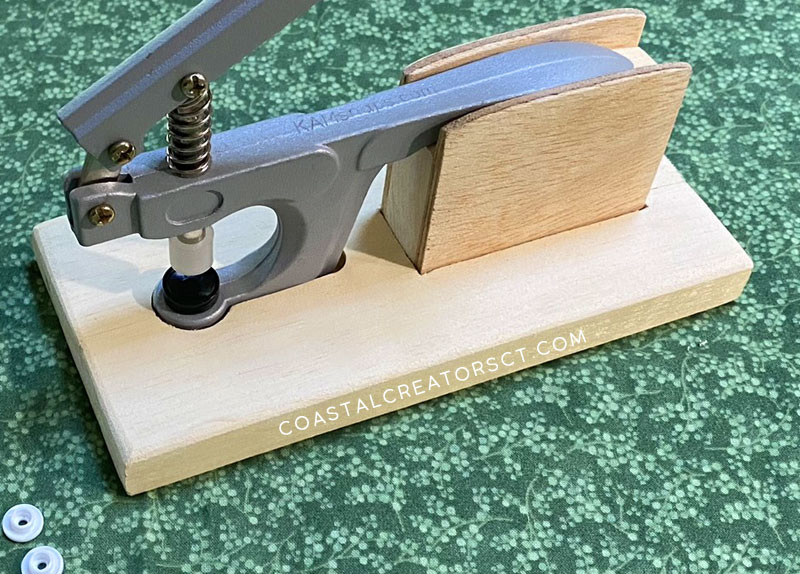
How Build a Plastic Snap Pliers Desktop Stand
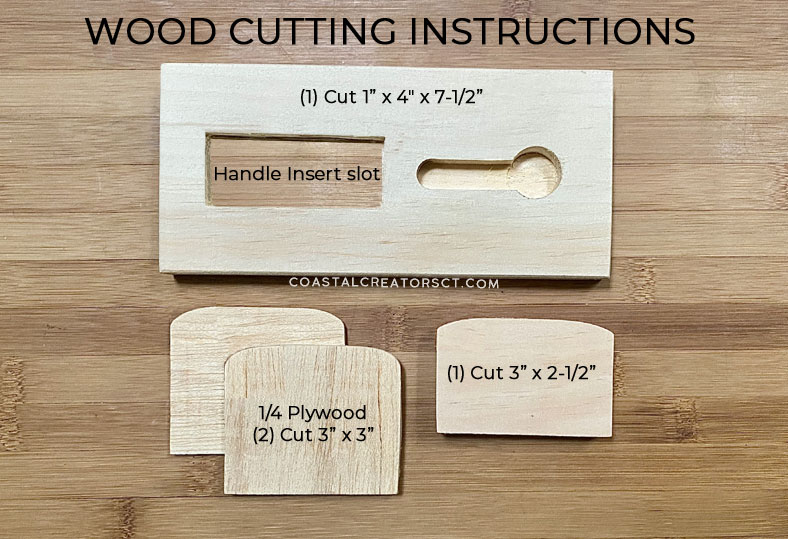
Supplies List
- one (1) piece of wood (pine) cut 1” x 4″ x 7-1/2″
- one (1) piece of wood (pine) cut 3” x 2-1/2”
- two (2) pieces of 1/4” plywood cut to 3” x 3”
- Scroll saw
- Jigsaw
- Electric Sander, Hand Sander, or Sanding blocks
- 7/8” (22.2mm) Forstner drill bit
- 1/2″ diameter straight router bit
Step-by-Step Instructions
1. Cut all of the wood pieces out.
2. Slightly curve the top corners of the 3″ x 2-1/2″ piece of wood to accommodate the handle. We used a scroll saw to accomplish this task.
Optional: Slightly curve the corners of the 3″ x 3″ pieces of wood. This is just for aesthetics so this step is optional.
3. Glue the two pieces of plywood to each side of the 3” x 2-1/2” piece of wood. The plywood needs to be 1/2” taller to allow the lower snap fastener handle to stay in place.
4. Sand all pieces to give the wood a smooth finish and round out any rough edges.
5. Use a 7/8” (22.2mm) Forstner drill bit to create the circle. Drill the hole so it is approximately 5/8” deep.
6. Use a 1/2″ diameter straight router bit to make a 1-1/2” long slot off of the circle at the same depth as the 7/8” circle.
7. Using a drill bit long enough to accommodate a jig saw blade, drill a hole in each corner of the handle insert slot.
8. Using a jig saw, cut out the handle insert slot to measure 1-1/4″ x 3″. Use the chart above for placement.
The handle of the snap pliers should fit snugly into the handle insert slot. It may be a bit difficult to remove but it needs to fit snug to work properly.

Caryn Wakelin says
Hi – love these instructions but cant seem to print them out to give to my husband. I can’t even copy and paste into another document to print out. Do you have some setting on the page to prevent this? I understand if you have but it makes it harder as I will have to write down the instructions!