These cute handmade, wood blocks sets are easy to make. You can give them away as gifts, to your grandkids, or even teach a craft class, like I did. They only require scrap pieces of wood or 2x4s so they are cheap to make. Don’t let anyone charge you $30 a set on Etsy for these decorative wood blocks when you can make them yourself for a few dollars.
Disclaimer: this article contains affiliate links. Please read our affiliate policies.
Since they are reversible they have multiple uses. You can put different holidays on each side, seasonal wording, or even Happy Birthday or Happy Anniversary.
Kids love them! They are fun to decorate your home with to give a mantle or shelf a burst of color during a fun holiday like Valentine’s Day, St. Patrick’s Day, Easter, Fourth of July, Halloween, Thanksgiving, or Christmas.
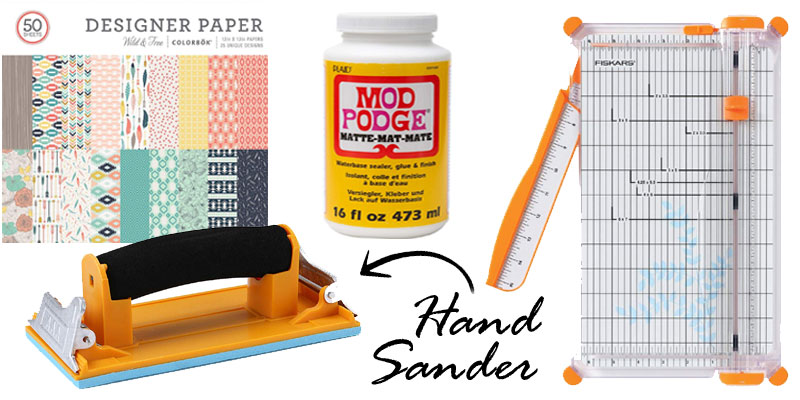
Wood Blocks Supplies:
- 2×4 pine boards or scrap wood
- Scrapbook paper (Colorbok has a nice selection)
- Modge Podge (suggested: Matte or Satin finish)
- Acrylic paints
- Burnishing tool
- Vinyl letters
- Hand Sander (great because you can replace the sand paper)
Vinyl letters are made using a Cricut vinyl cutter and black vinyl. You won’t be able to find these unique letters if you buy pre-made vinyl letters. I used Calisto MT and Cupid de Locke fonts to make my letters.
Suggested Vinyl: I prefer 651 ORACAL but just about any matte vinyl will do. You can use removable vinyl if you want to move the letters easily. Otherwise, use permanent vinyl.
Wood Blocks Tools:
- Miter saw or hand saw
- Paper cutter or scissors
- Paint brushes
- Vinyl cutter like a Cricut or Silhouette
Wood Blocks Dimensions:
- Tall Blocks 1-1/4″ x 1-1/2″ x 3-1/4″
- Short Blocks 1-1/4″ x 1-1/2″ x 2-1/4″
- Wide Blocks 1-1/4″ x 1-1/2″ x 5″
Wood Blocks Directions:
If you are making a lot of these decorative wood block sets, you will probably want to use 2×4 pine boards. Cut – or rip – the 2×4 down the middle using a miter saw. Then cut each piece using the measurements above.
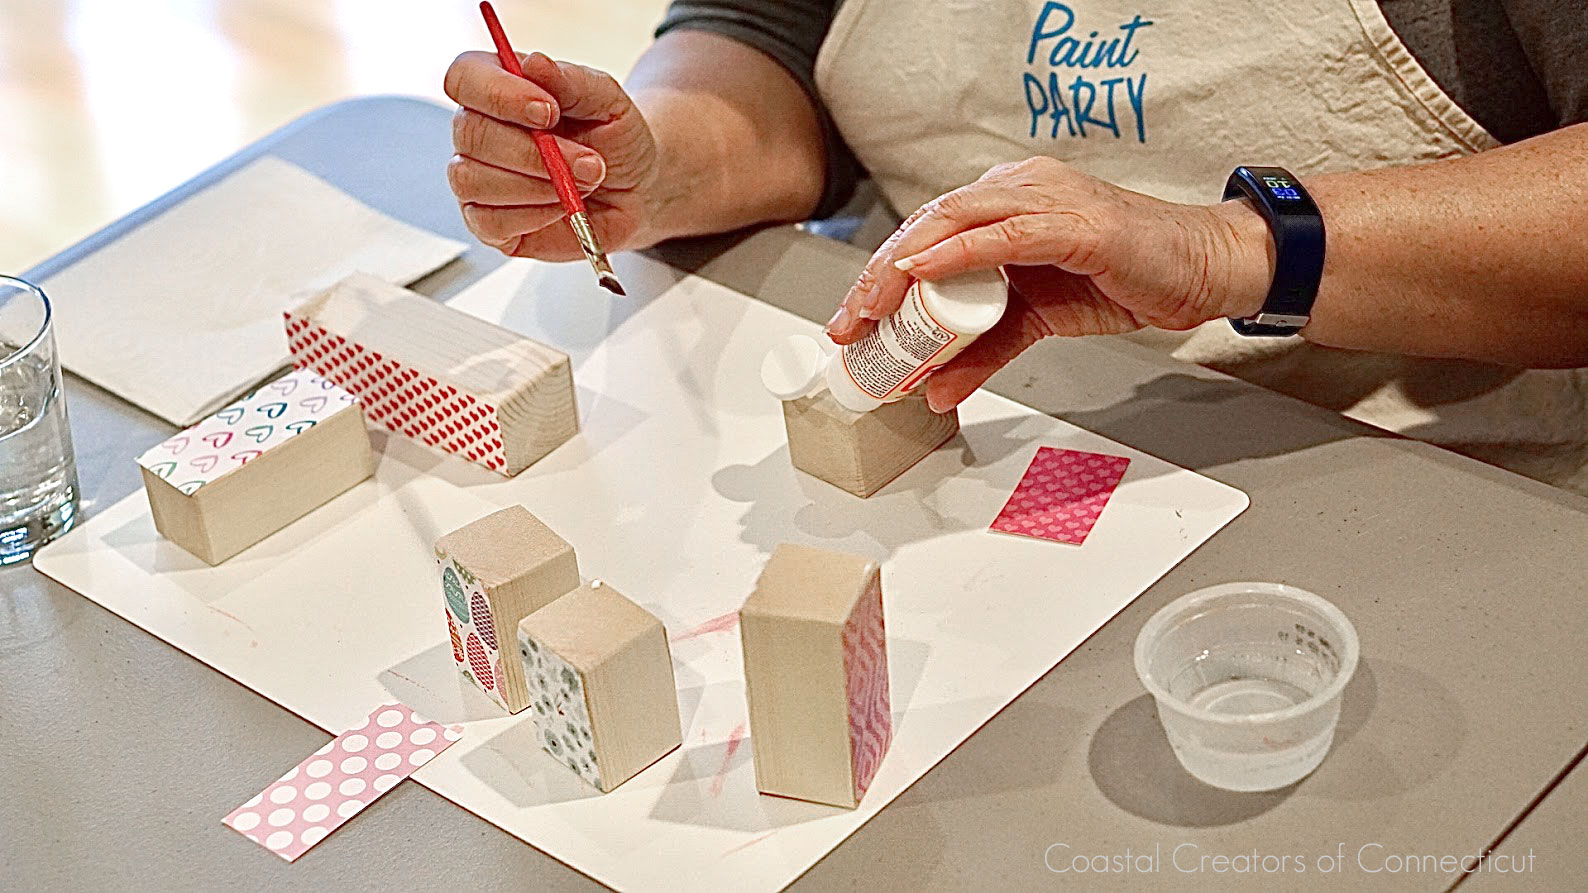
Cut the Scrap Paper: Cut the papers the same size as the block. You can trim off the edges with scissors later or use the hand sander to make the edges rustic and distressed.
Paint the Blocks: you can paint the blocks if you don’t have scrap paper. Pastels or Bright colors seem to work the best. Another idea is to paint the block black and then add a color on top so you have a black edge. You could also paint the block and use black or white paint or a Sharpie on the edges. Paint the sides or leave them unpainted.
How you decorate your blocks is all based on our personal preference and taste.
Attach the Scrap Paper: Using Modge Podge and a paint brush, apply to one end of a block first. Put the scrapbook paper piece down on one end and position it in place. Then add the rest of the Modge Podge on the other end and smooth the paper down. Do this to make sure you don’t get wrinkles. I then used a Burnishing tool to make sure there were no bubbles.
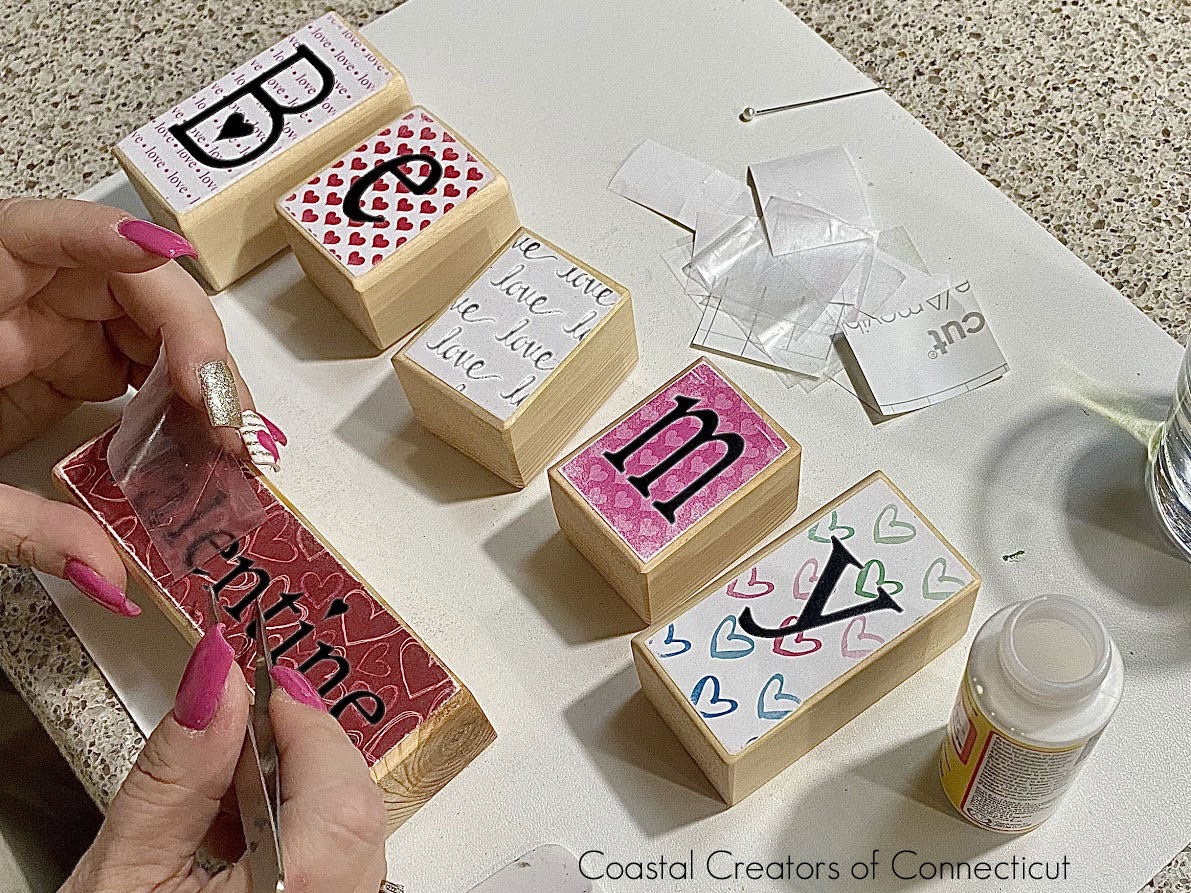
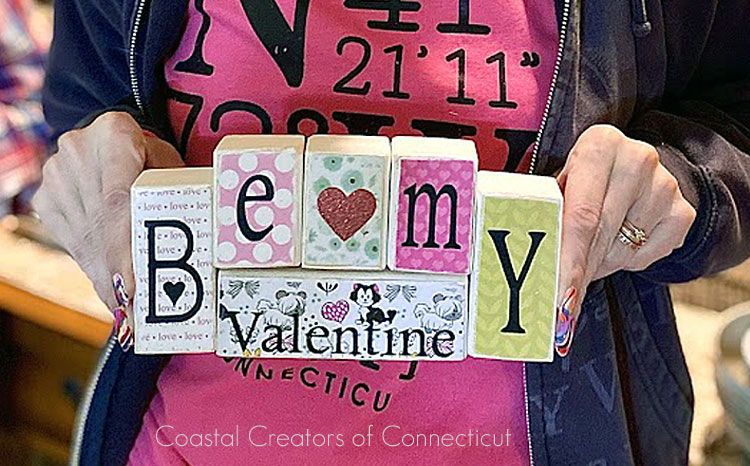
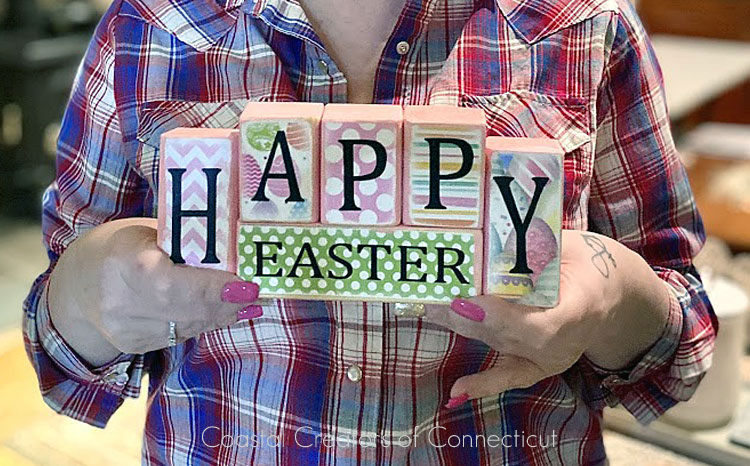
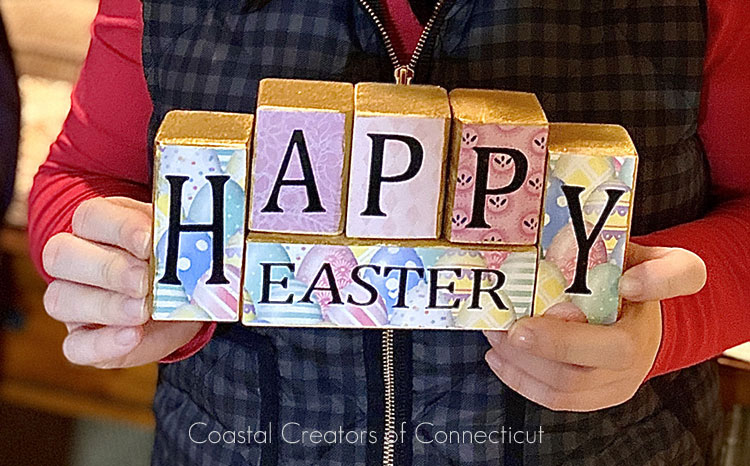
Attach the Letters: Once the letters are cut out, you will add each letter individually to each block.
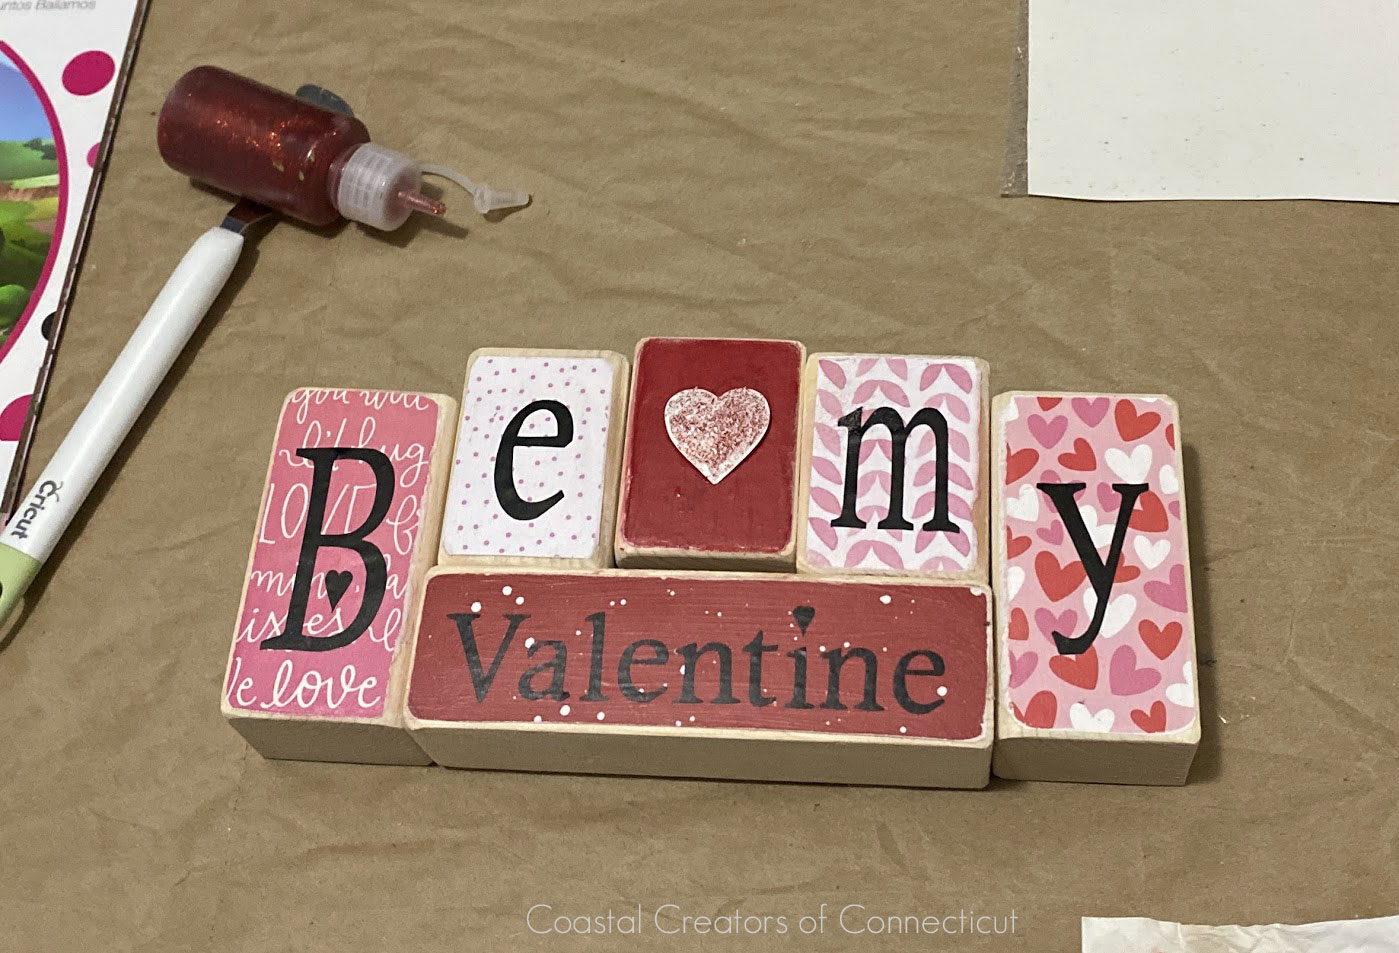
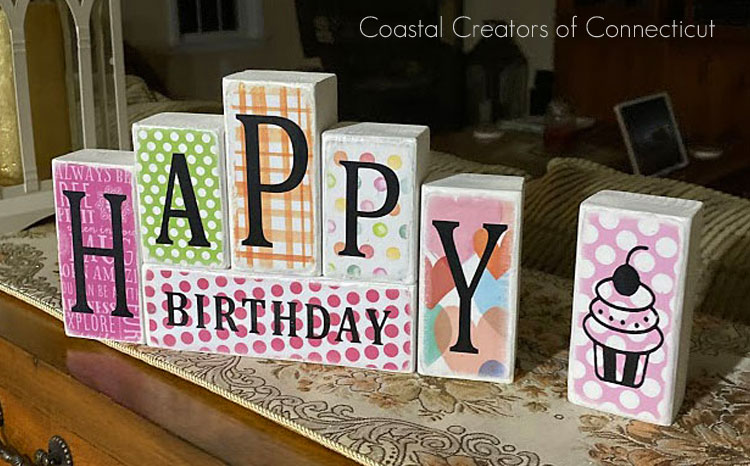
The Happy Birthday block set that was slightly larger. For the cupcake I cut out a vinyl design (from clipart, .png file), attached it to the block and then painted inside with acrylic paints to get the colors you see in the photo.
Update: After I made the Happy Birthday block set, I realized I didn’t like the red dotted paper behind the word Birthday. I redid that block and painted the background a solid color and it looked better. Sometimes the paper can overwhelm the words. I didn’t choose the paper very well for the block. The patterns should be small and the letters should stand out.
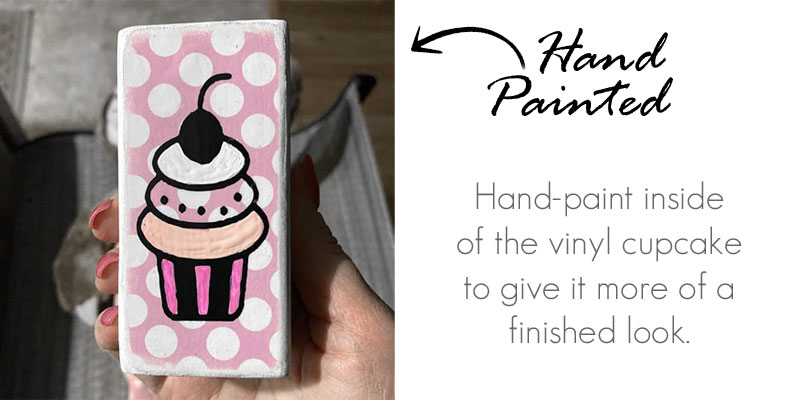
Feel free to make your own set of wood blocks, sell them or give them away as gifts.
Leave a Reply